Following the sourdough experiment with Diastatic Malted Barley Flour (DMBF), I wanted to try it with pretzels, which commonly call for DMBF. I wasn’t really sure what differences I’d get out of this and was curious if I could get by without using it in pretzels again.
I used the recipe below for each batch with the only difference being the DMBF was in one batch and not the other. I offset the start times by 30 minutes so it would be a little easier to keep track of the separate batches.
Ingredients:
Pretzels:
- 3 3/4 cups (~560g) bread flour
- 1/4 oz (about 2 tsp) instant yeast
- 2 tsp sea salt
- 1 1/4 cups (~315mL) water (110’F)
- 3 Tbsp unsalted butter, melted
- 1 tsp Diastatic Malted Barley Flour (for one batch)
- Pretzel or coarse sea salt for topping (optional)
Water bath:
Since I made two batches, I doubled the amount of water and baking soda to the amount seen below. If you’re doing a single batch, divide these numbers in half.
- 8 1/2 cups water
- 6 Tbsp baking soda
Other equipment you’ll want:
- Stand mixer w/ dough hook
- bench scraper (for dividing)
- large baking sheet
- parchment paper
- wire rack
- large pan
- large slotted spoon or spider
- lame / sharp knife (for scoring)
Method:
I followed the same method for both batches of pretzels with the only difference being the addition of DMBF to one batch. Again, everything else was done the same but the batch with DMBF was offset by 30 minutes.
1. Pretzel dough:
In the stand mixer with dough hook attachment, add the flour, salt, DMBF (if using) and yeast. Mix to combine. Next, whisk the 1 1/4 cups warm water with the melted butter and add it to the stand mixer. Let the stand mixer run on medium speed for about 2 minutes until everything is combined.
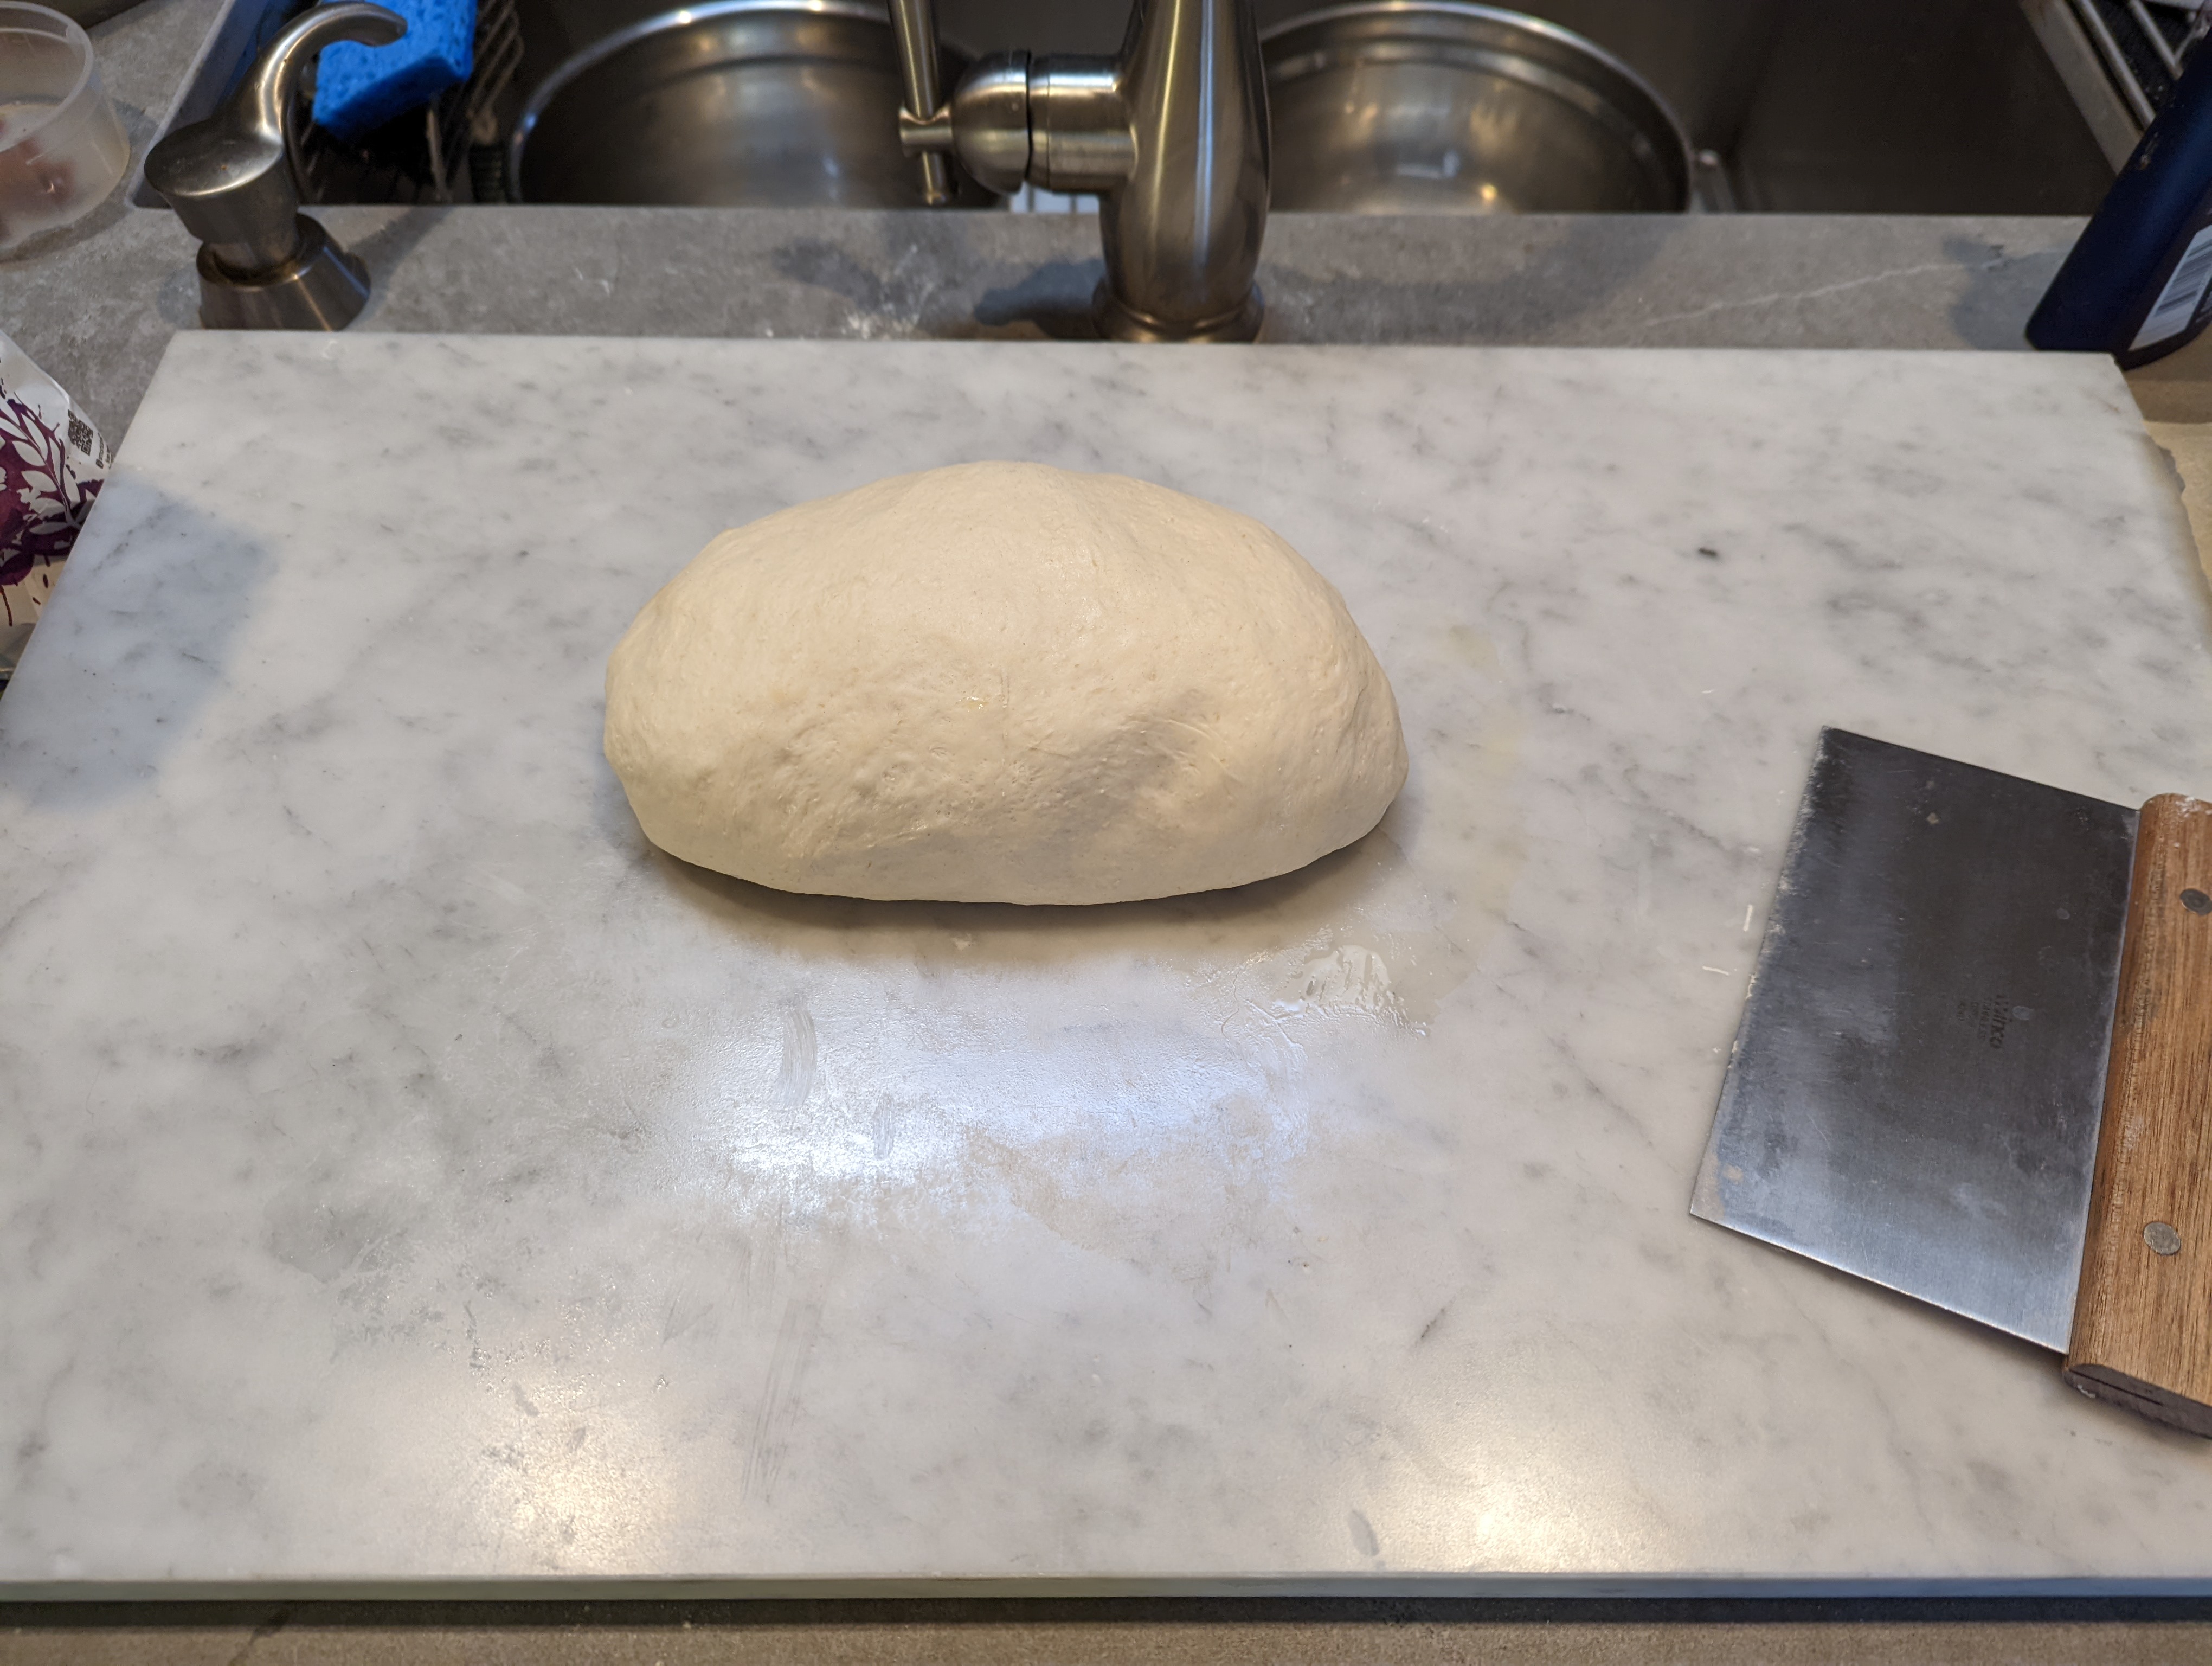
Flour a work surface and knead the dough by hand for 2-3 minutes. Form it into a ball and place it back in the mixing bowl. Cover the bowl and allow to rise in a warm location for 60-90 minutes, or until doubled in size.
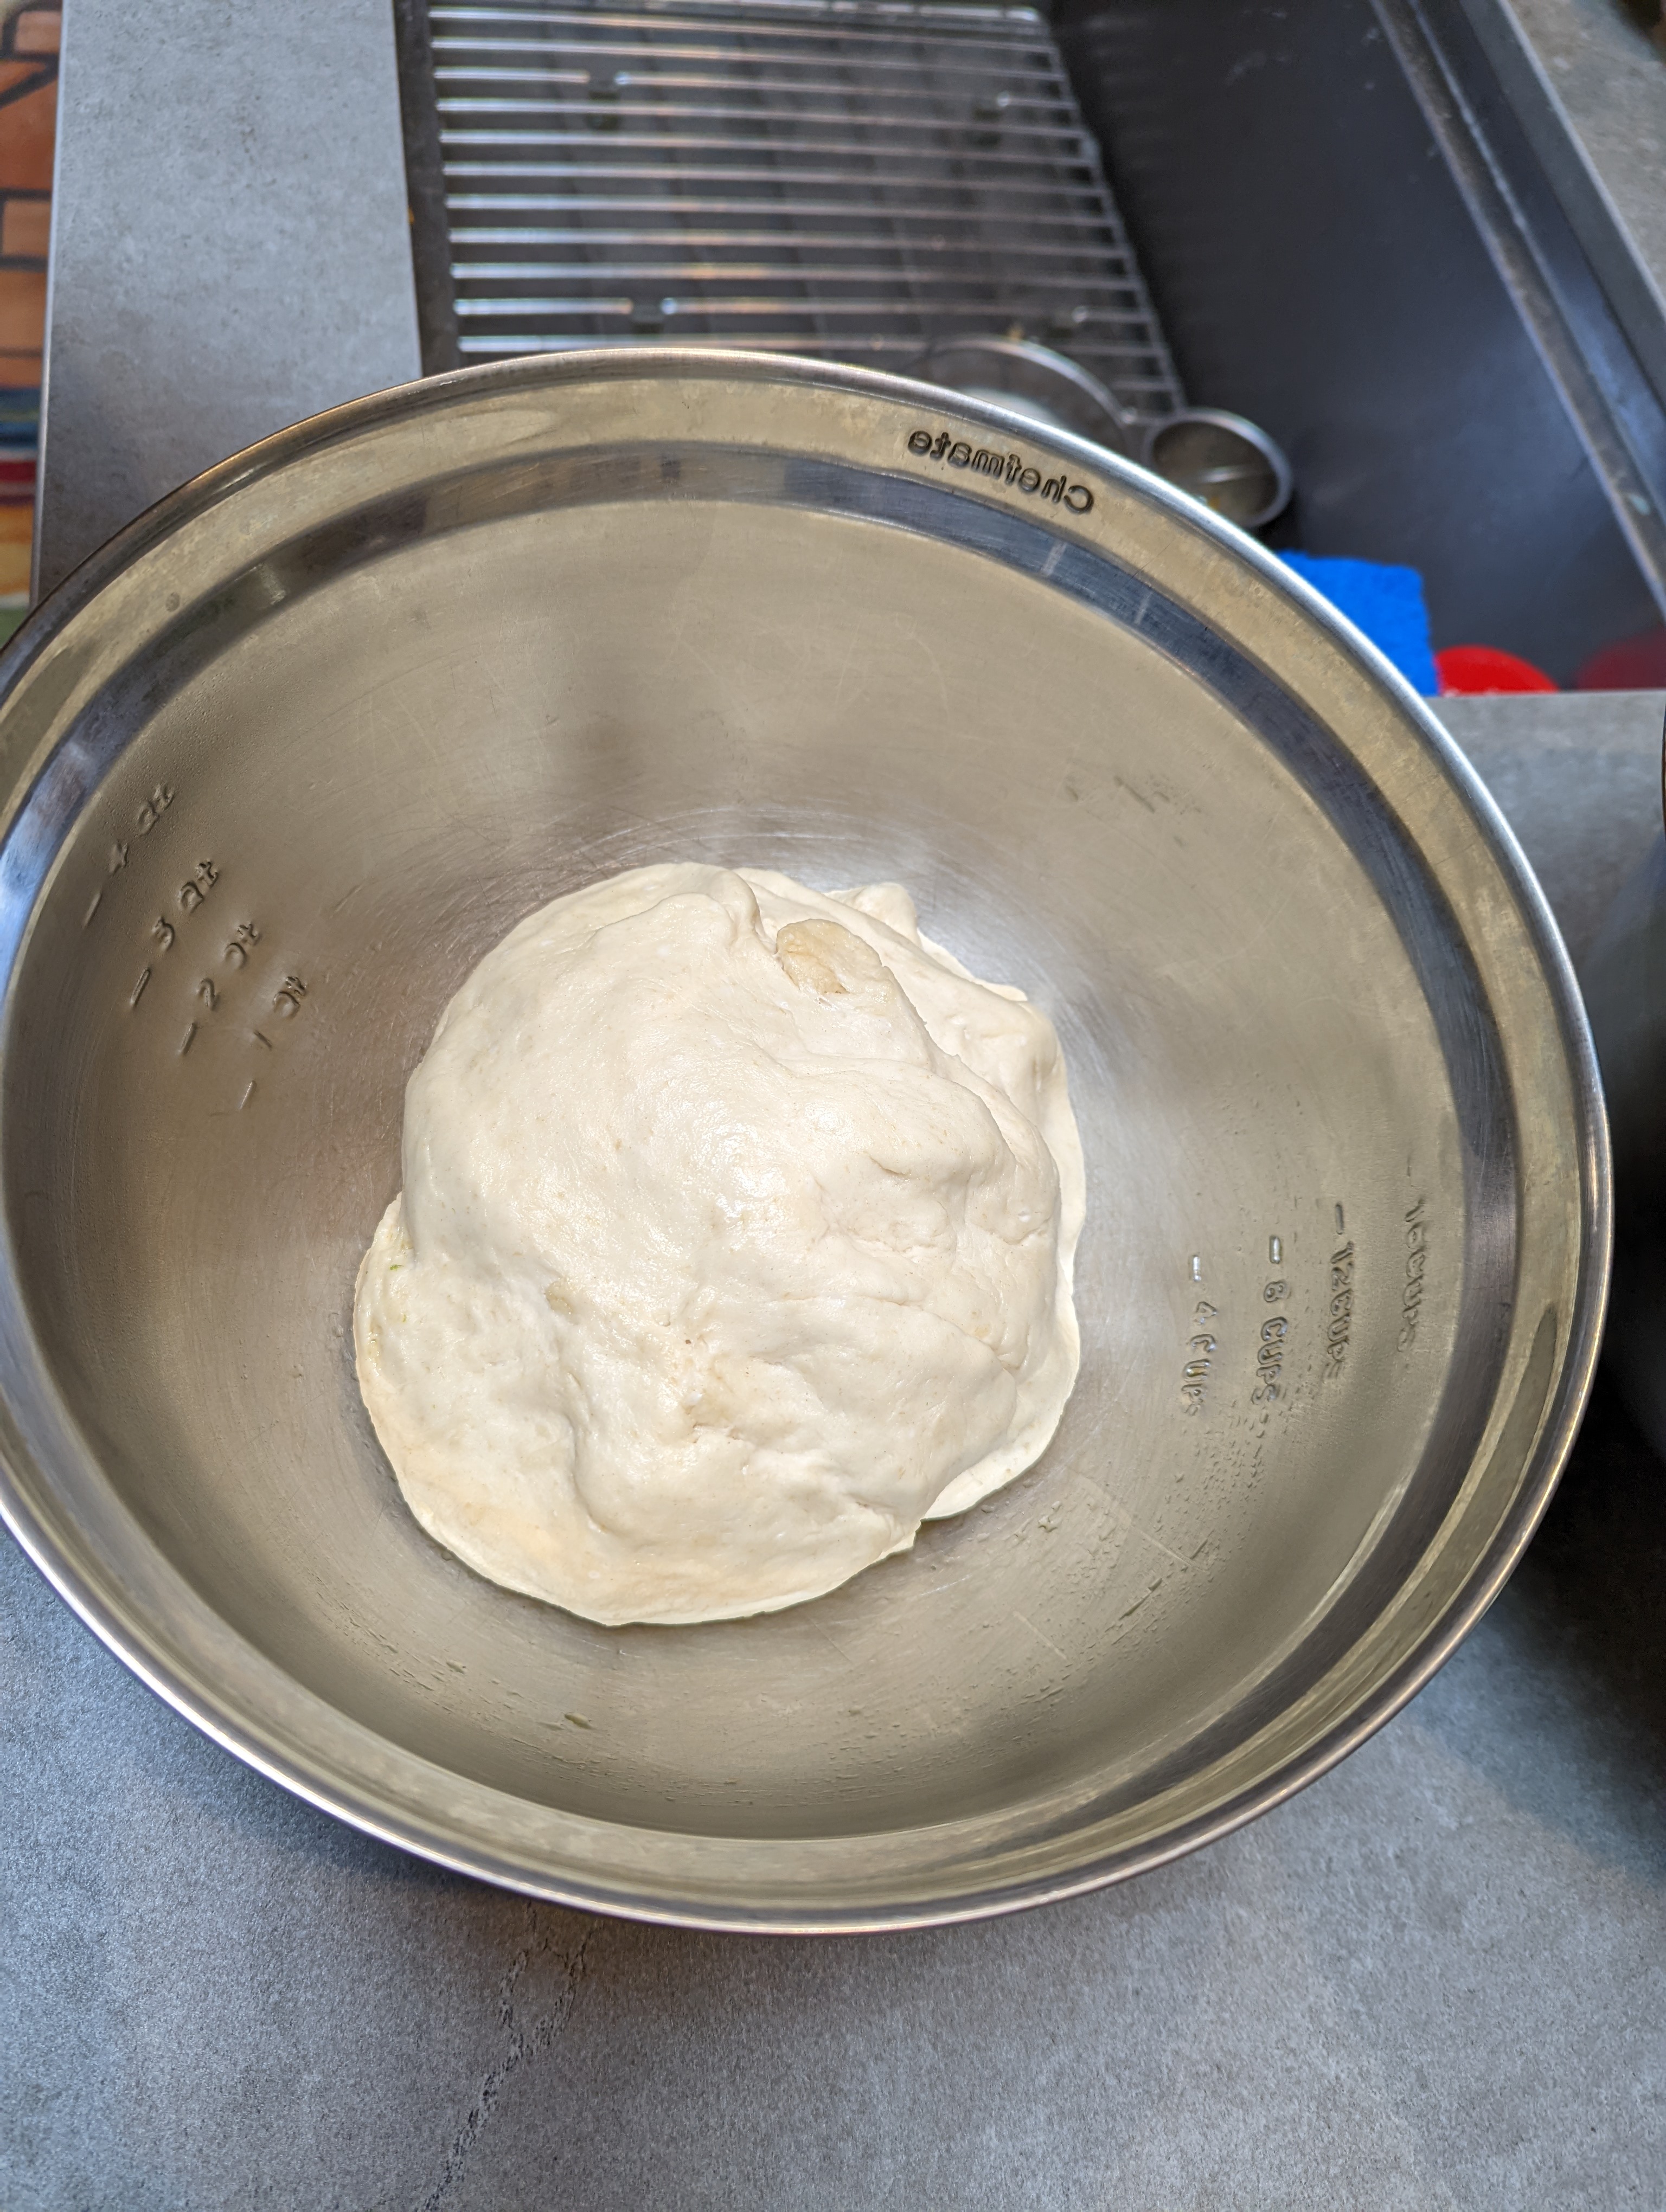
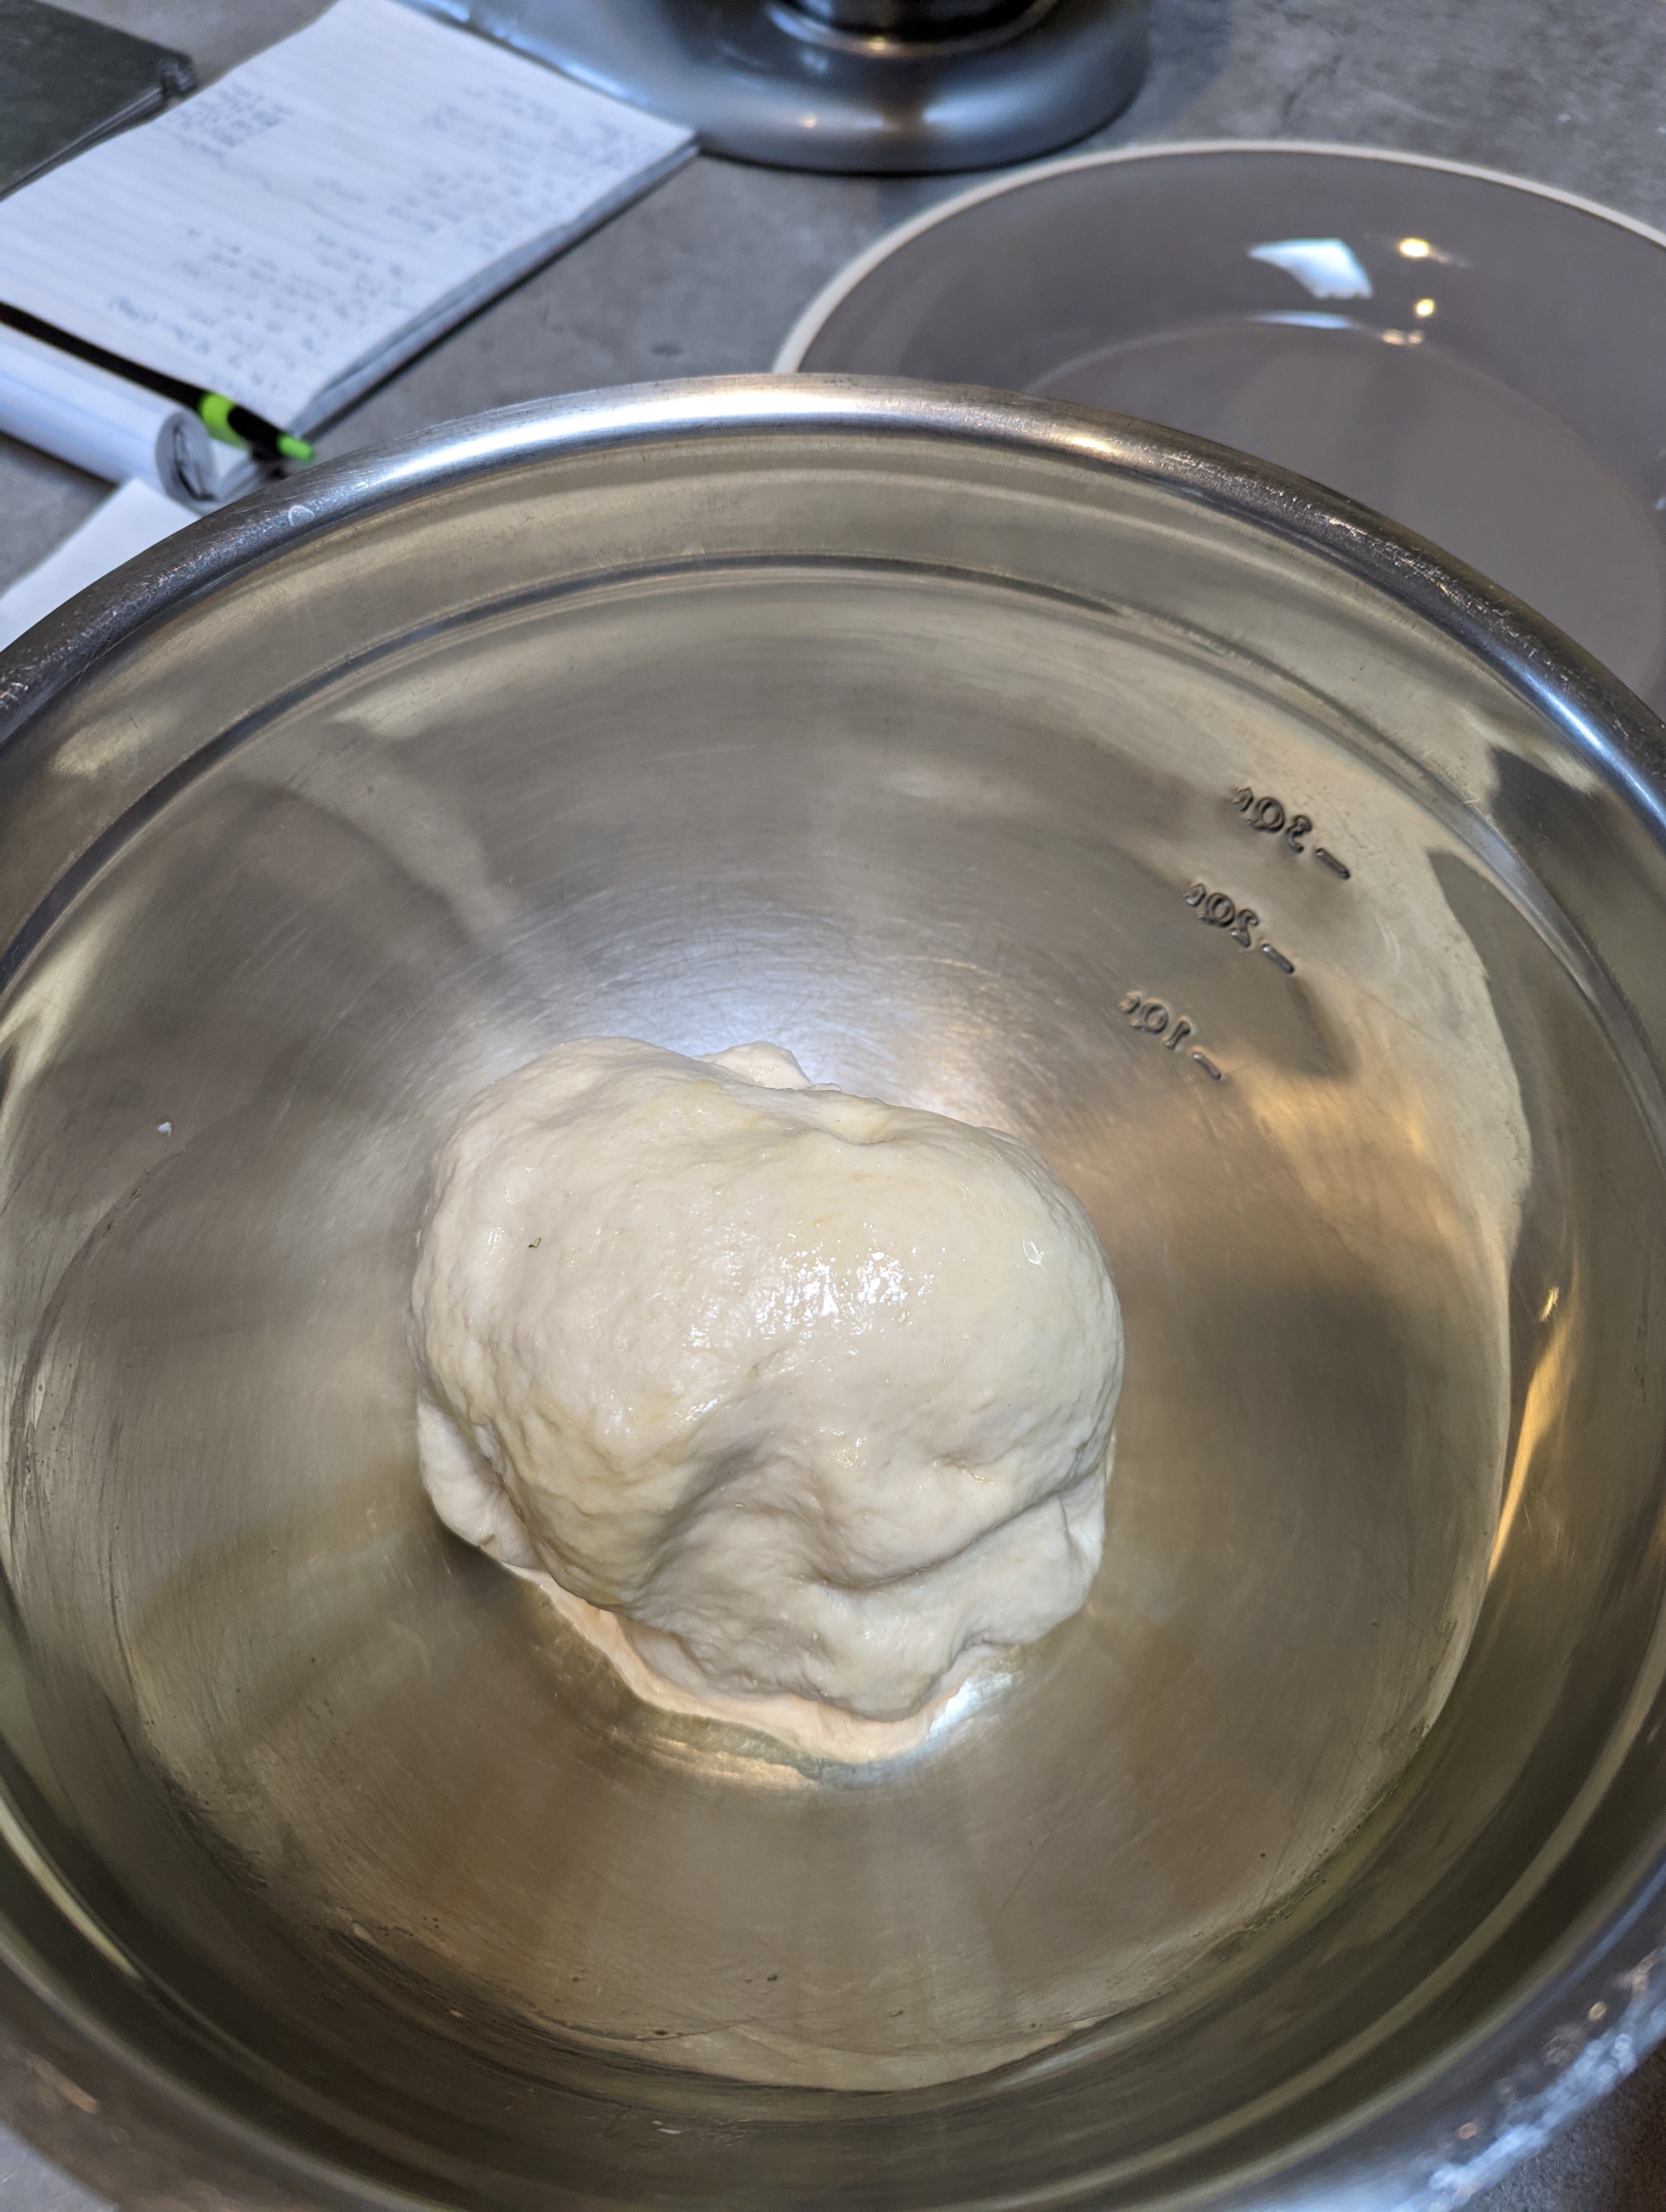
Standard on left, DMBF on right
2. Shaping the pretzels:
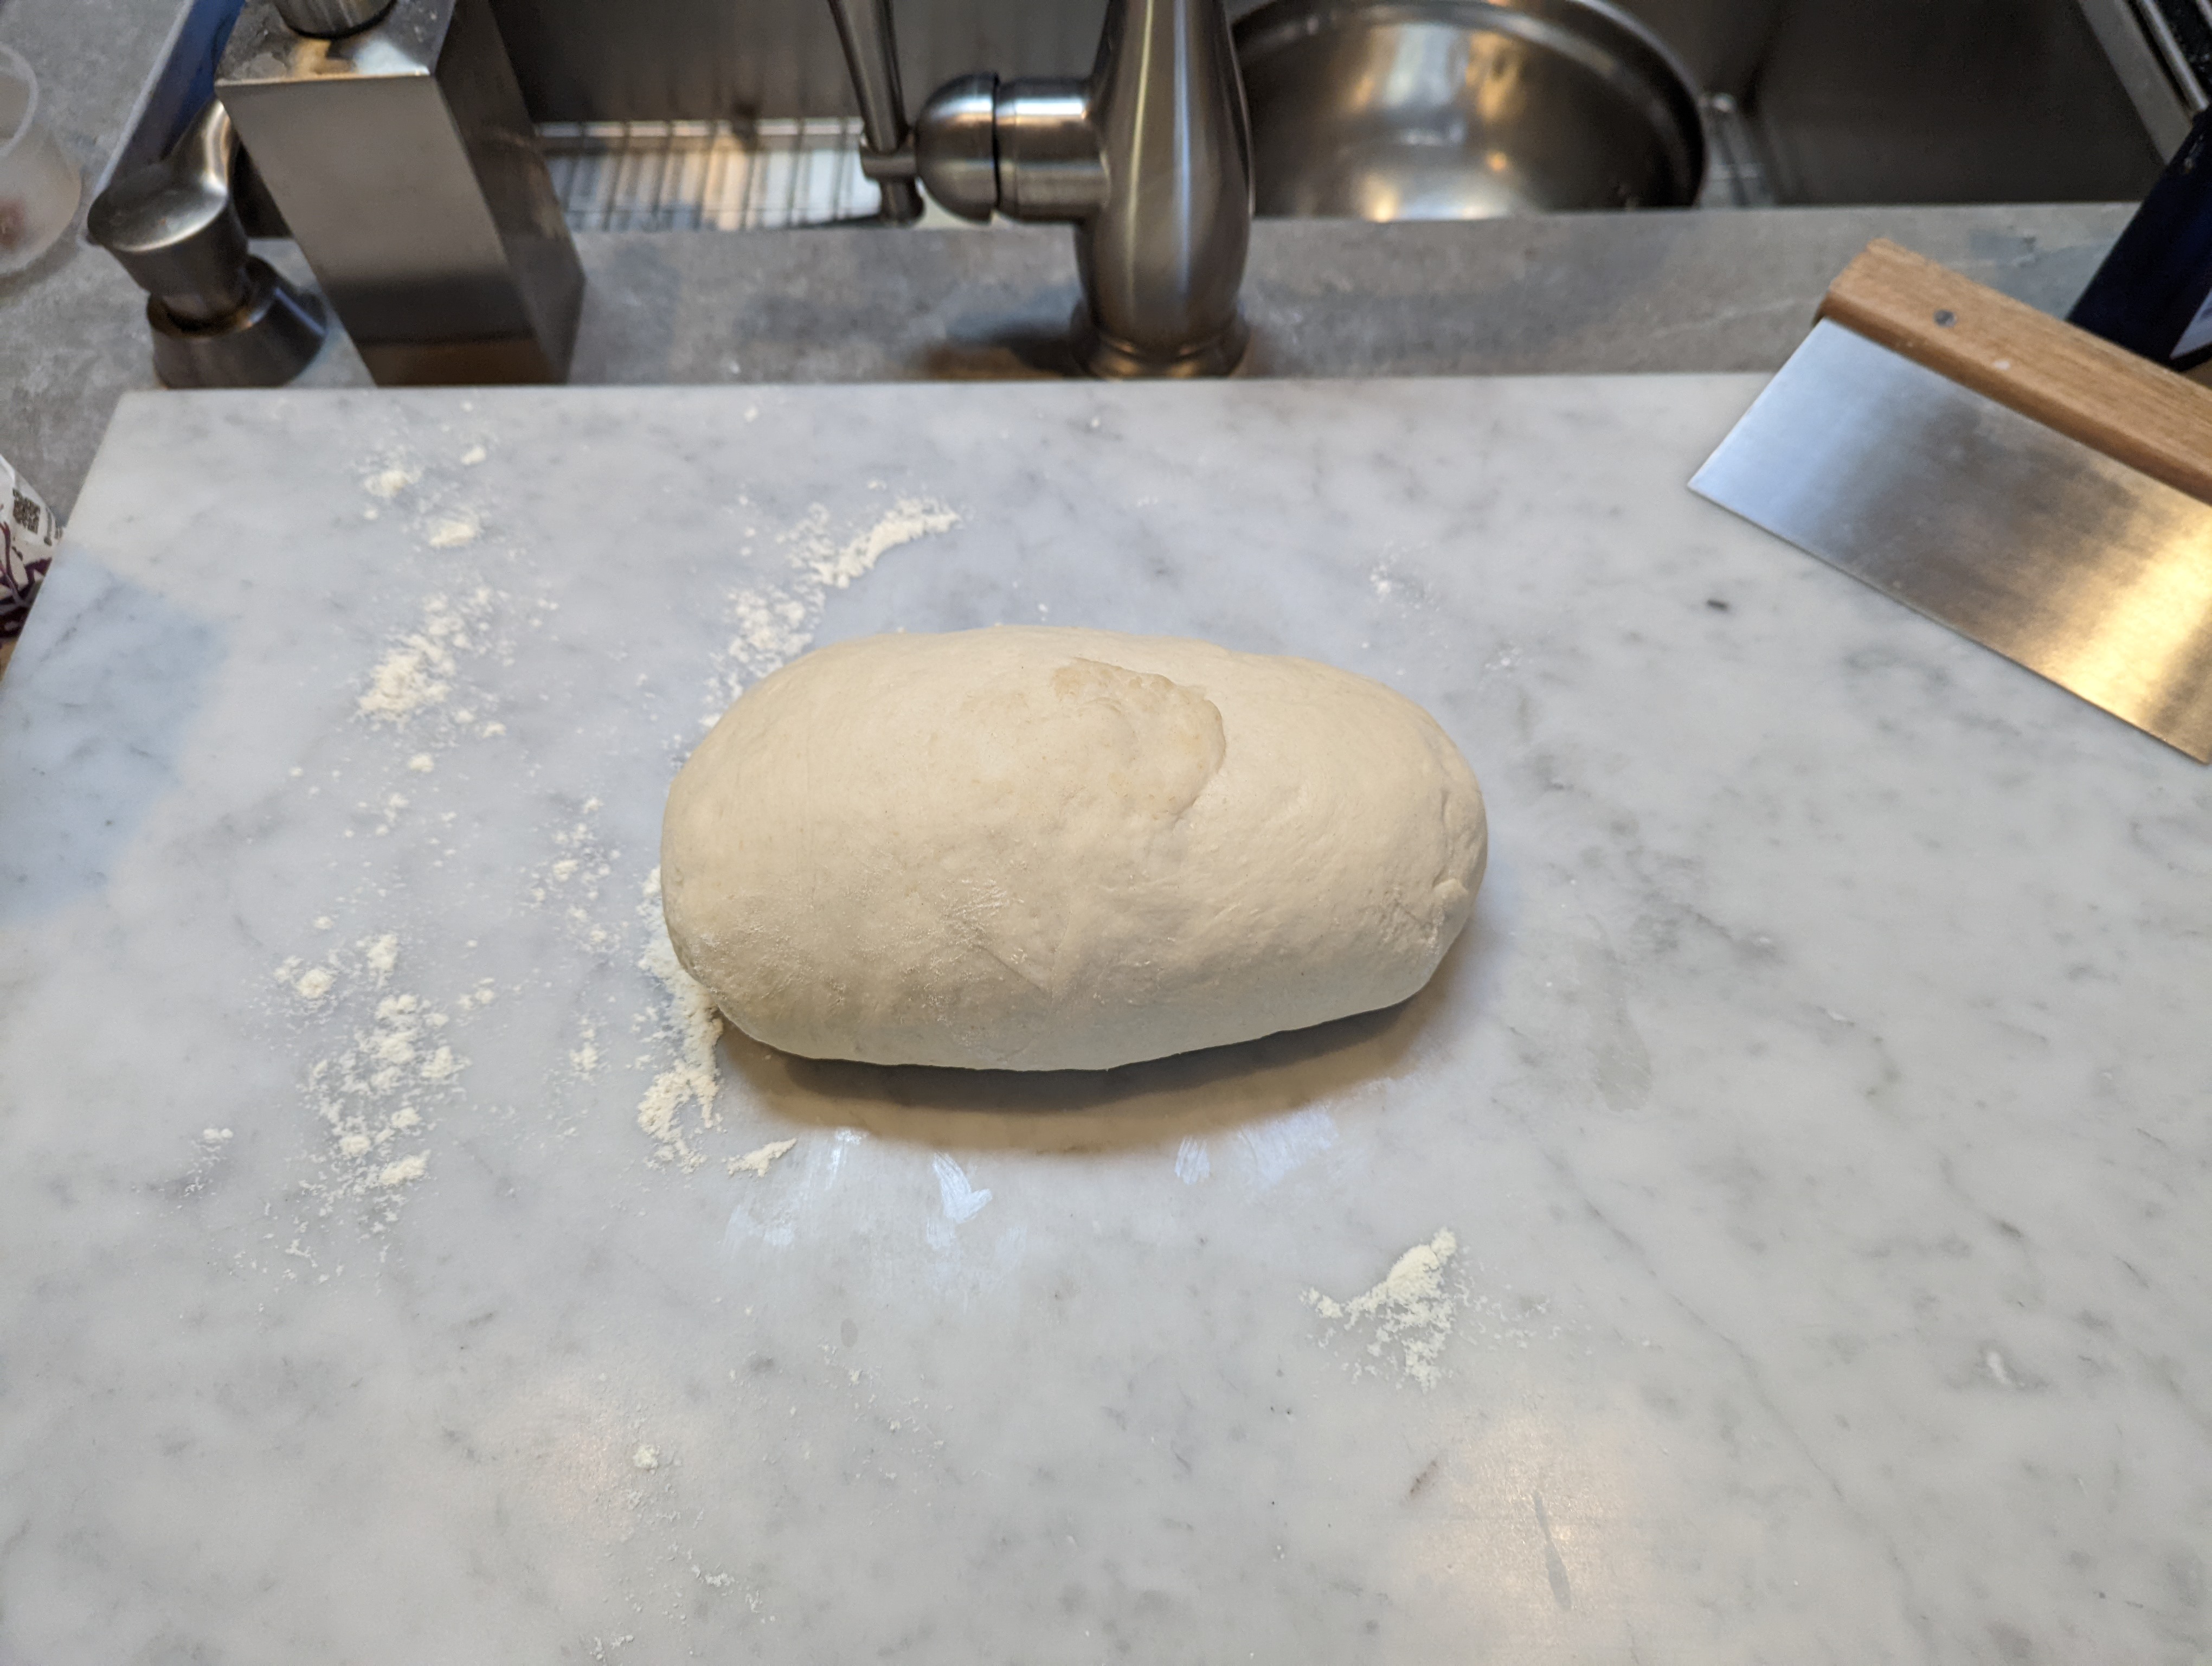
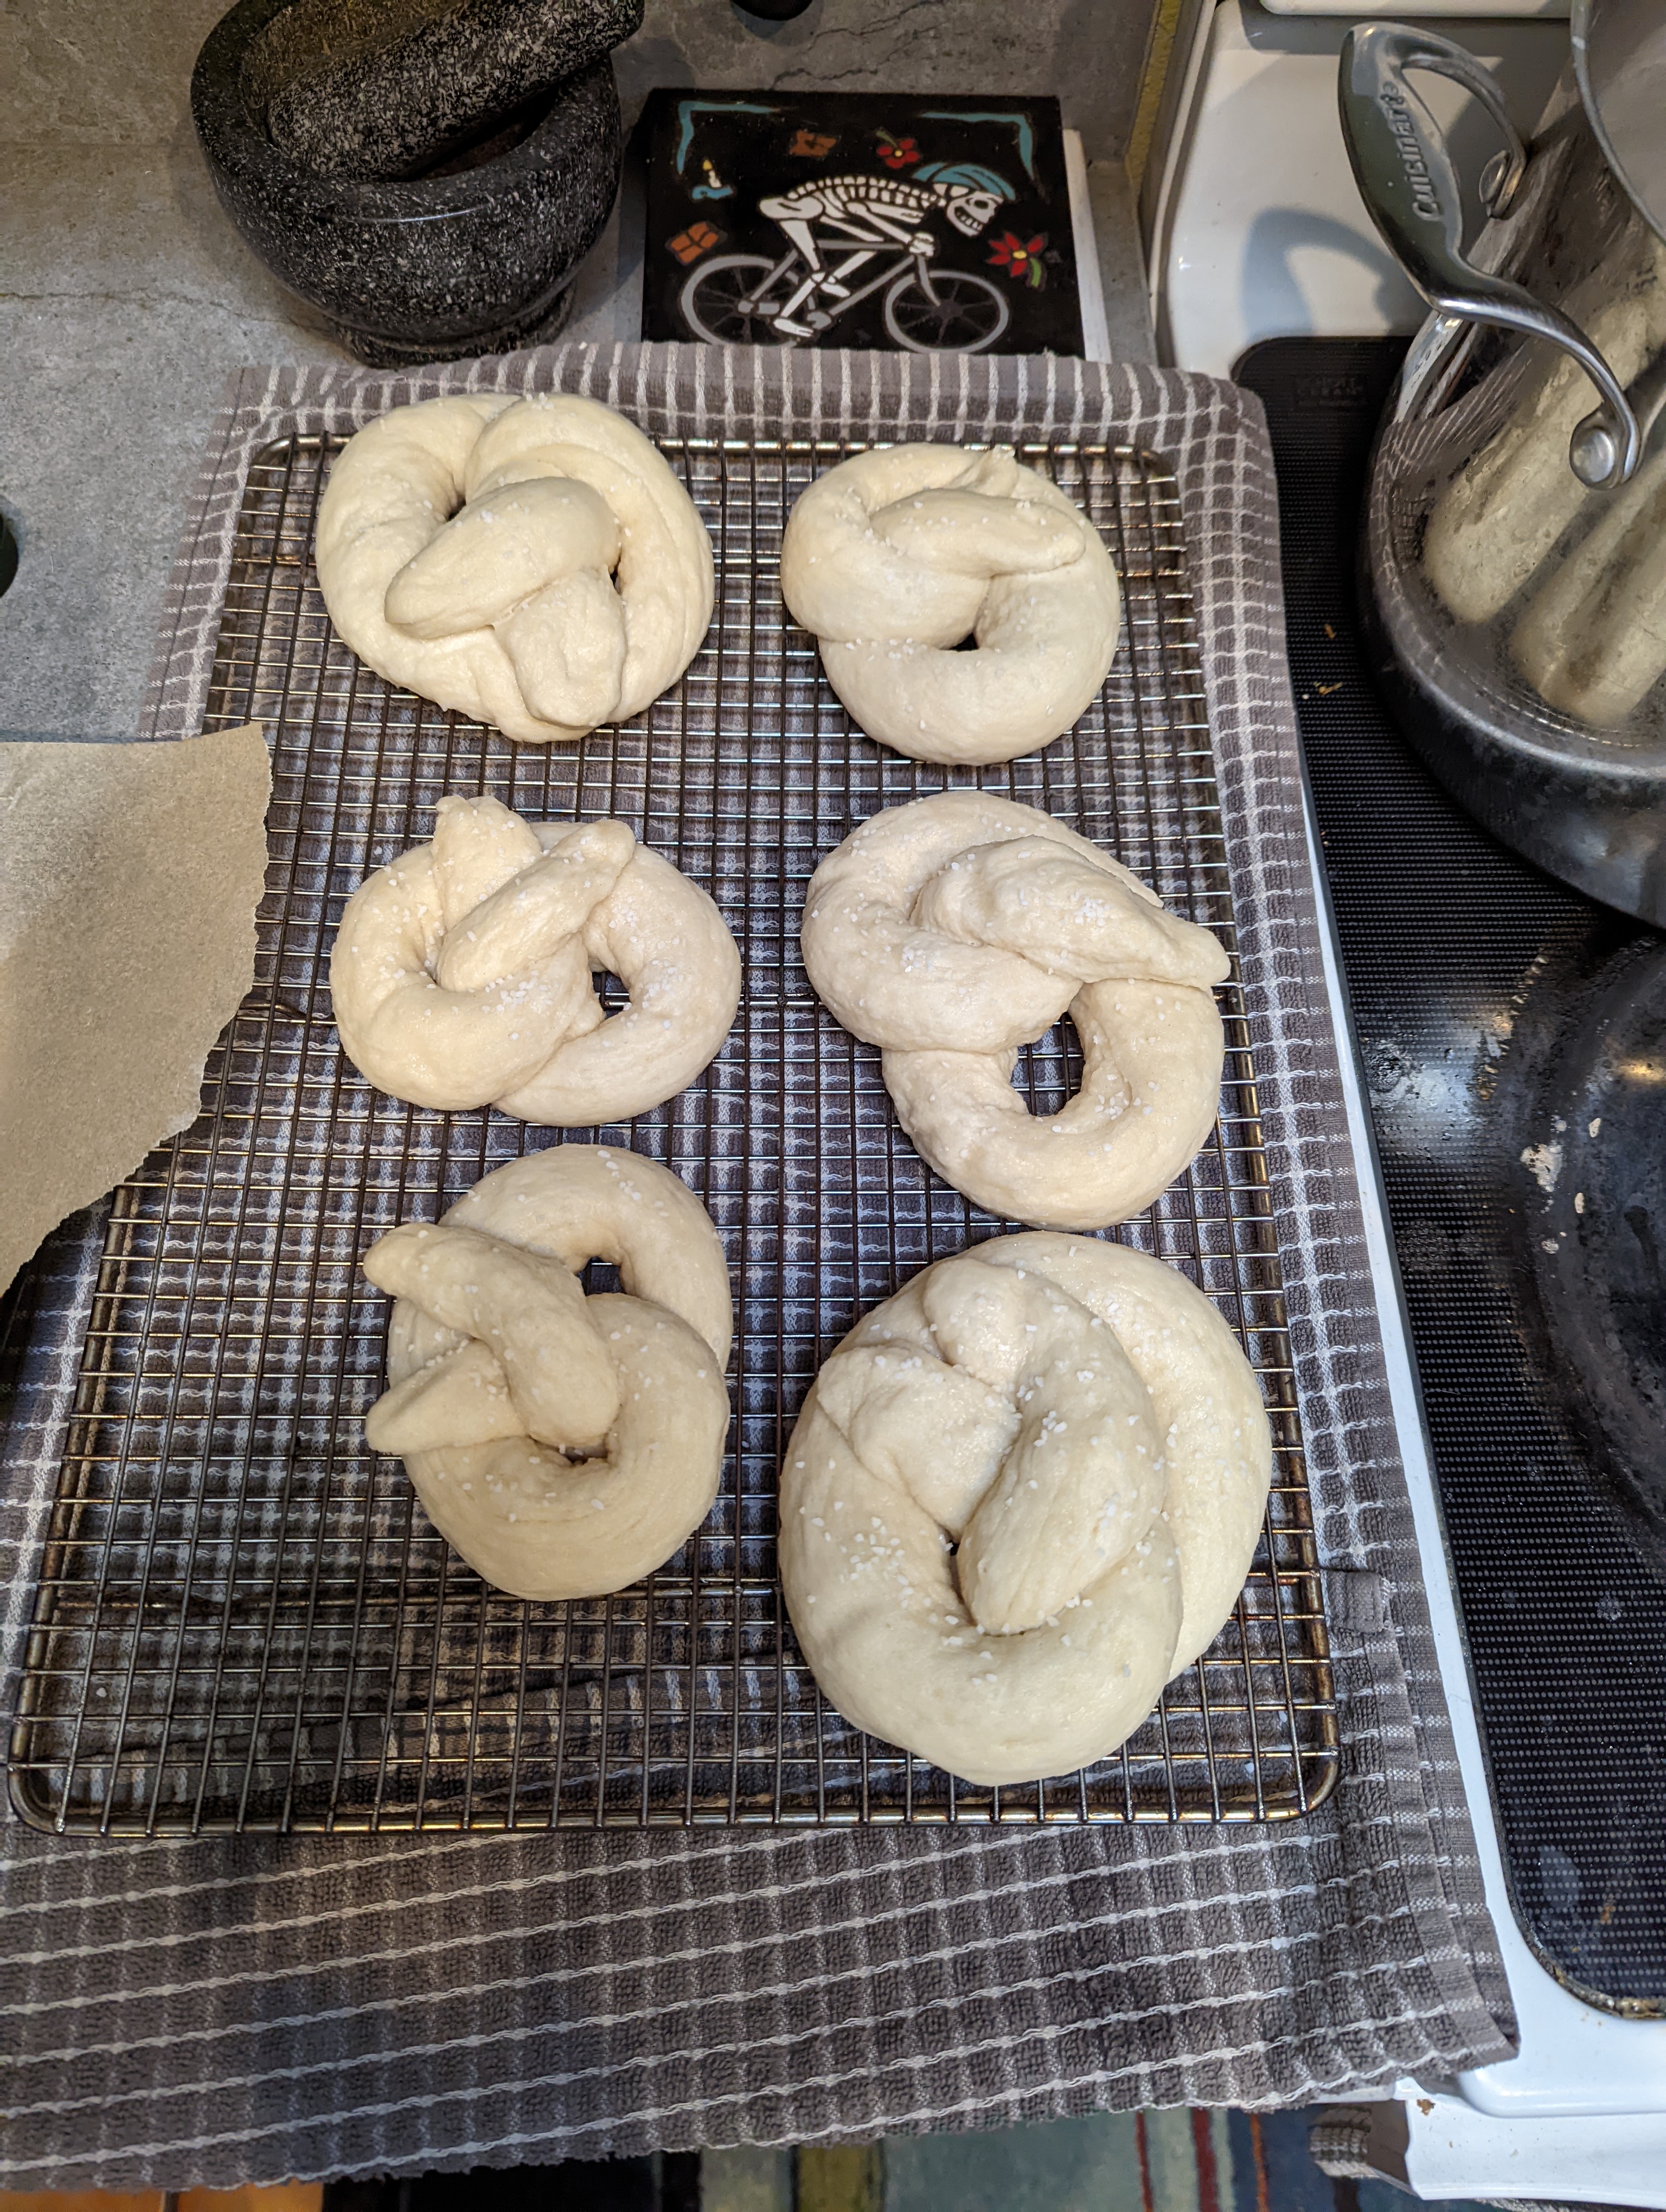
After the dough has doubled in size, transfer it to a floured work surface and knead for about 30 seconds and then shape it into a rectangle. Divide the dough into 6 equal pieces. Roll each of those dough pieces into a long rope and tie into a pretzel shape. Place the pretzels on a parchment lined baking sheet.
Cover the pretzels with a towel and let them proof for about 20 minutes.
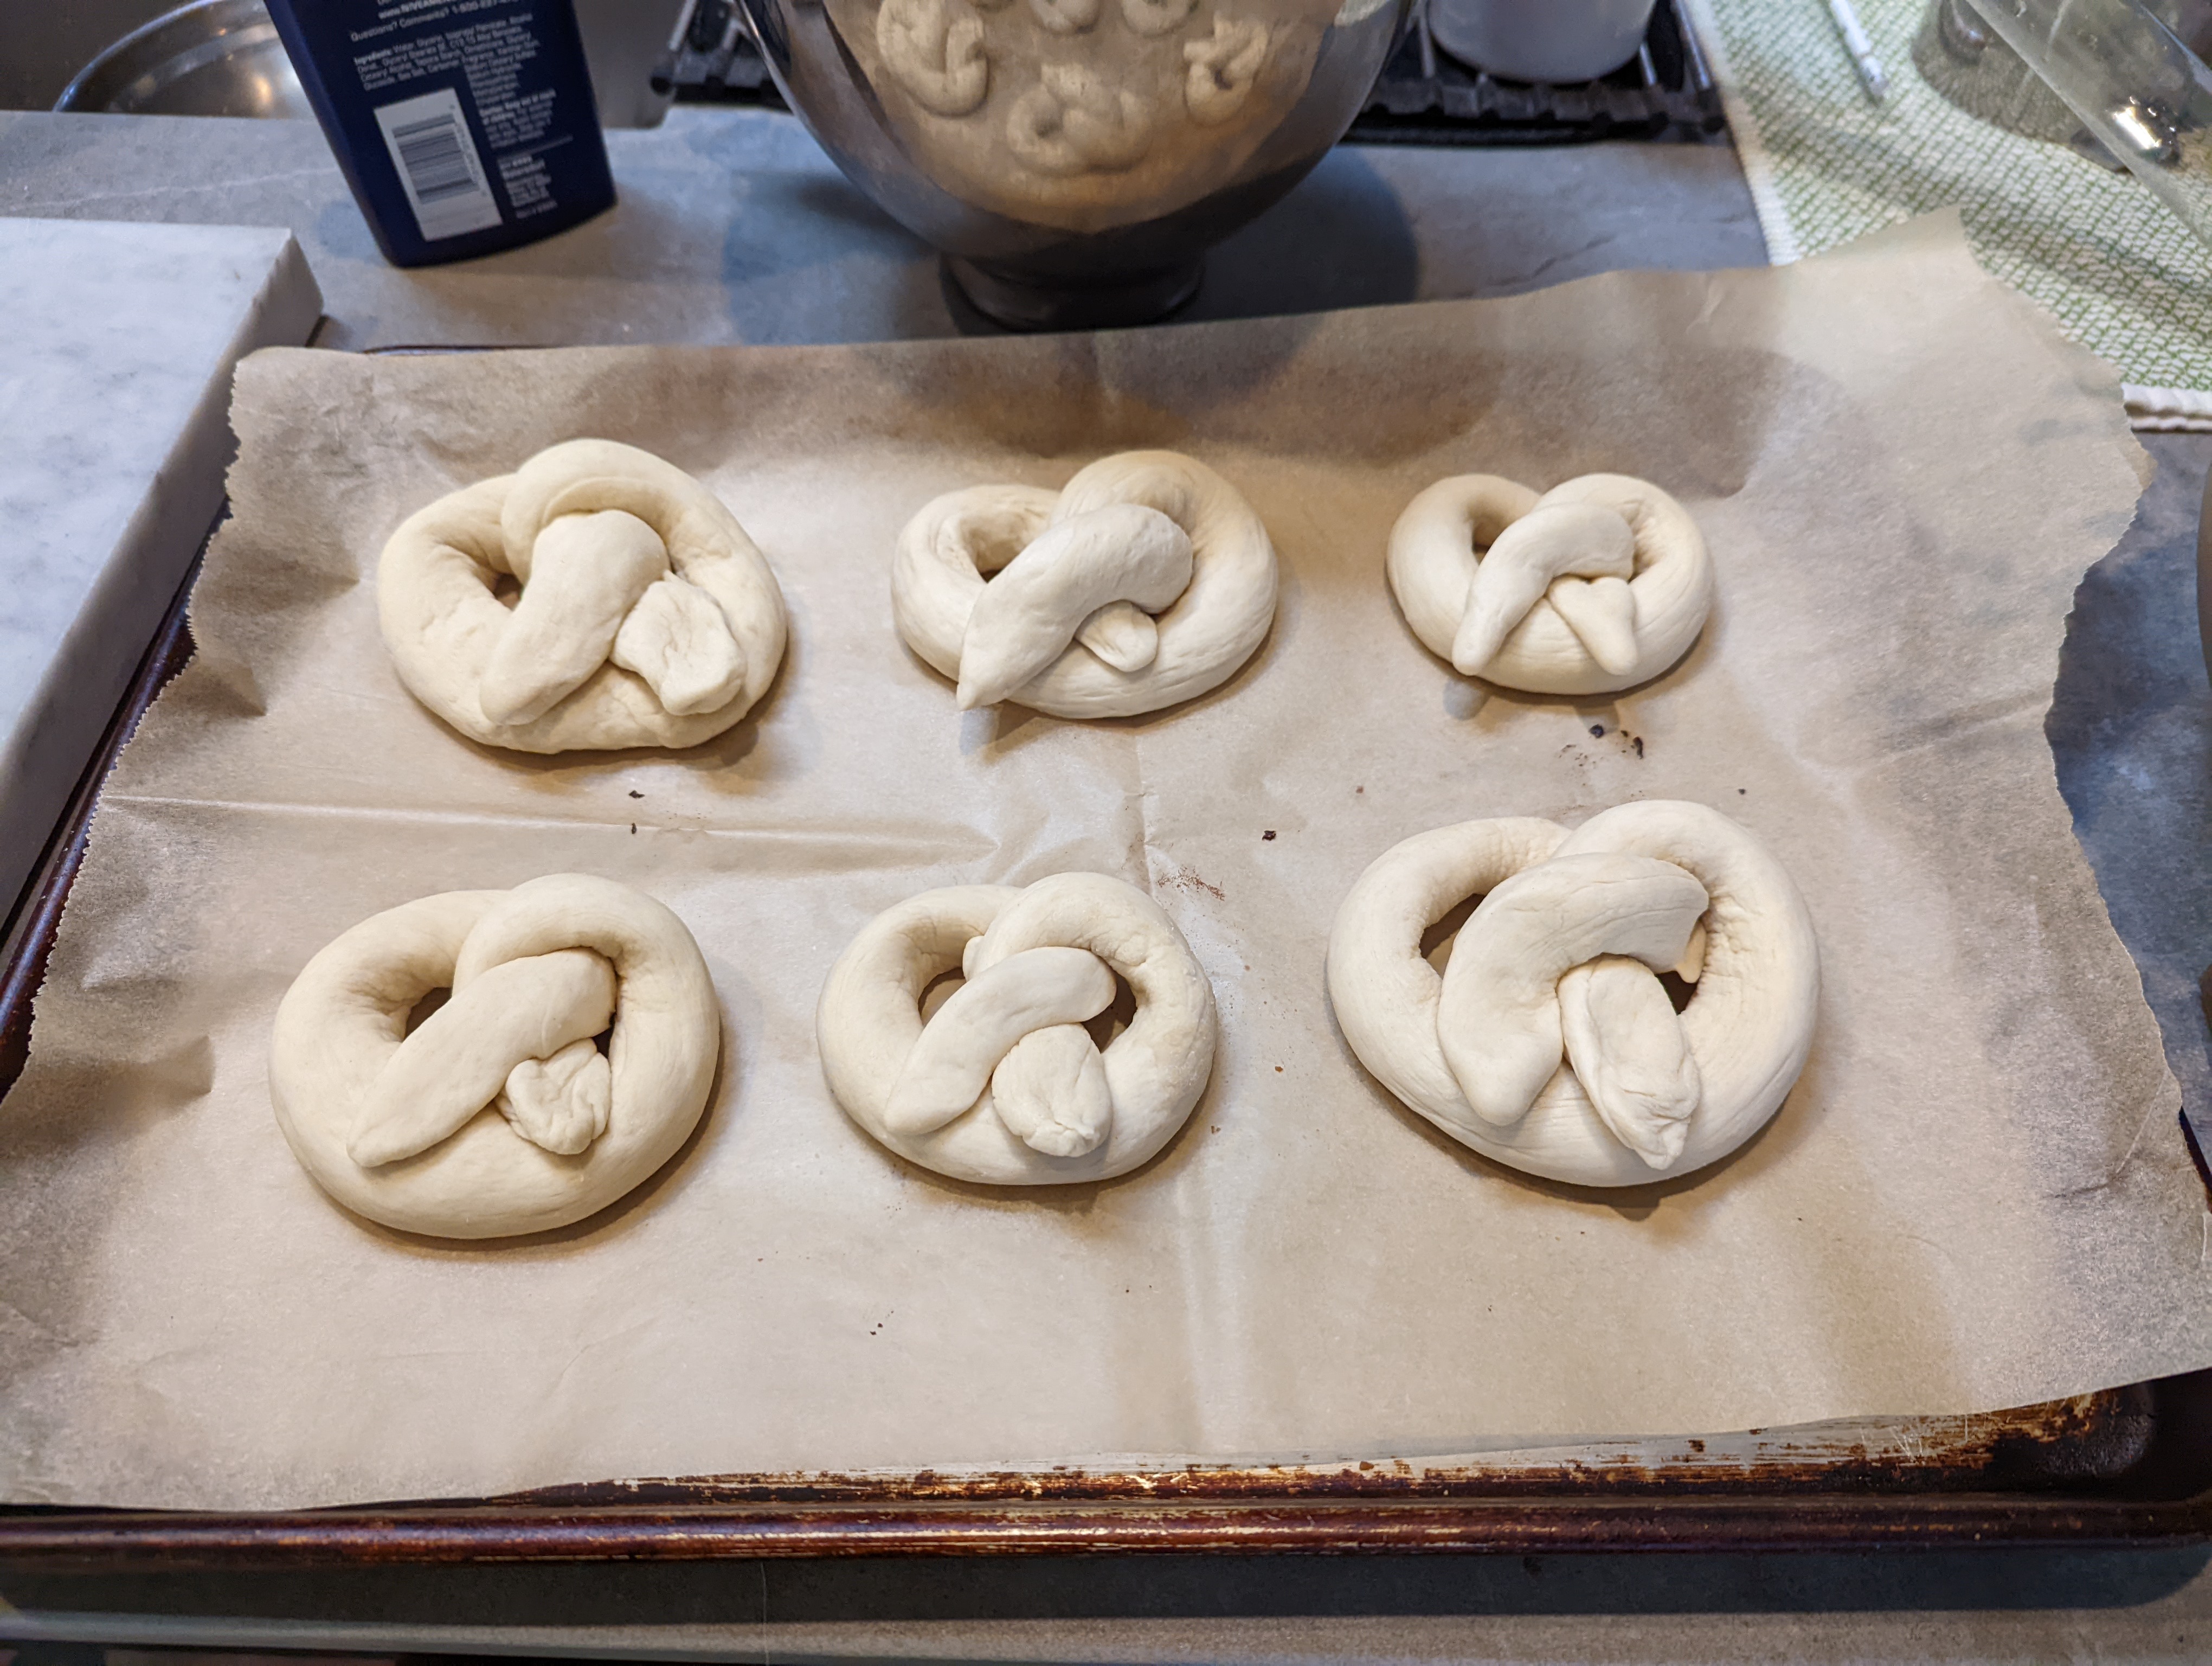

Regular pretzels shaping and proofing

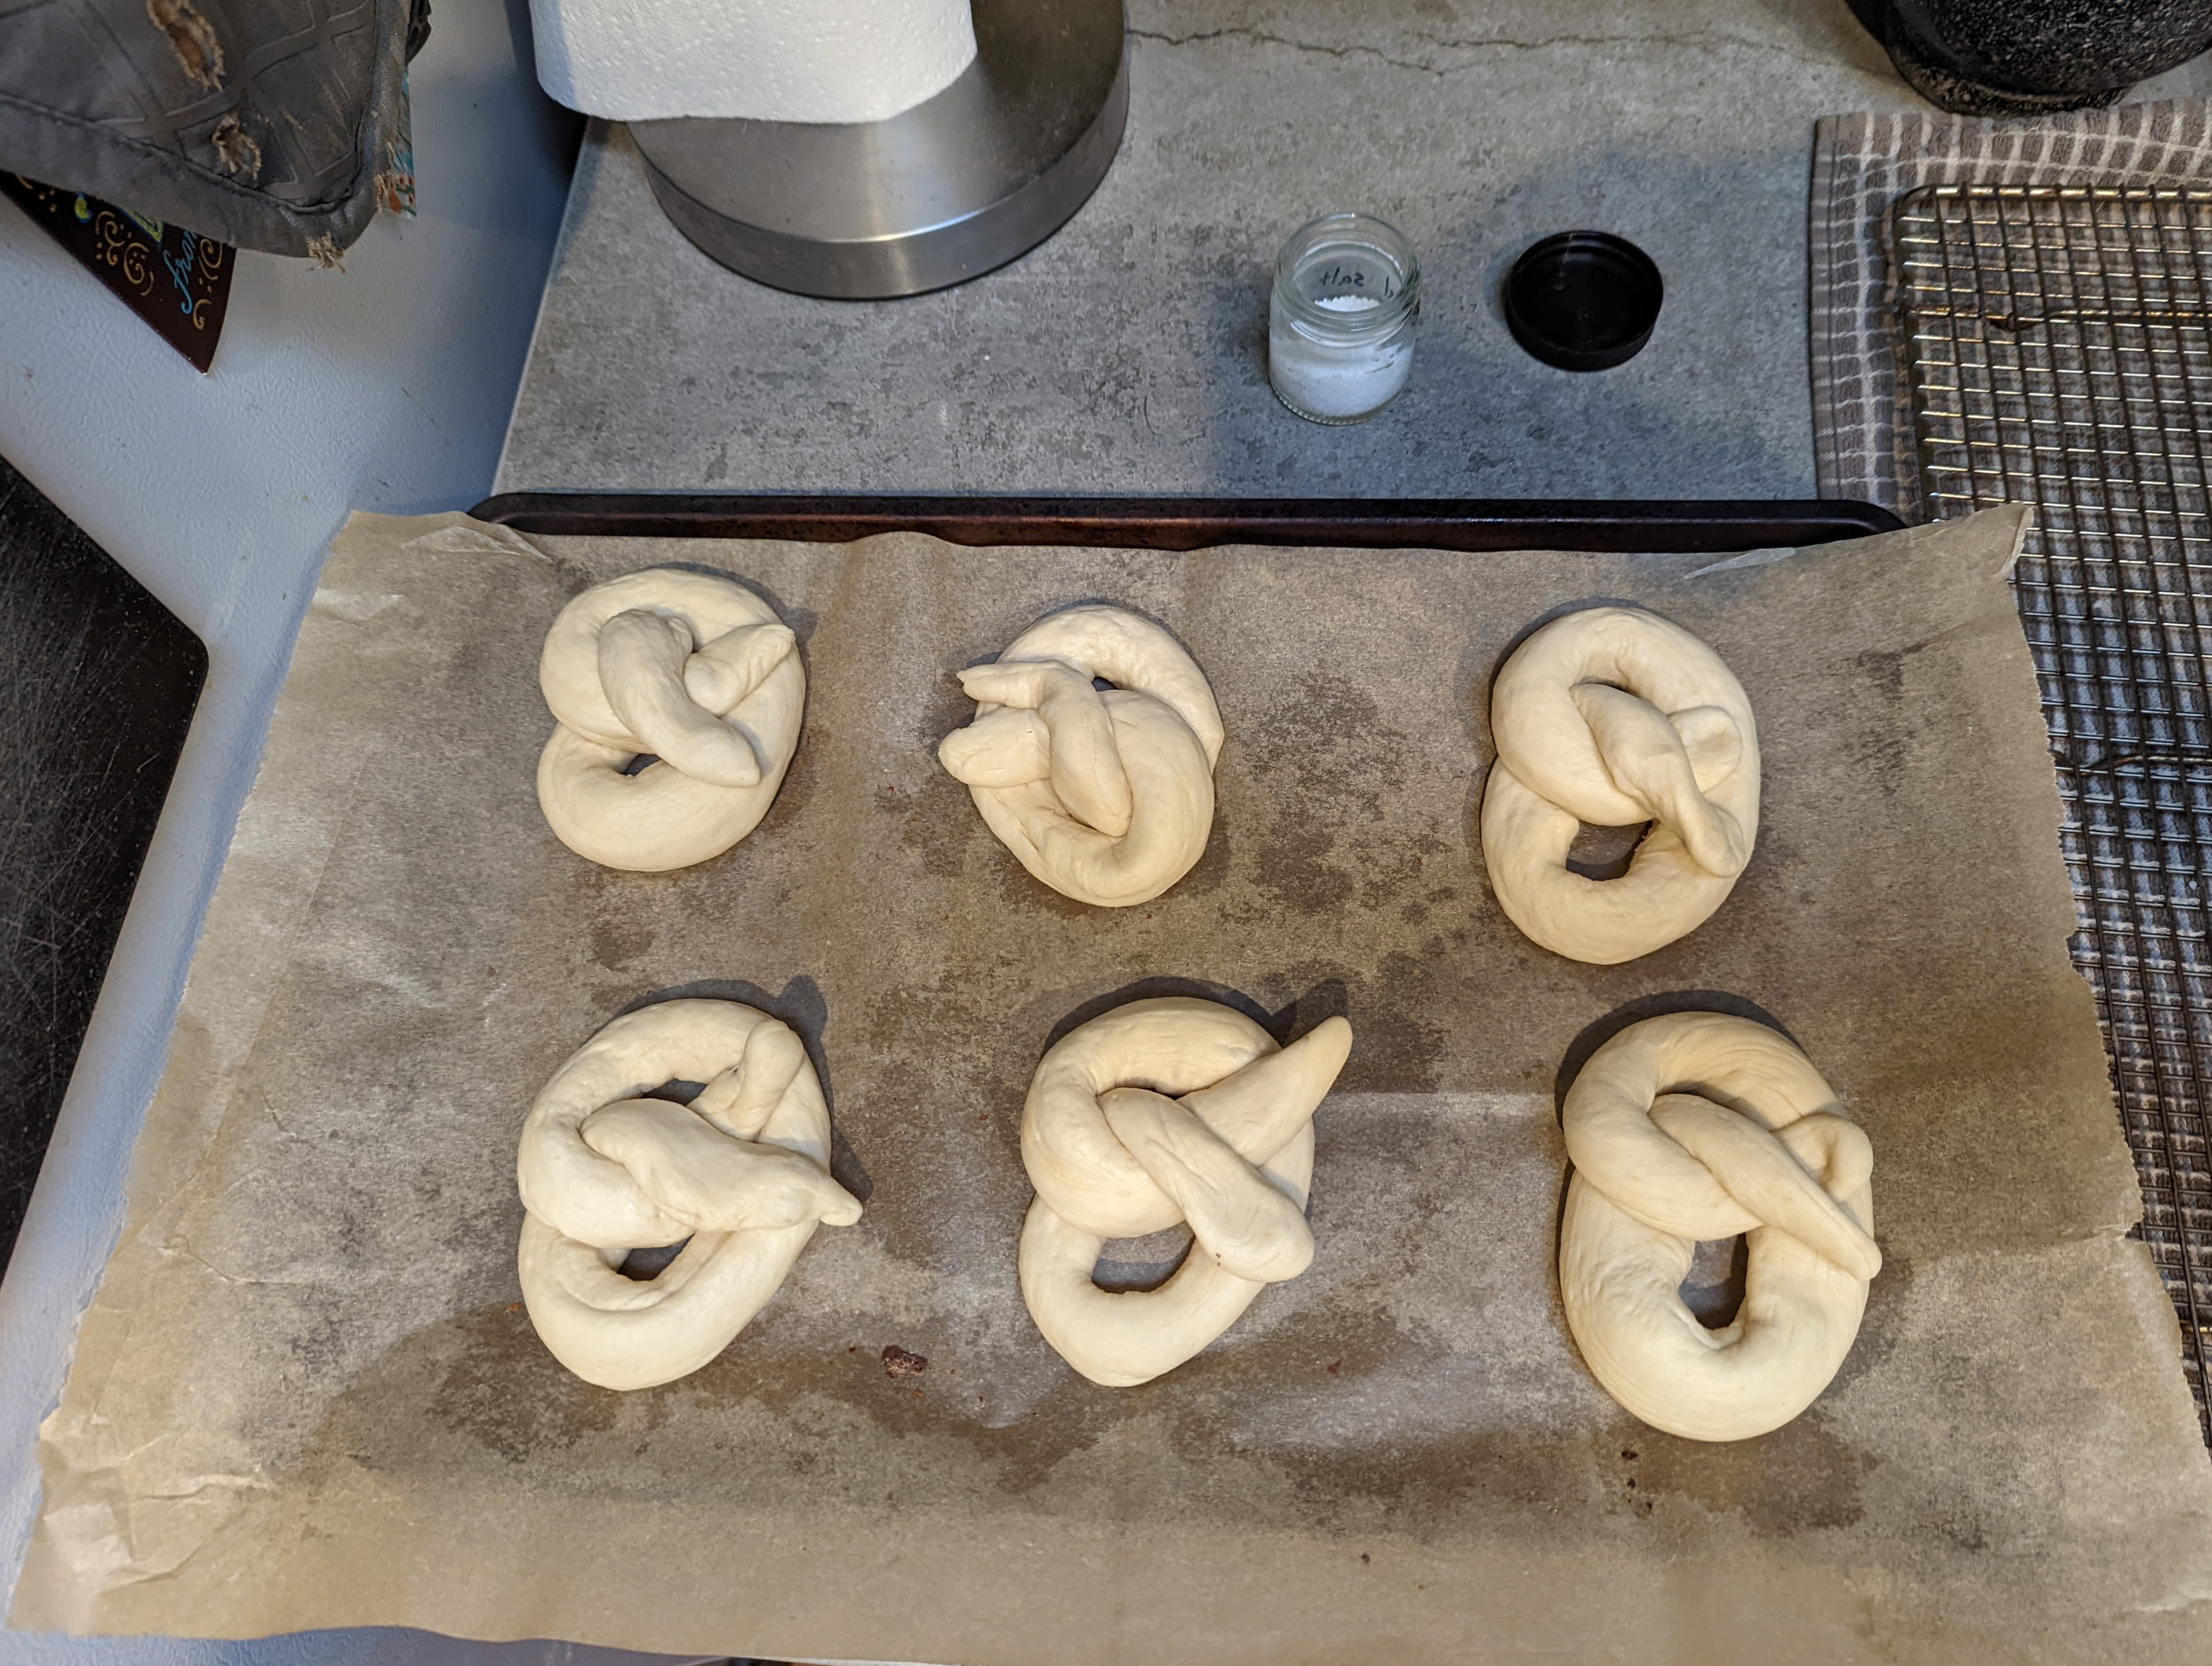
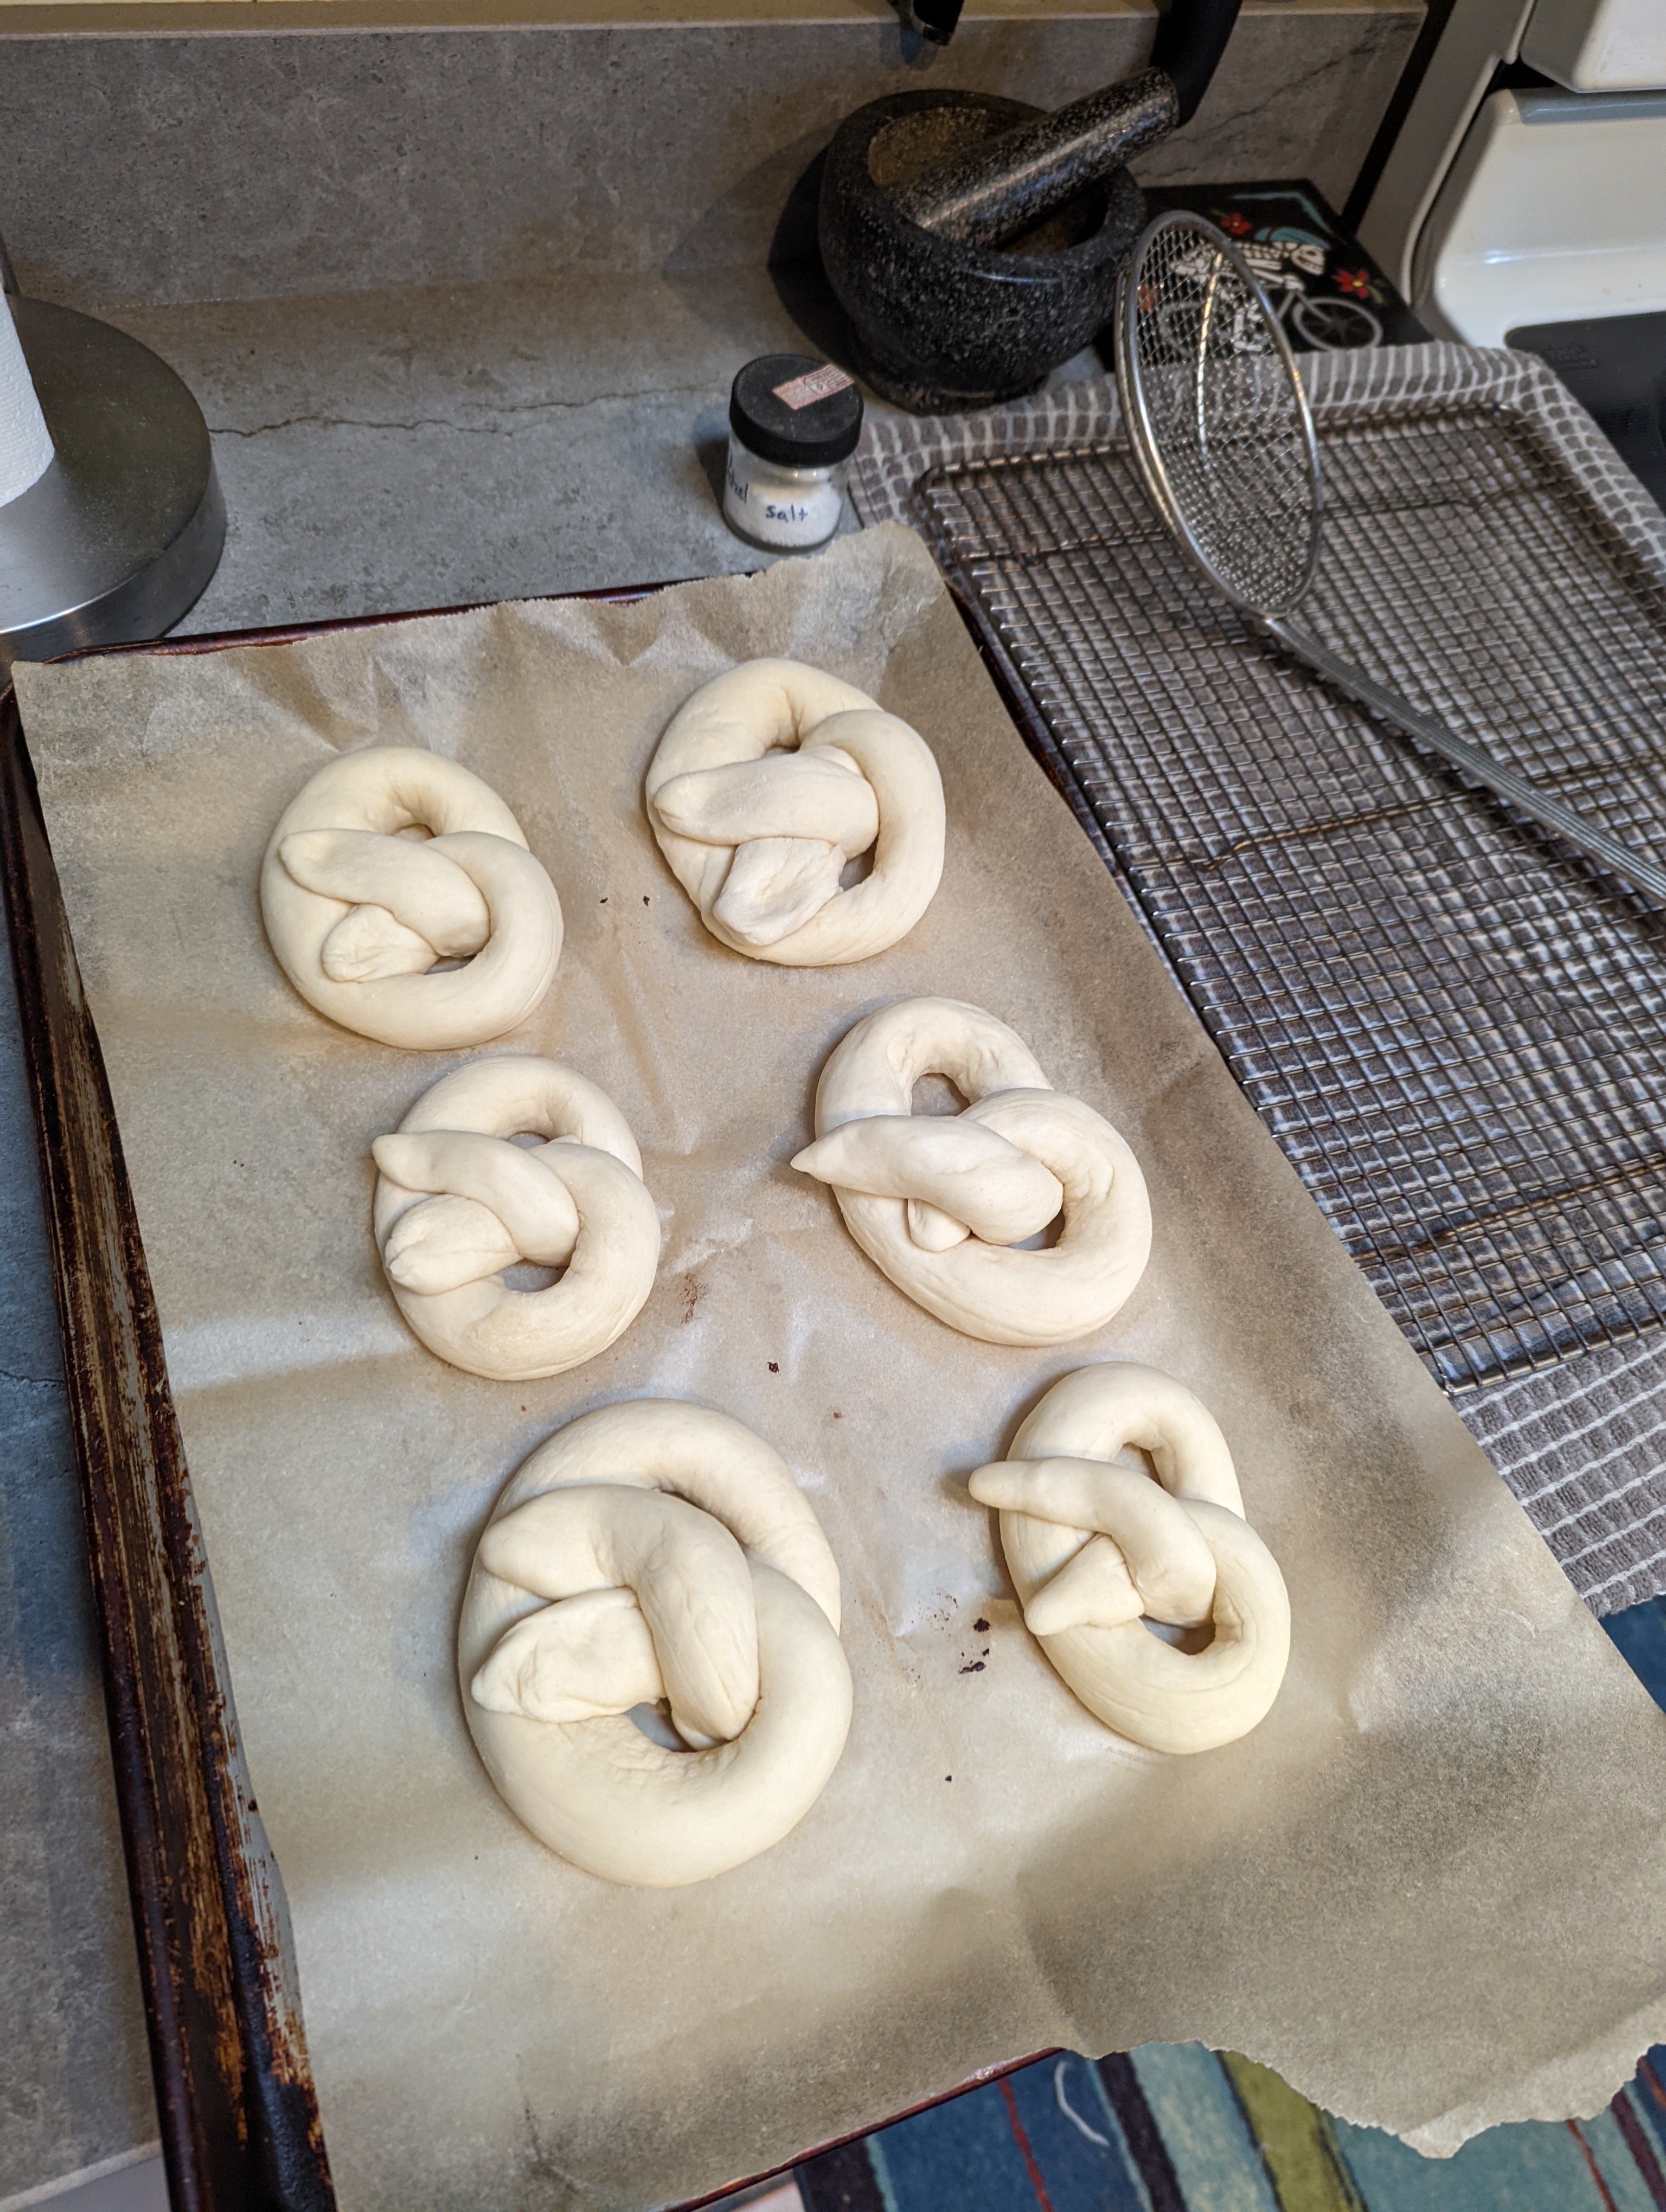
Diastatic Malted Barley Flour pretzels shaped and proofed.
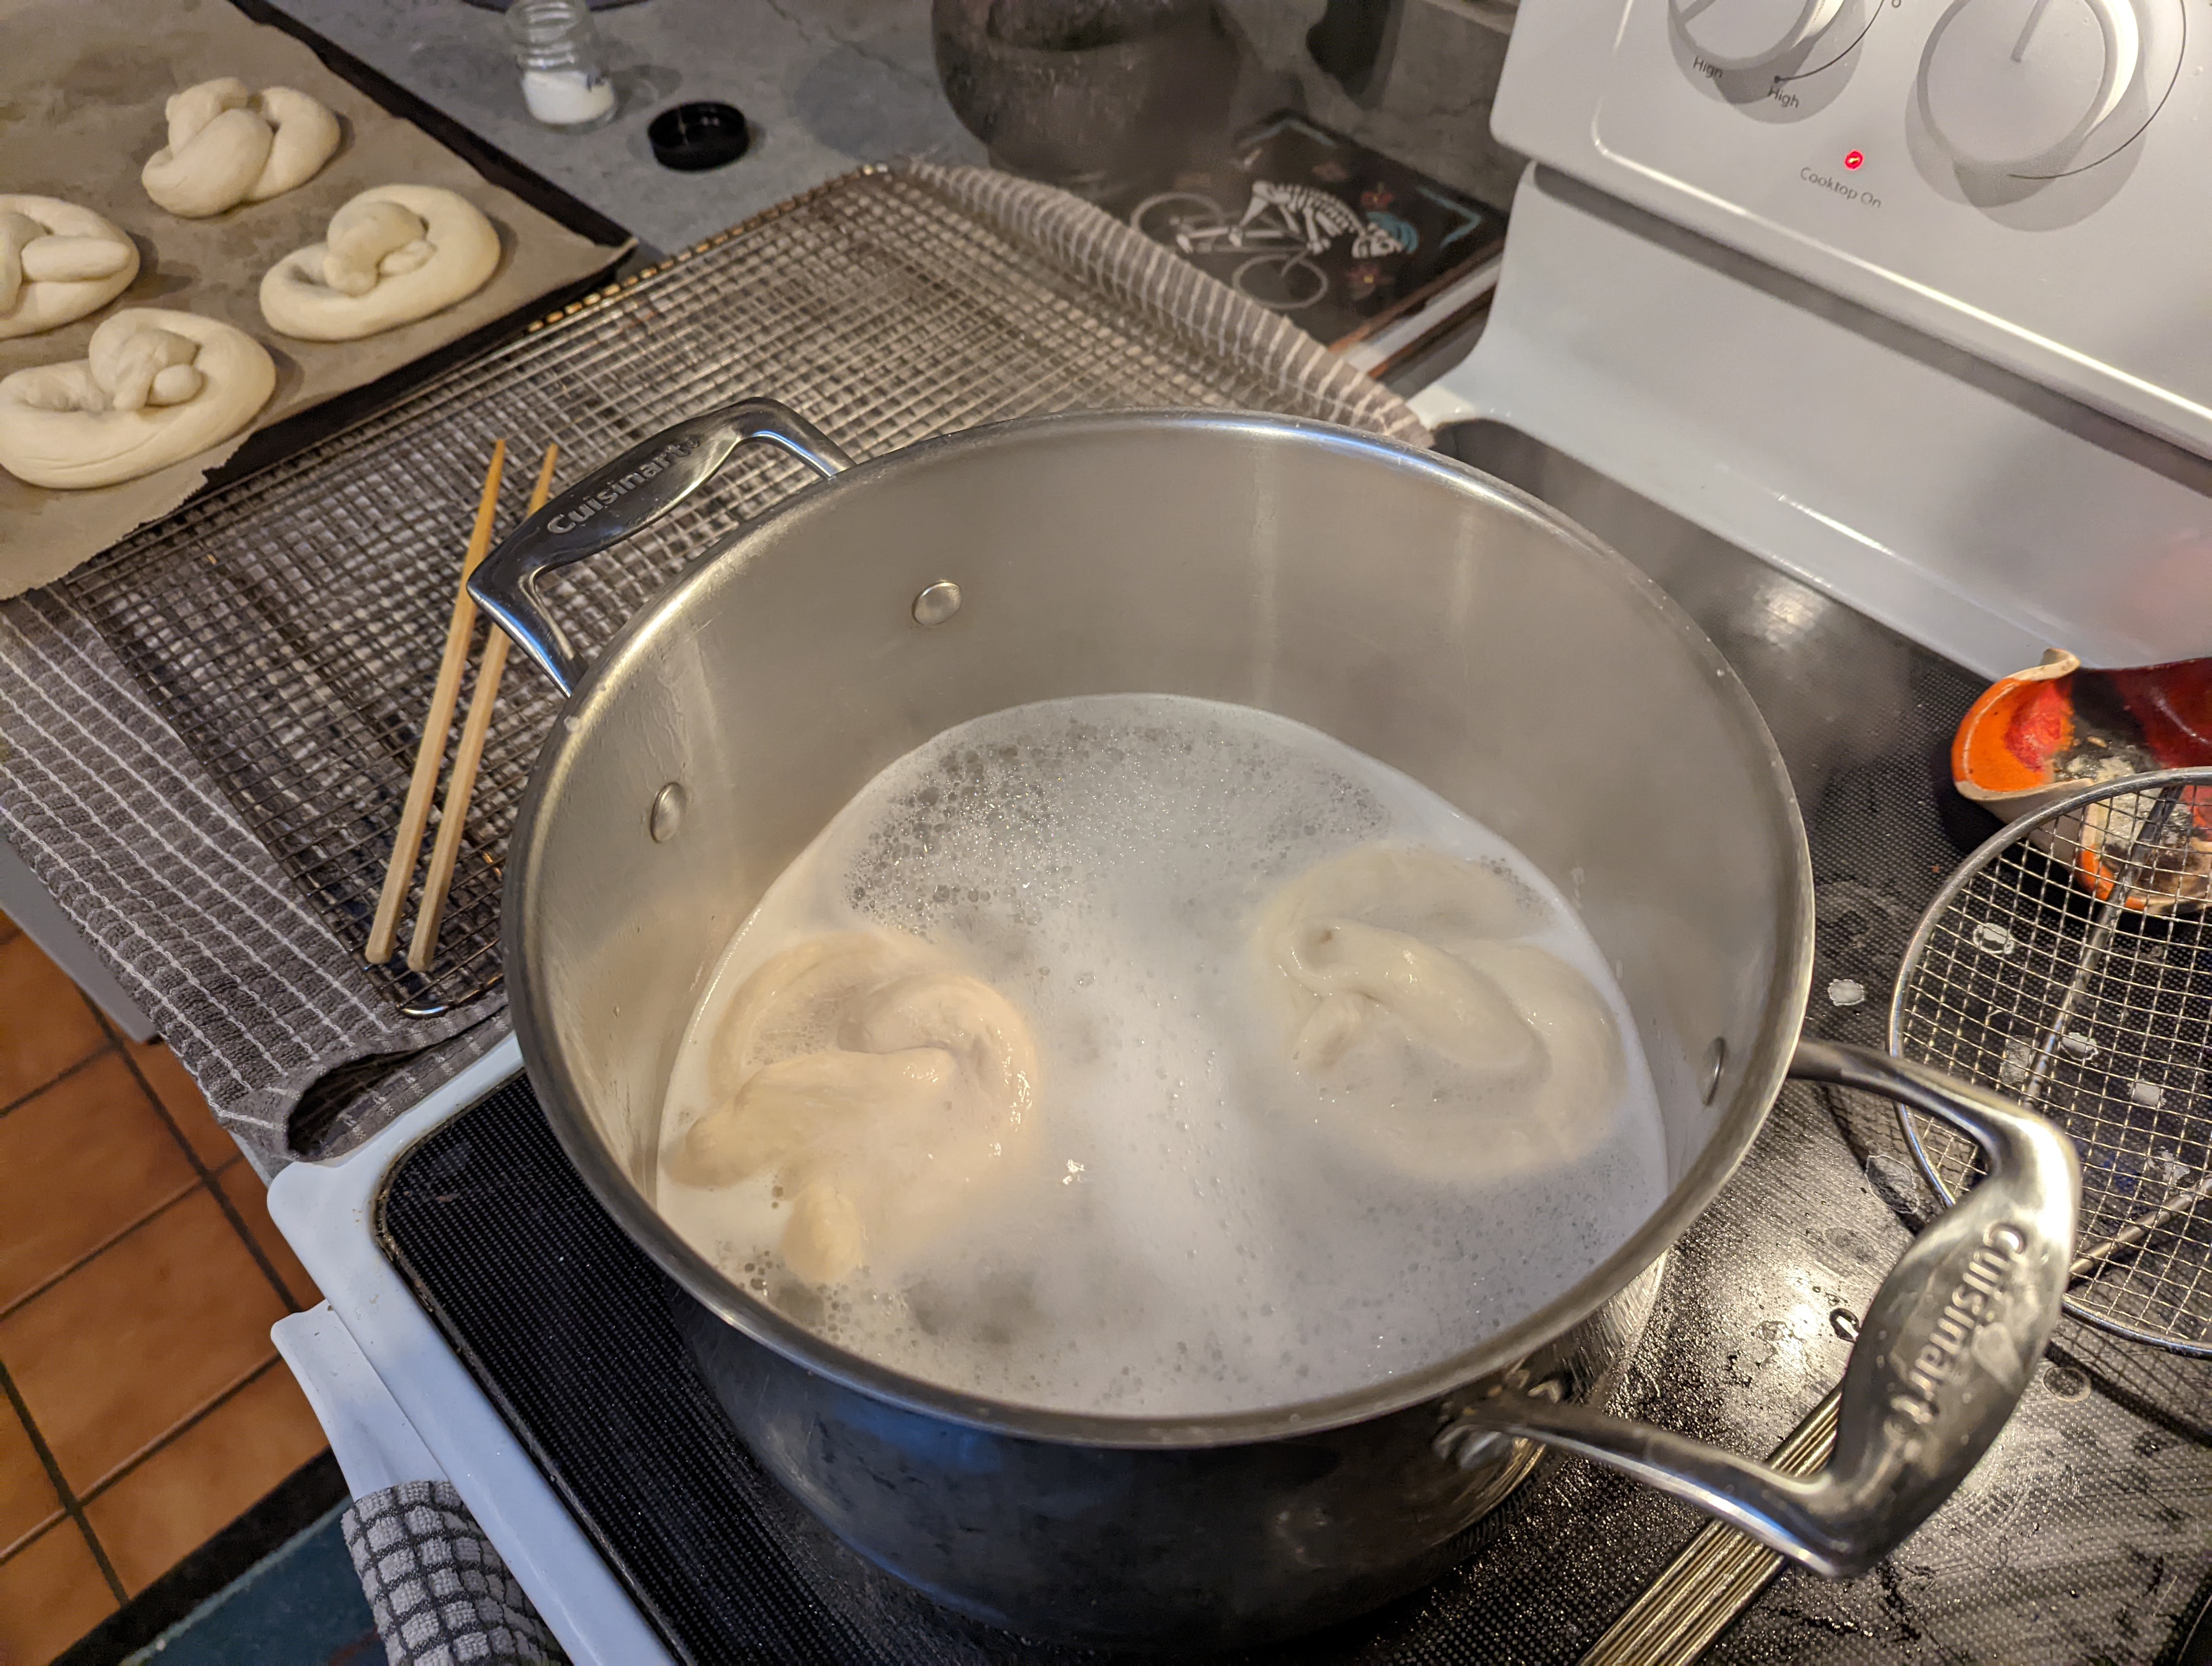
3. Boiling and salting:
While the dough balls are proofing, start preheating the oven to 425’F.
Get a large pot and add 8 1/2 cups of water and 6 Tbsp of baking soda. Slowly bring the water to a boil, being careful it doesn’t boil over. Have a wire rack with a towel under it ready. After you take the dough balls out of the water bath you’ll want to let them dry on the rack.
When the pretzels have proofed for 20 minutes, add them two at a time to the water/baking soda mixture. Let them sit in the boiling water for 30 seconds on each side. Transfer the boiled pretzels to the wire rack and give them a quick score with a lame or sharp knife (optional – I didn’t score them this time). This is when you can add pretzel salt, sesame seeds or any other bun topping.
Repeat the boiling process with the remaining pretzels and score them on the rack as well.
Once the dough balls are dry, transfer them back to the parchment lined baking sheet, nestling them about 1/2 inch from each other.
4. Bake the buns:
Bake the buns in the middle rack of your preheated 425’F oven for 16-18 minutes, or until the pretzels are the desired color.
When the pretzels are ready, take them out of the oven and let them cool on a wire rack for at least 20 minutes before cutting into them.


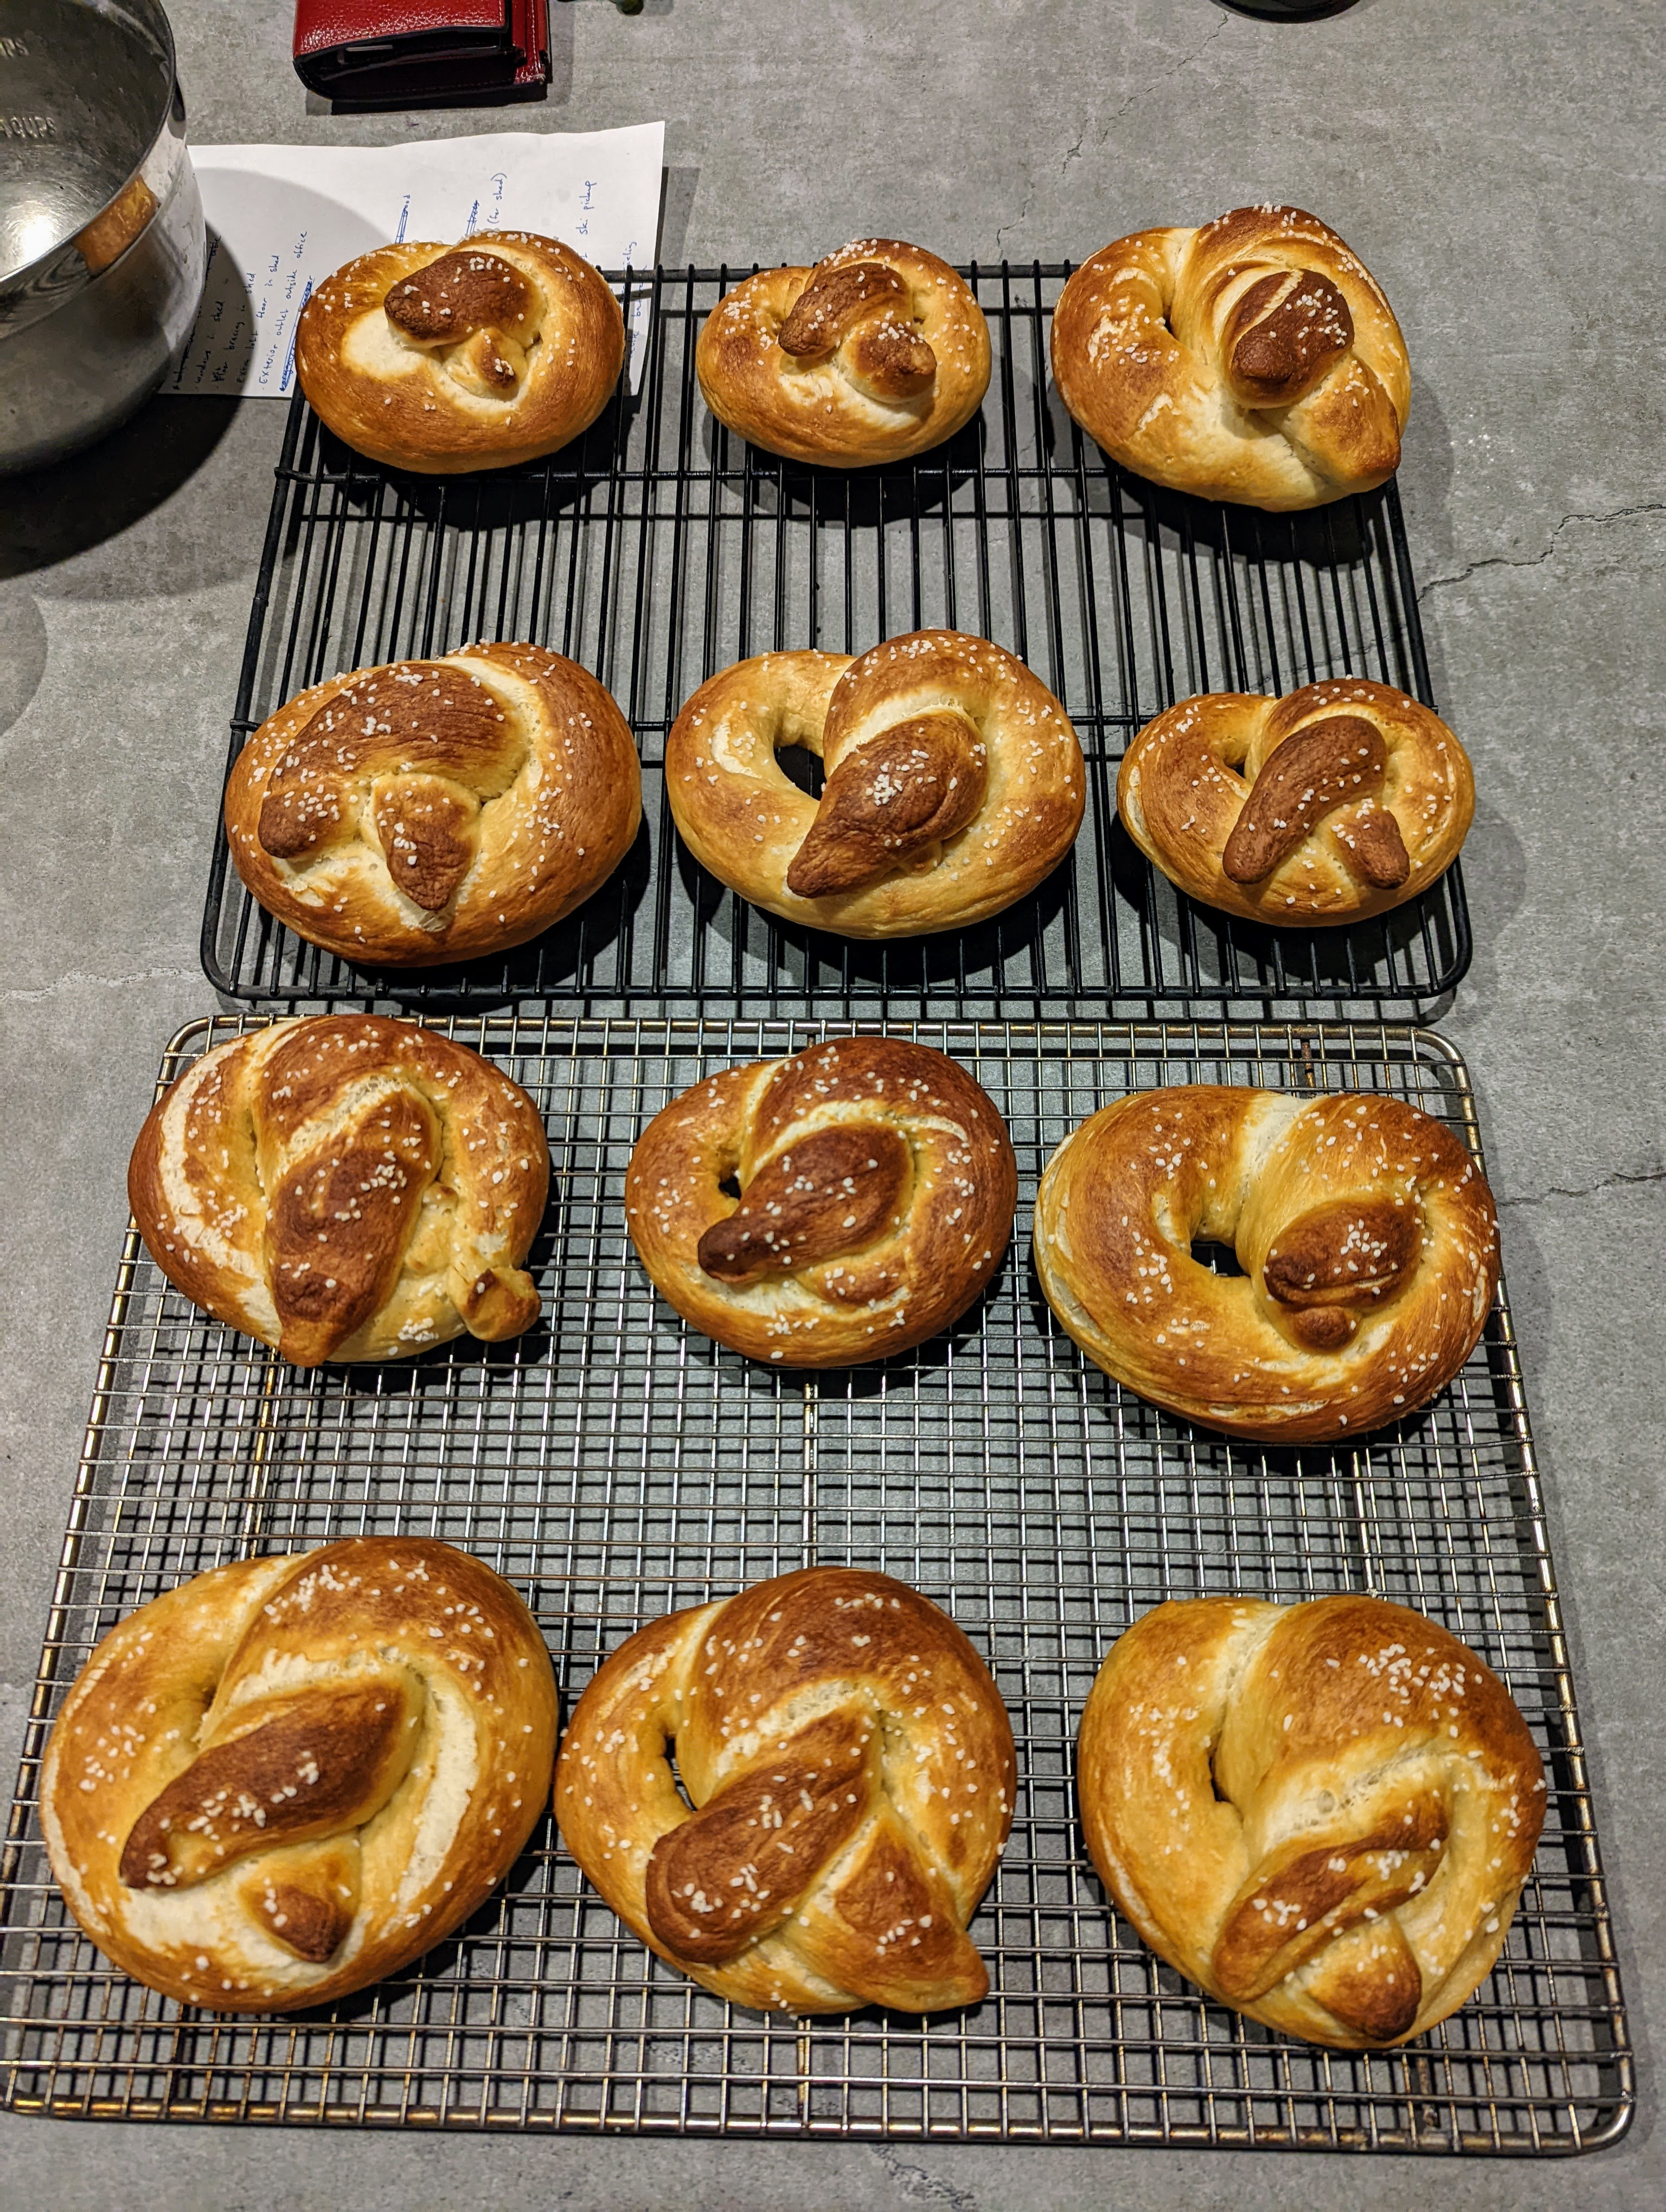
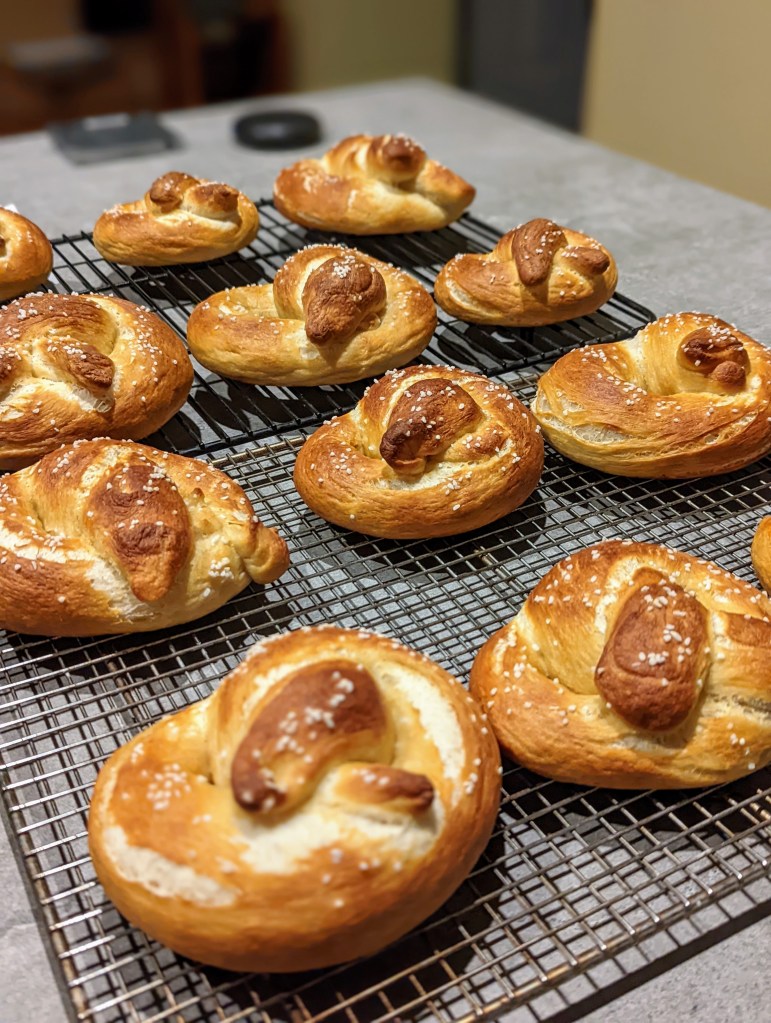
Comparing the pretzel batches
Now to the whole point of this experiment… Did the addition of Diastatic Malted Barley Flour make a difference when added to one batch of pretzels compared to a batch without the DMBF? The answer is… kinda.
Visually there isn’t any difference between the pretzels with Diastatic Malted Barley Flour added and those without. In the gallery below, the standard pretzels are on the left and the ones with Diastatic Malted Barley Flour are on the right.

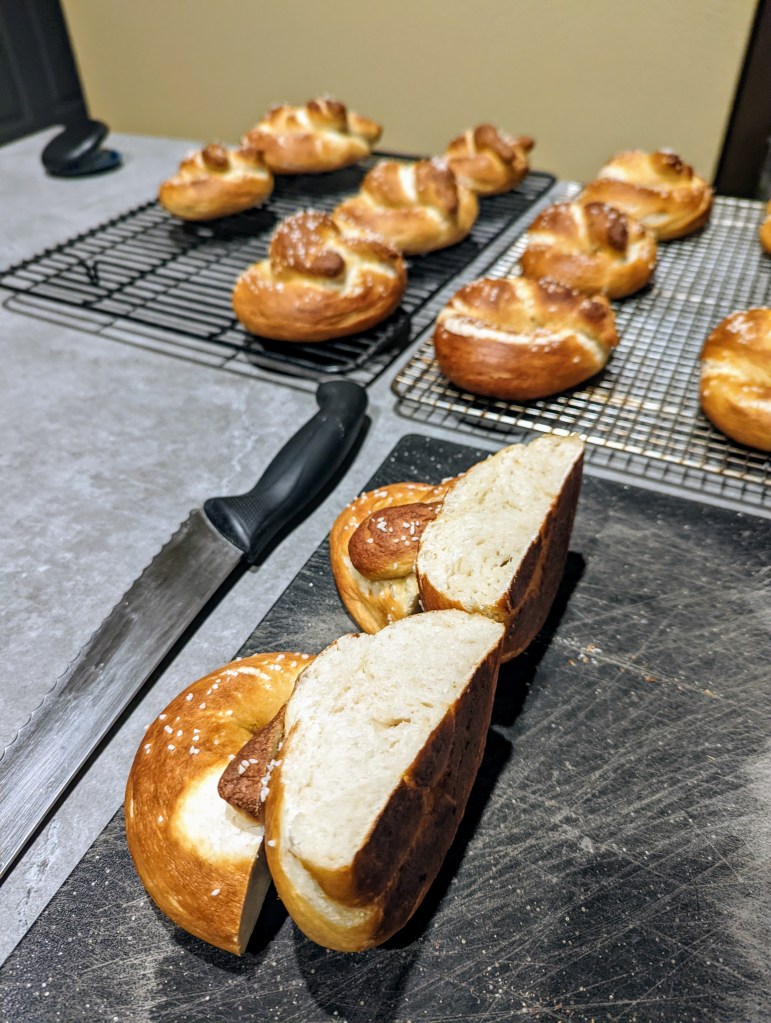
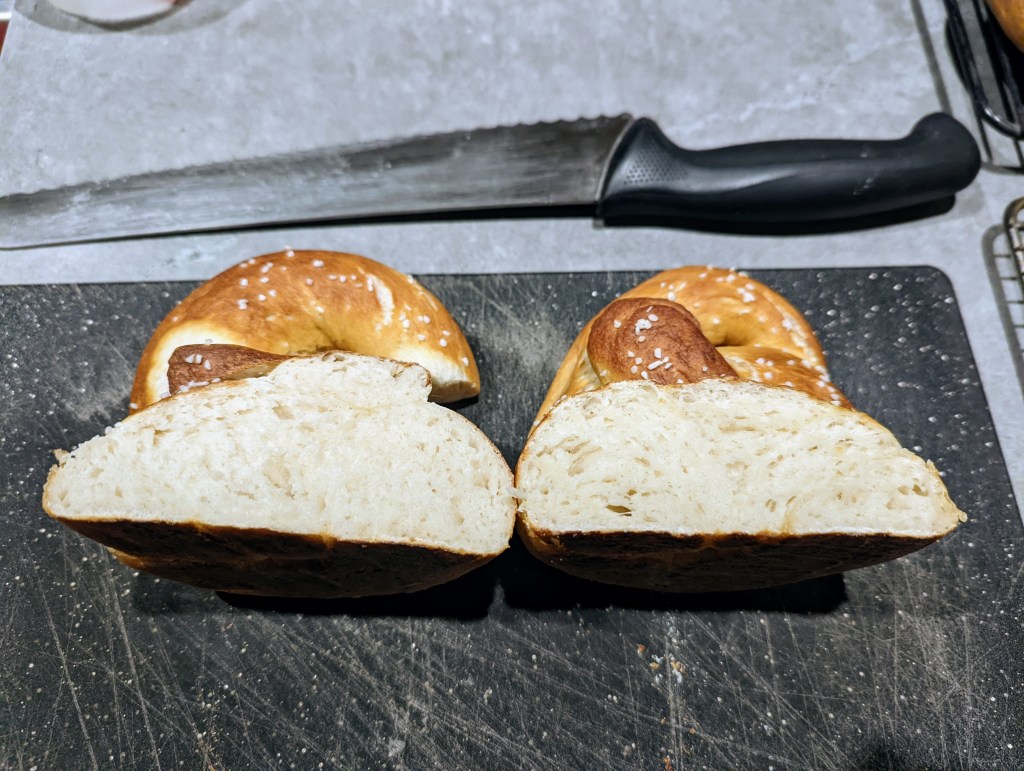
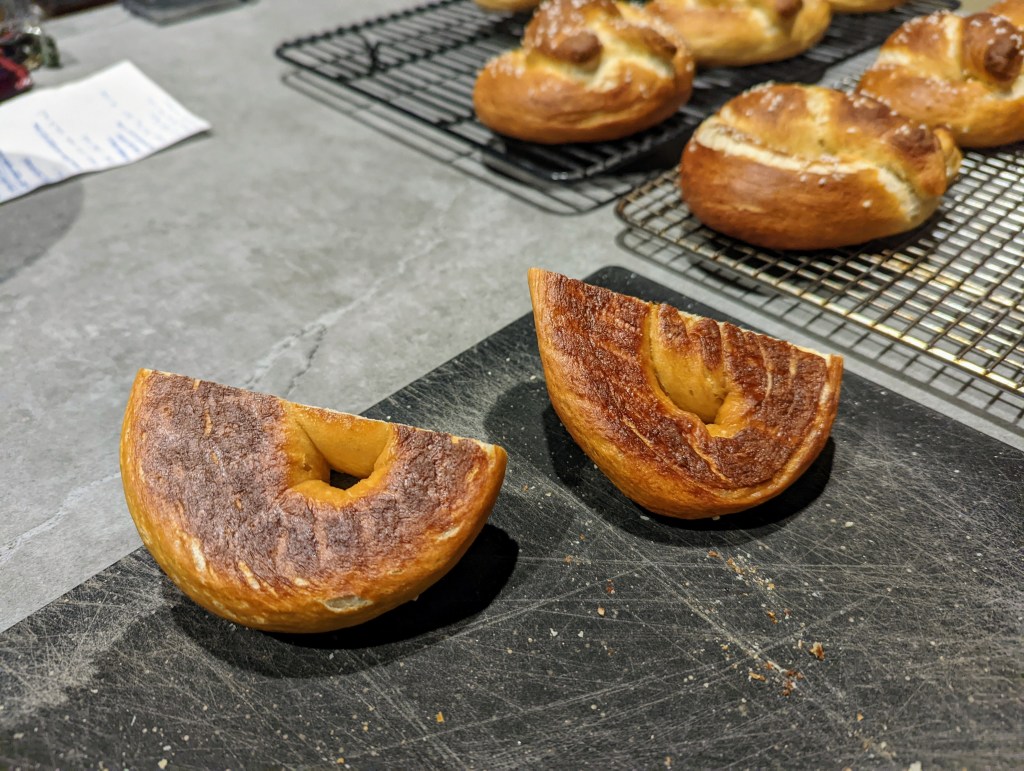
As you can see, there isn’t any visible difference between the two batches. They both rose the same, browned the same and have a similar crumb structure.
Well, what’s the difference then? The taste! The batch with the added Diastatic Malted Barley Flour had a much more pronounced “pretzel” flavor. This wasn’t noticeable when we tried the standard pretzel first, but eating the batch with the added DMBF it was really obvious which tasted more like a pretzel.
Based on this test, I’m going to continue using Diastatic Malted Barley Flour in my pretzels. While they taste fine without it, the extra boost of pretzel flavor with it added is worth it in my opinion.
