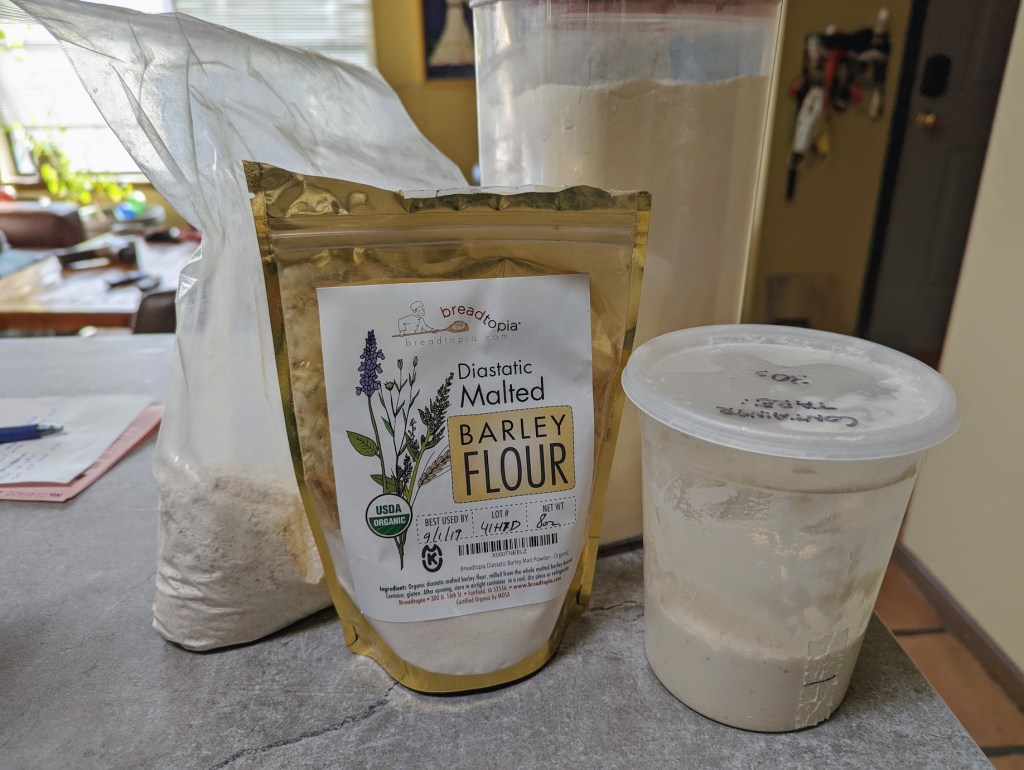
I bought a bag of diastatic malted barley flour (DMBF) a few years ago when I heard it makes a great addition to pretzels, bagels and other types of bread. I’ve used it a few times but have never done a side-by-side comparison to a loaf using the diastatic malted barley flour vs a straight loaf. This is the first experiment in a series where I test the powder in various styles of bread (sourdough in this case).

Schedule
Using the lazy sourdough method is actually quite simple. The real key to this method is that you can use your unfed starter straight from the fridge without the need to make a levain. There’s also no autolyse which saves about 30 minutes.
Schedule: Here’s a link to the lazy sourdough method.
The exact schedule I used is at the bottom of this post.
Ingredients:
I used the recipe below for both breads and started them at the same time, performed the same folds and treated them entirely the same aside from the powder being added to one.
Dough
- 450g bread flour
- 50g whole wheat flour
- 375g filtered water @ 88’F
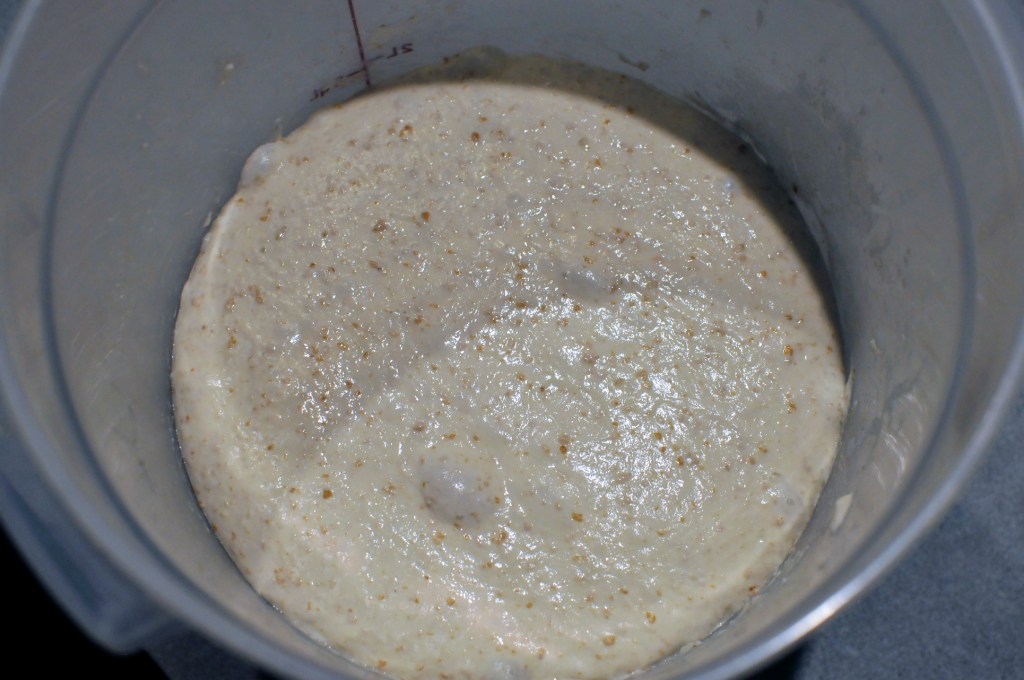
- 100g unfed starter straight from fridge (100% hydration)
- 11g sea salt
- 1 tsp Diastatic Malted Barley Flour (in one loaf)
Method:
After mixing the dough for each loaf, I performed 4 stretch and folds within the first 2 hours. I let the dough bulk ferment at room temperature for a total of 8 hours. If your kitchen is warmer than 68’F, it might take a little less time to bulk ferment.
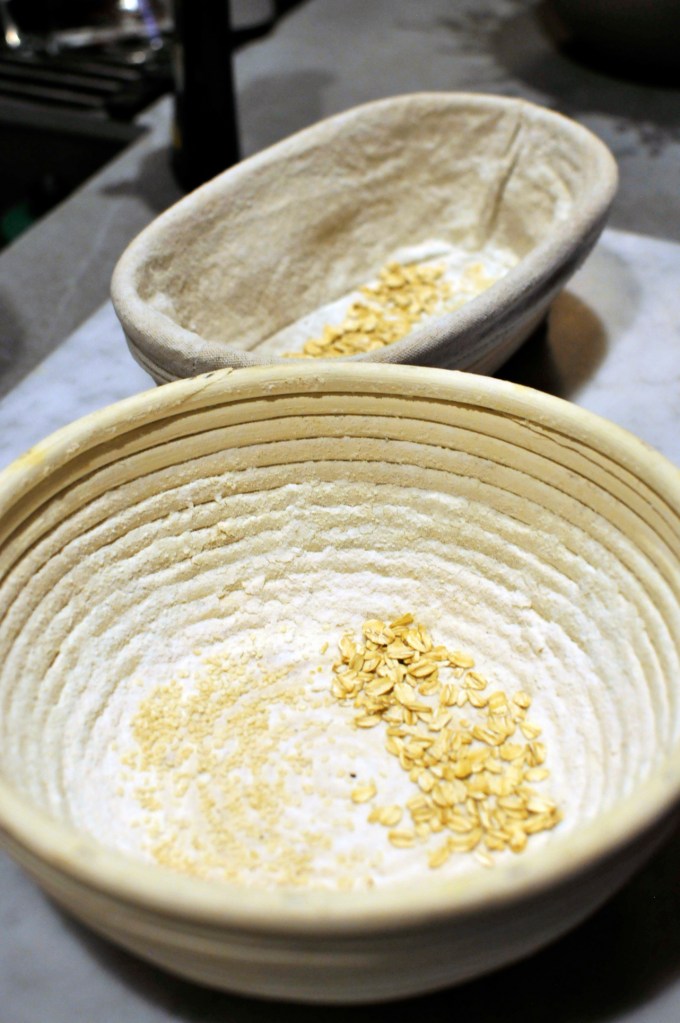
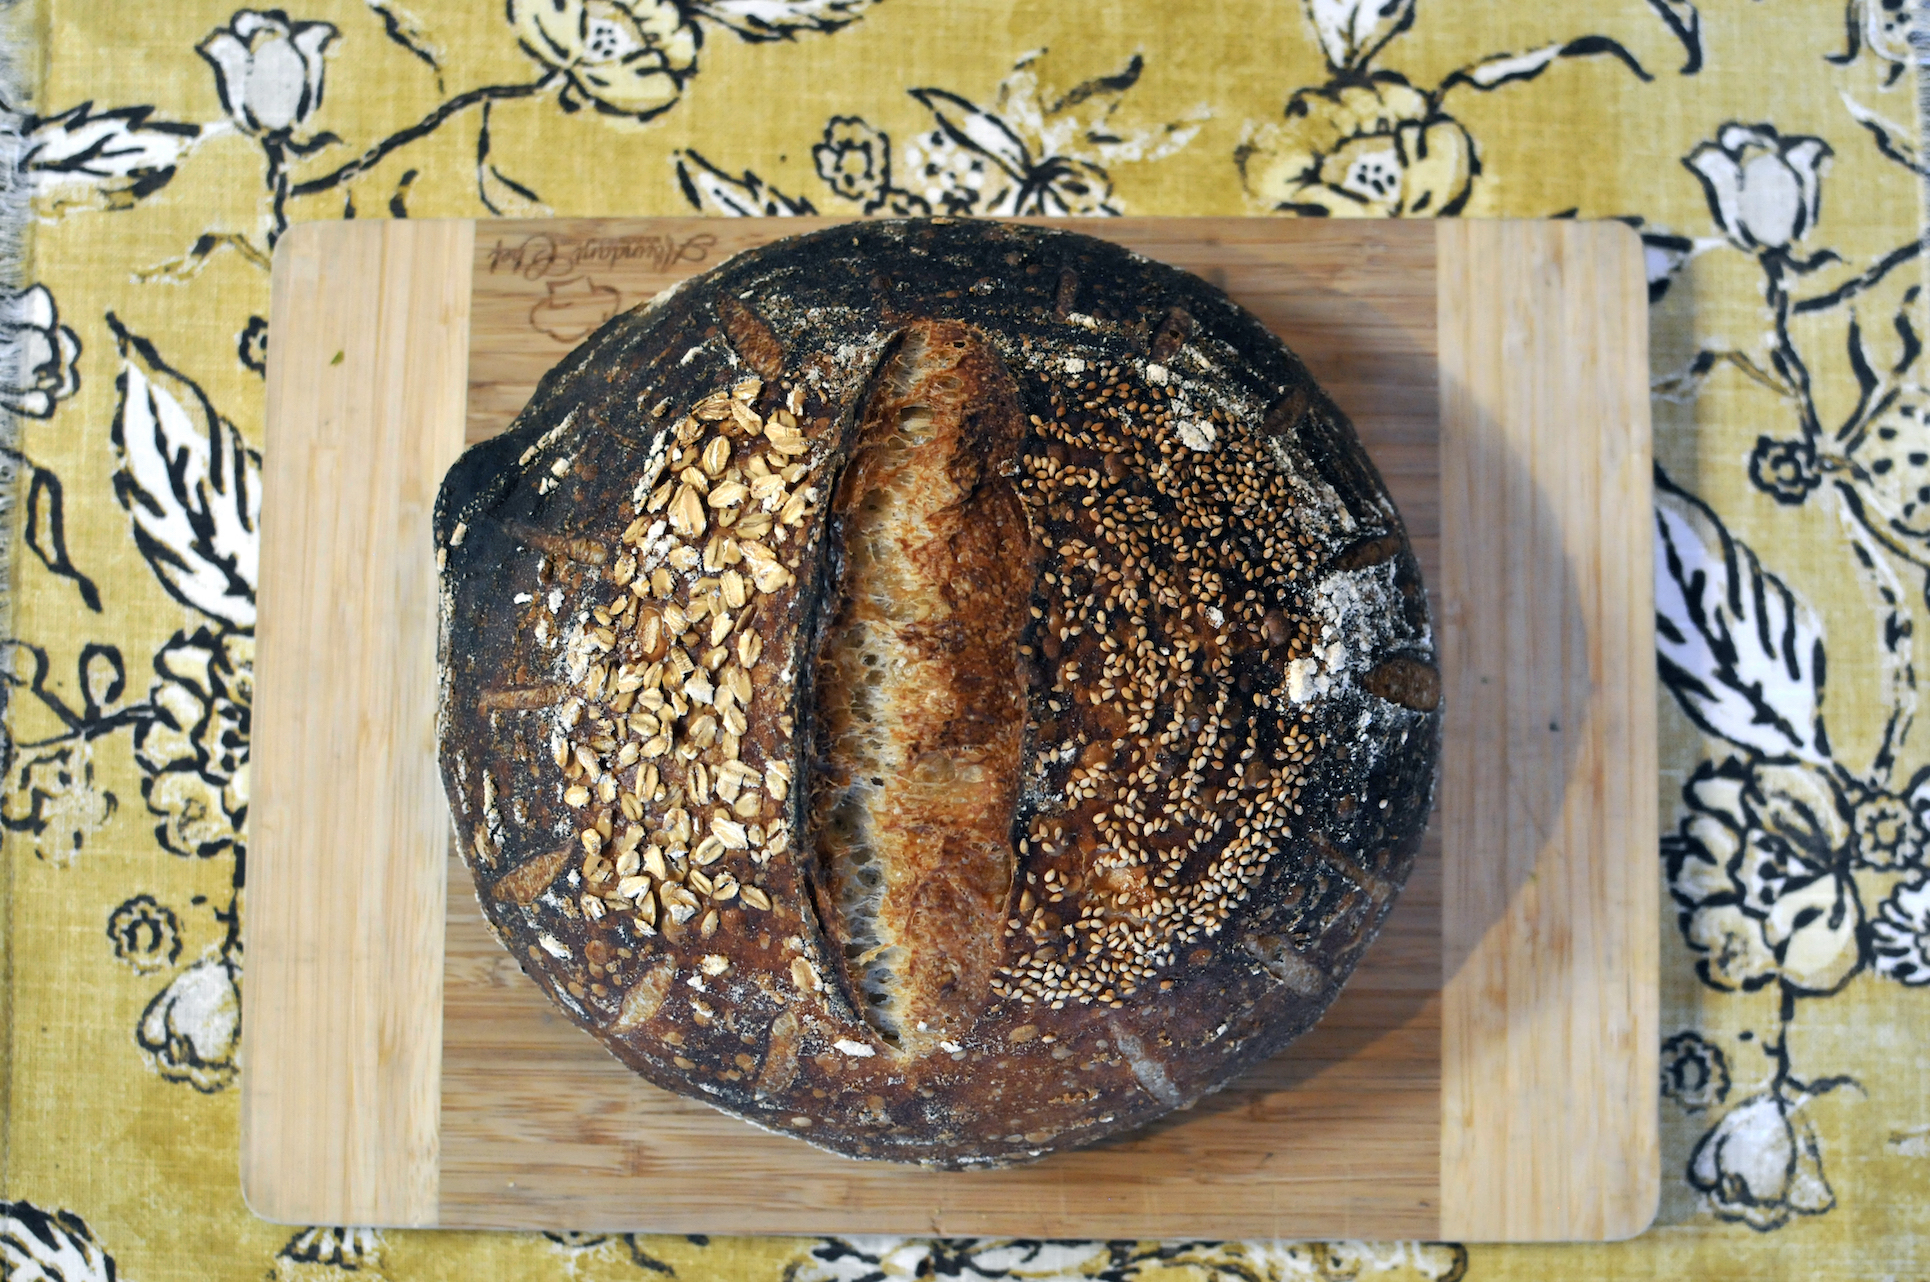
Once the dough had doubled, I shaped it into loaves and put them in bannetons that I liberally dusted with rice flour, oats and sesame seeds. I put the bannetons in vegetable bags and then placed them in the fridge for a 17 hour cold proof.
One hour before baking I started preheating the oven, with dutch ovens inside, to 450’F. When it was time to bake, I took the loaves straight from the fridge and placed them in the preheated dutch ovens, gave them a quick score and then put them in the oven.
I baked the loaves at 450’F for 20 minutes covered, then removed the lid of the dutch ovens and baked for an additional 30 minutes.
Result:
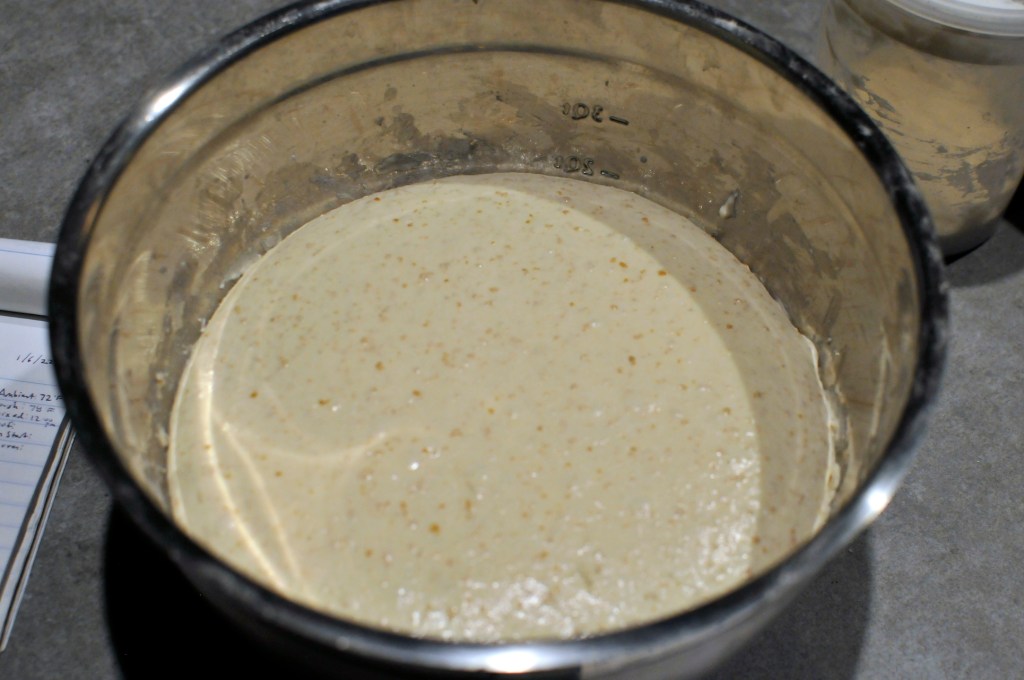
When working with the dough, it seemed like the loaf with the diastatic malted barley flour was a little more loose and didn’t tighten up as much as the standard loaf. For example, when performing the stretch and folds, the one with the diastatic malted barley flour wasn’t as elastic as the standard loaf.
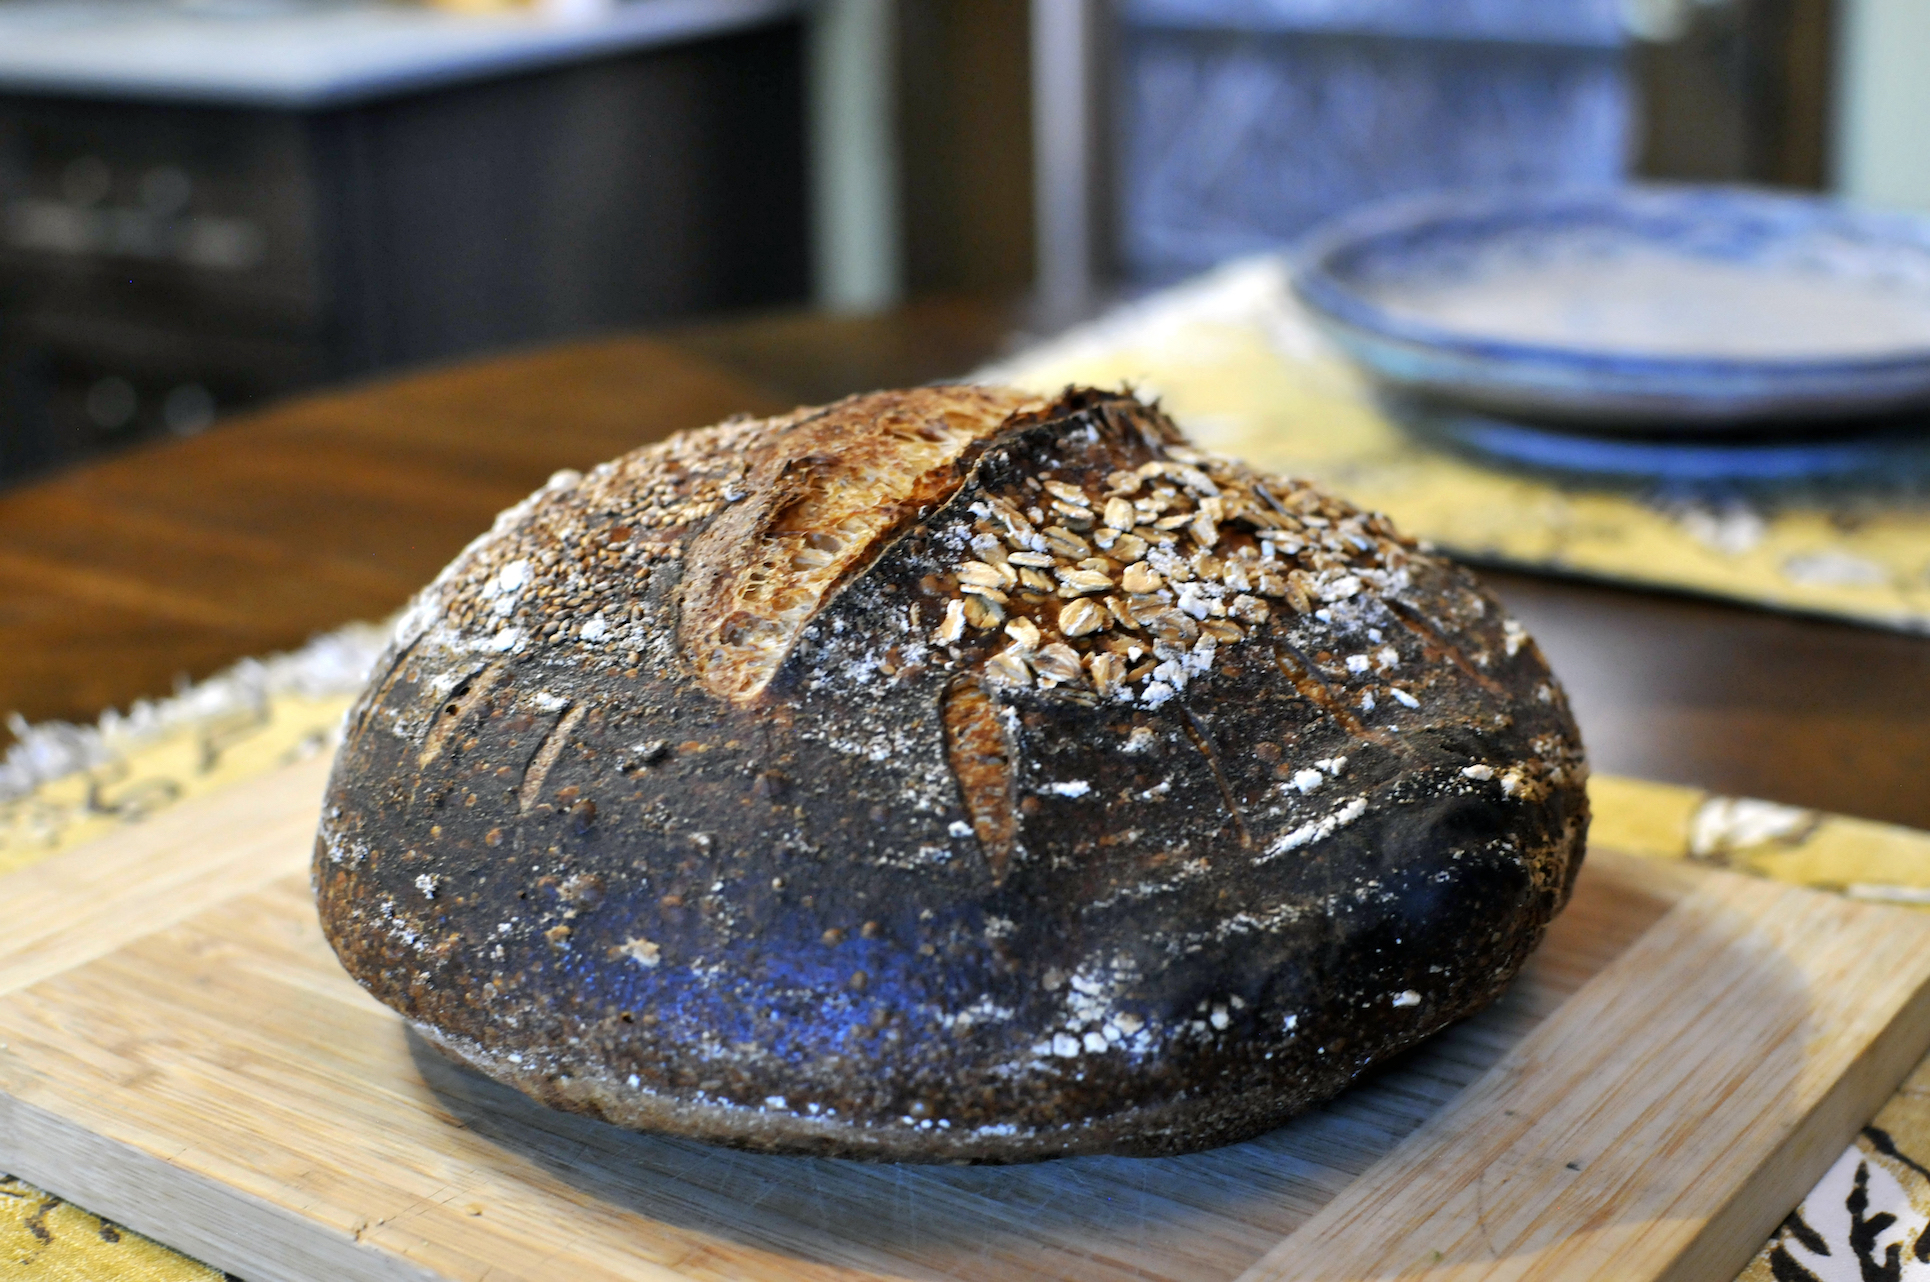
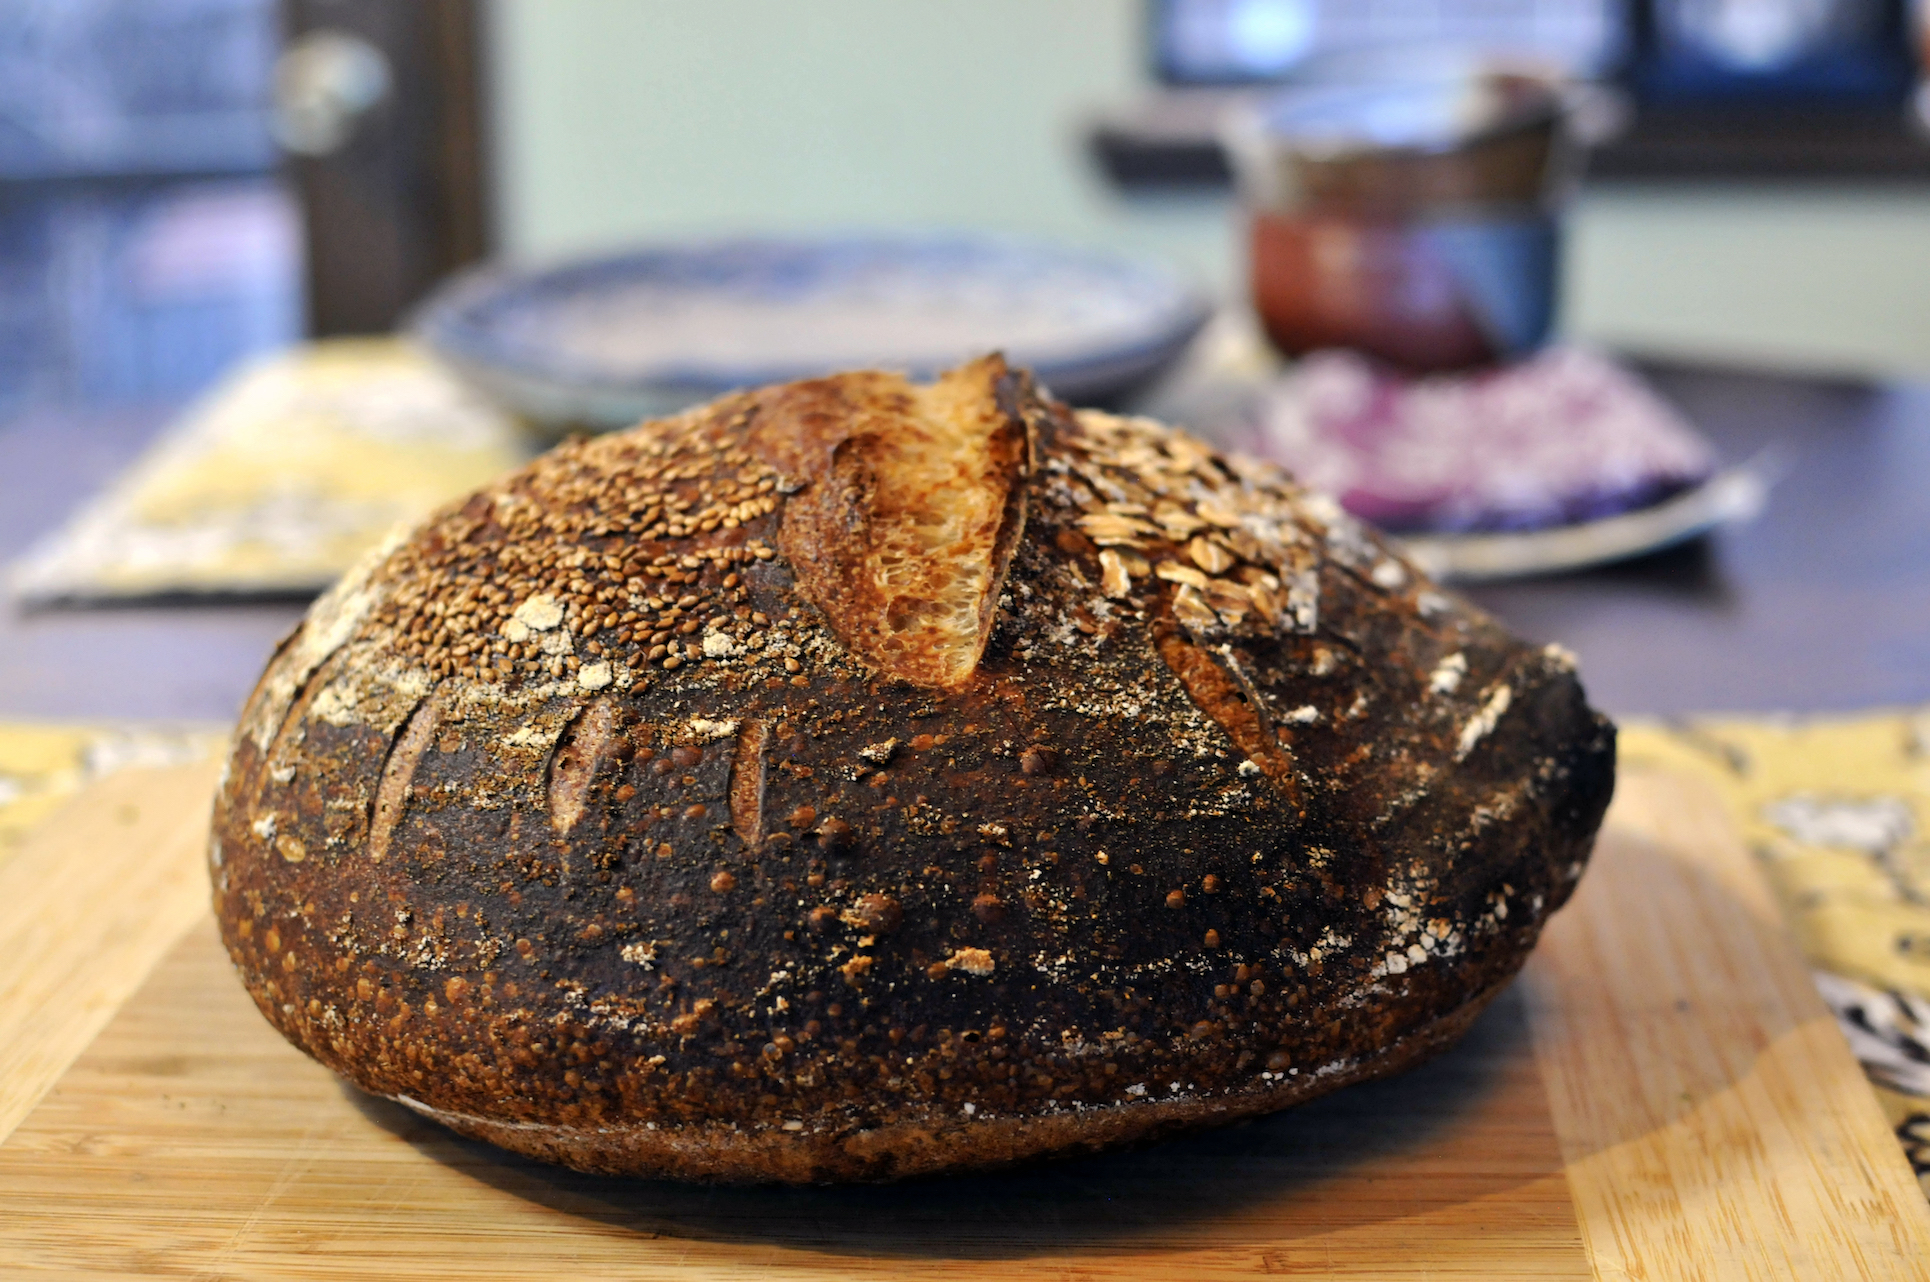
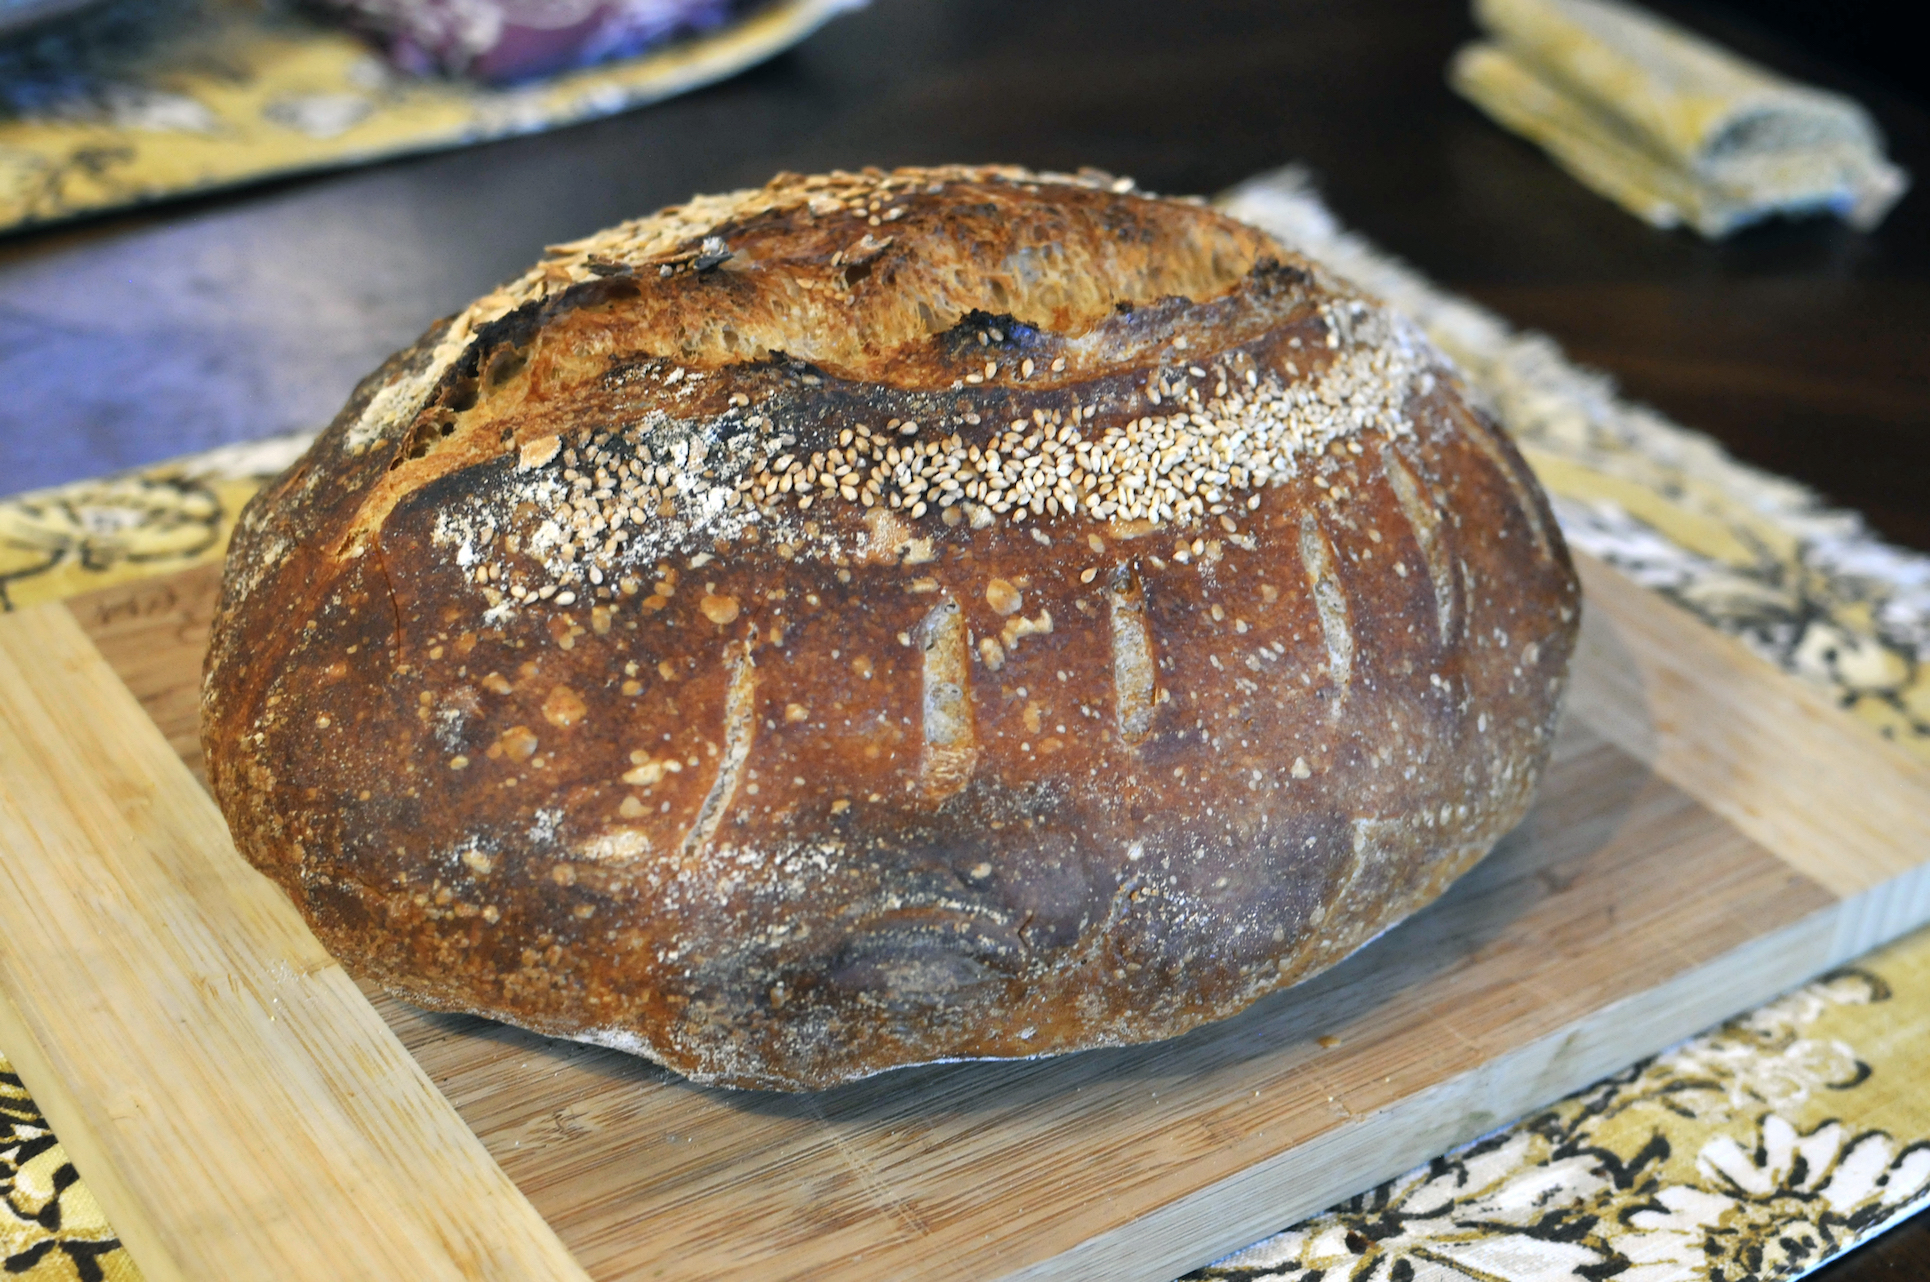
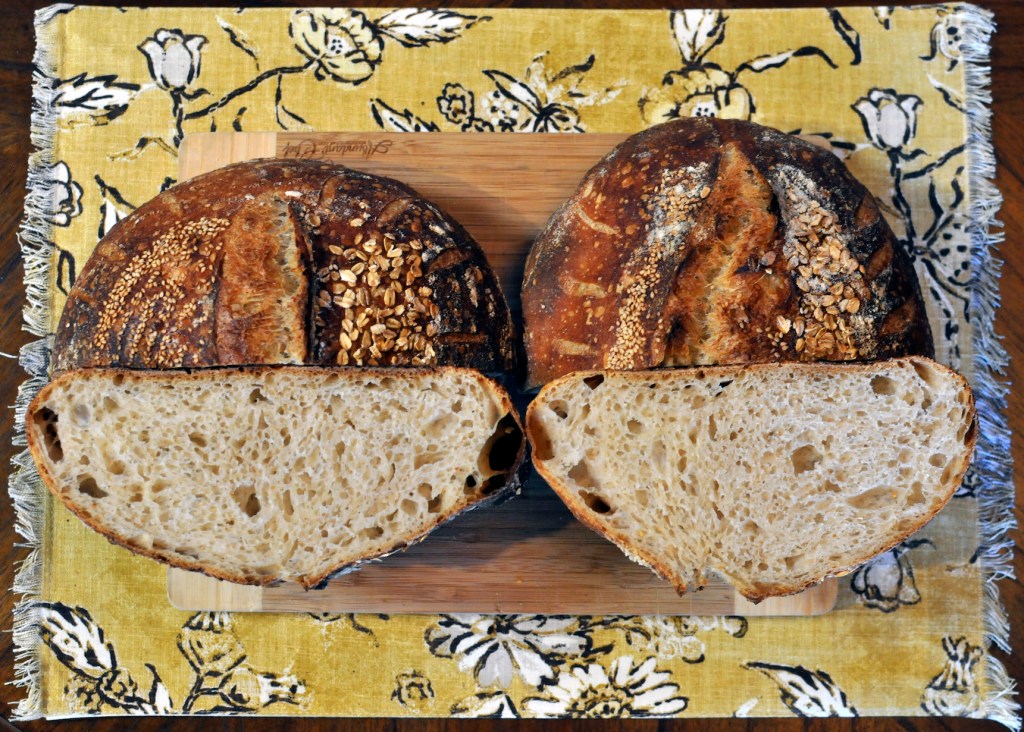
When I took the lids off the dutch ovens, they both appeared almost identical in rise and color. It wasn’t until after they finished baking without the lids on that you could really start to notice the coloration difference. The loaf with the diastatic malted barley flour definitely got darker on the exterior.
Flavor wise, the one with diastatic malted barley flour had more of a roasted / toasted flavor than the standard loaf which had more of a perceived sweeter taste.
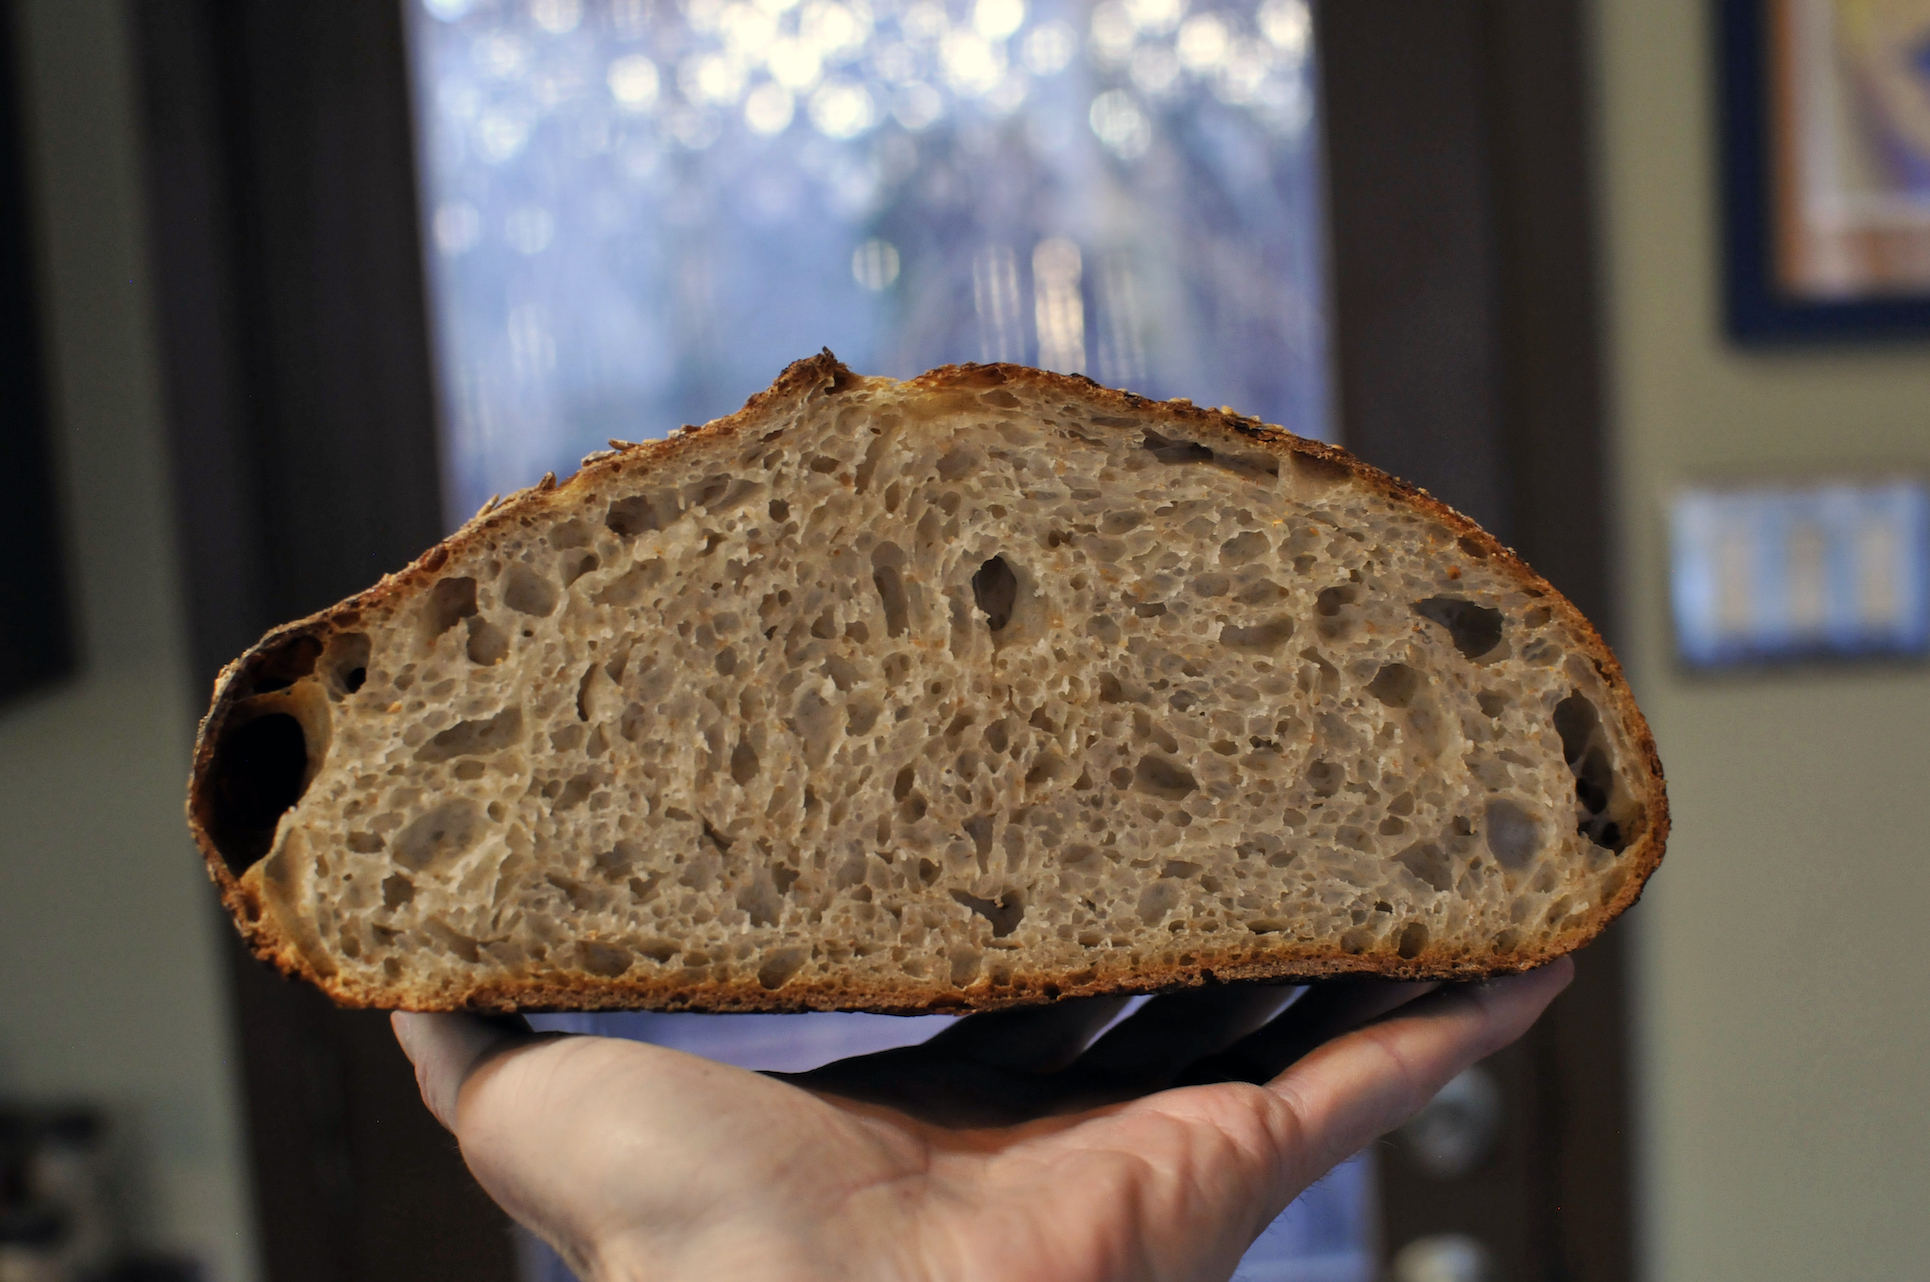
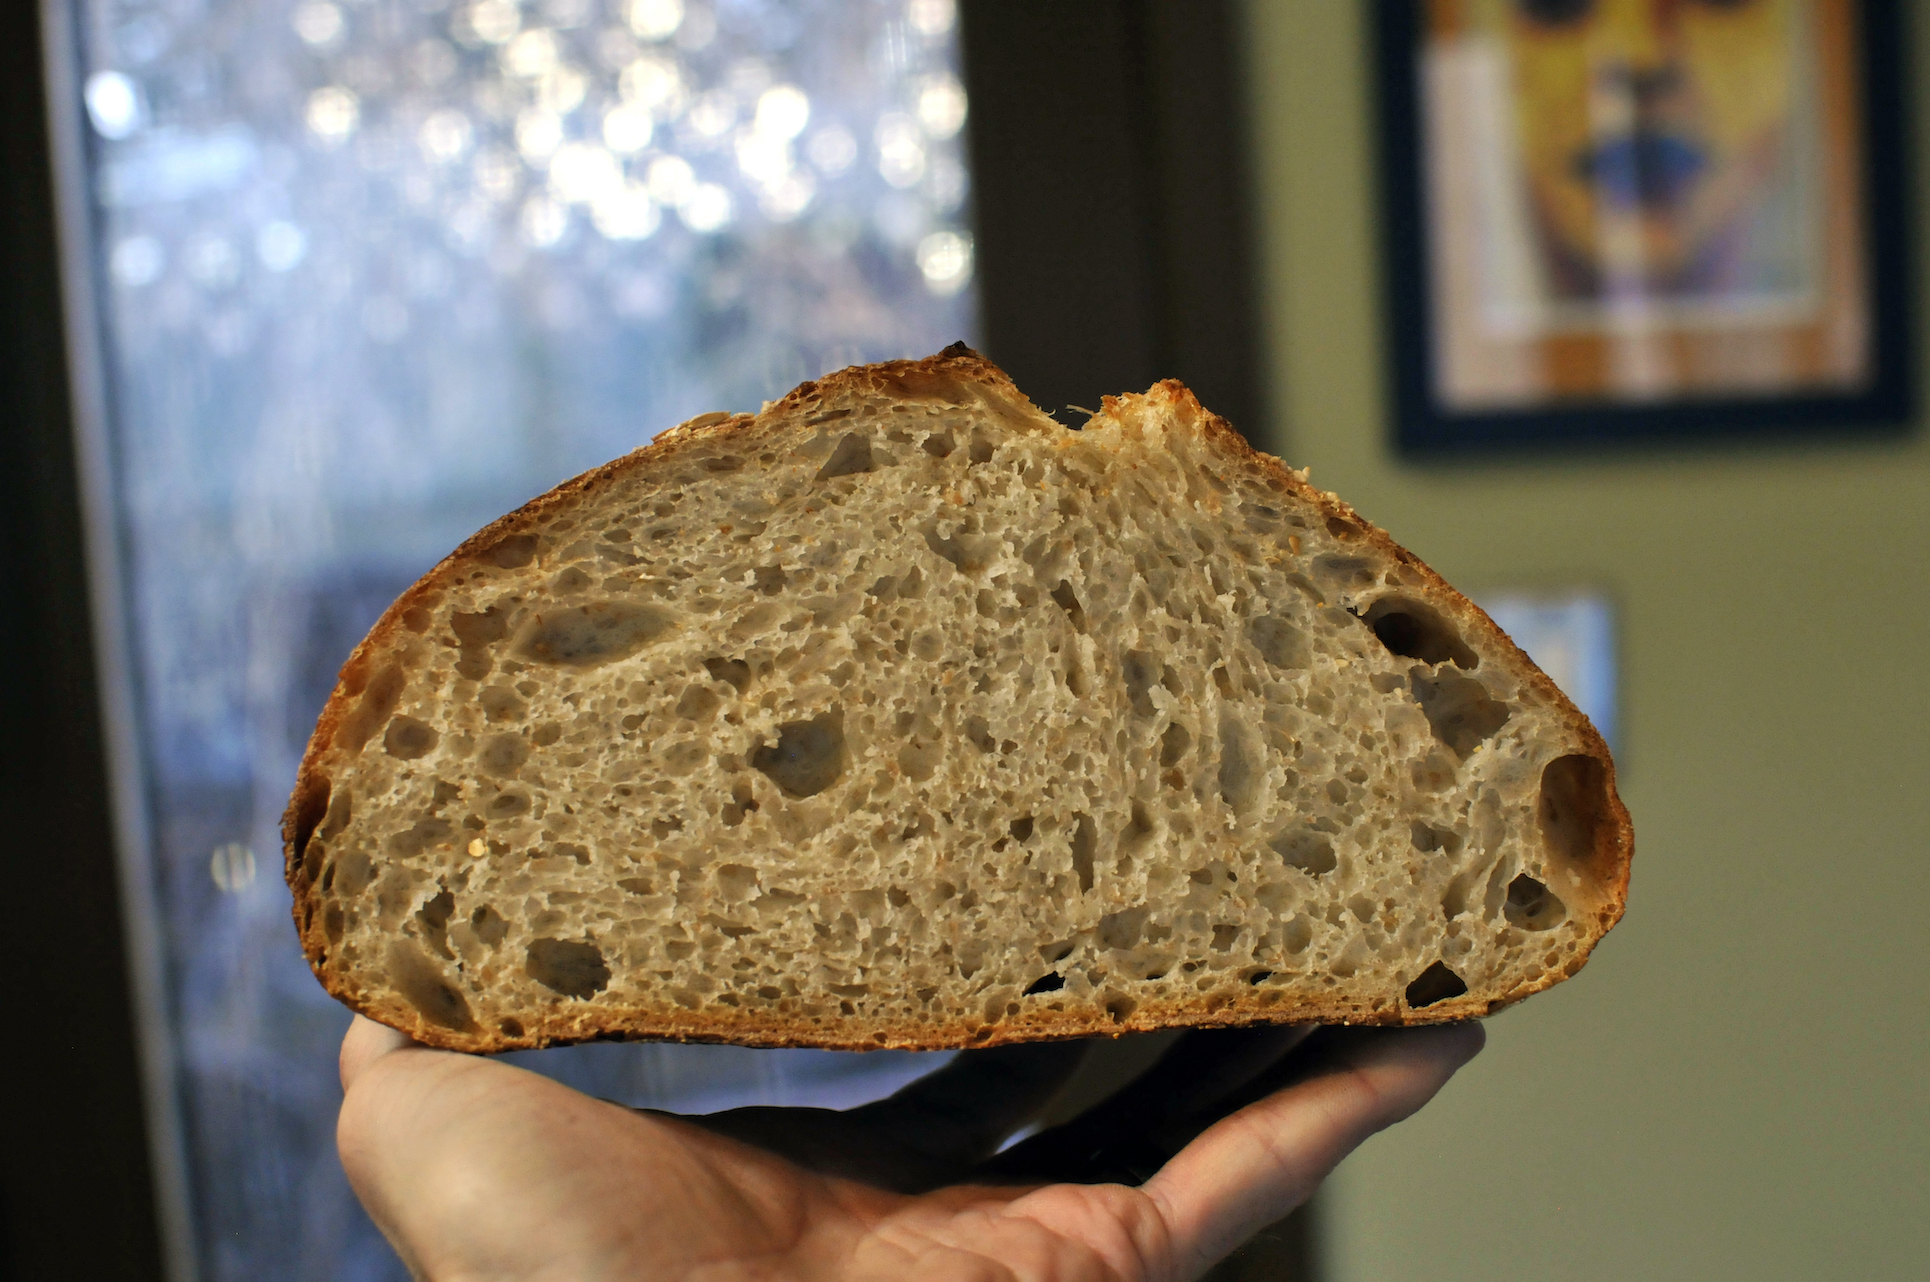
The crumb was slightly more fluffy and soft in the standard loaf compared to the firmer crumb of the one with diastatic malted barley flour.
Loaf with Diastatic Malted Barley Flour

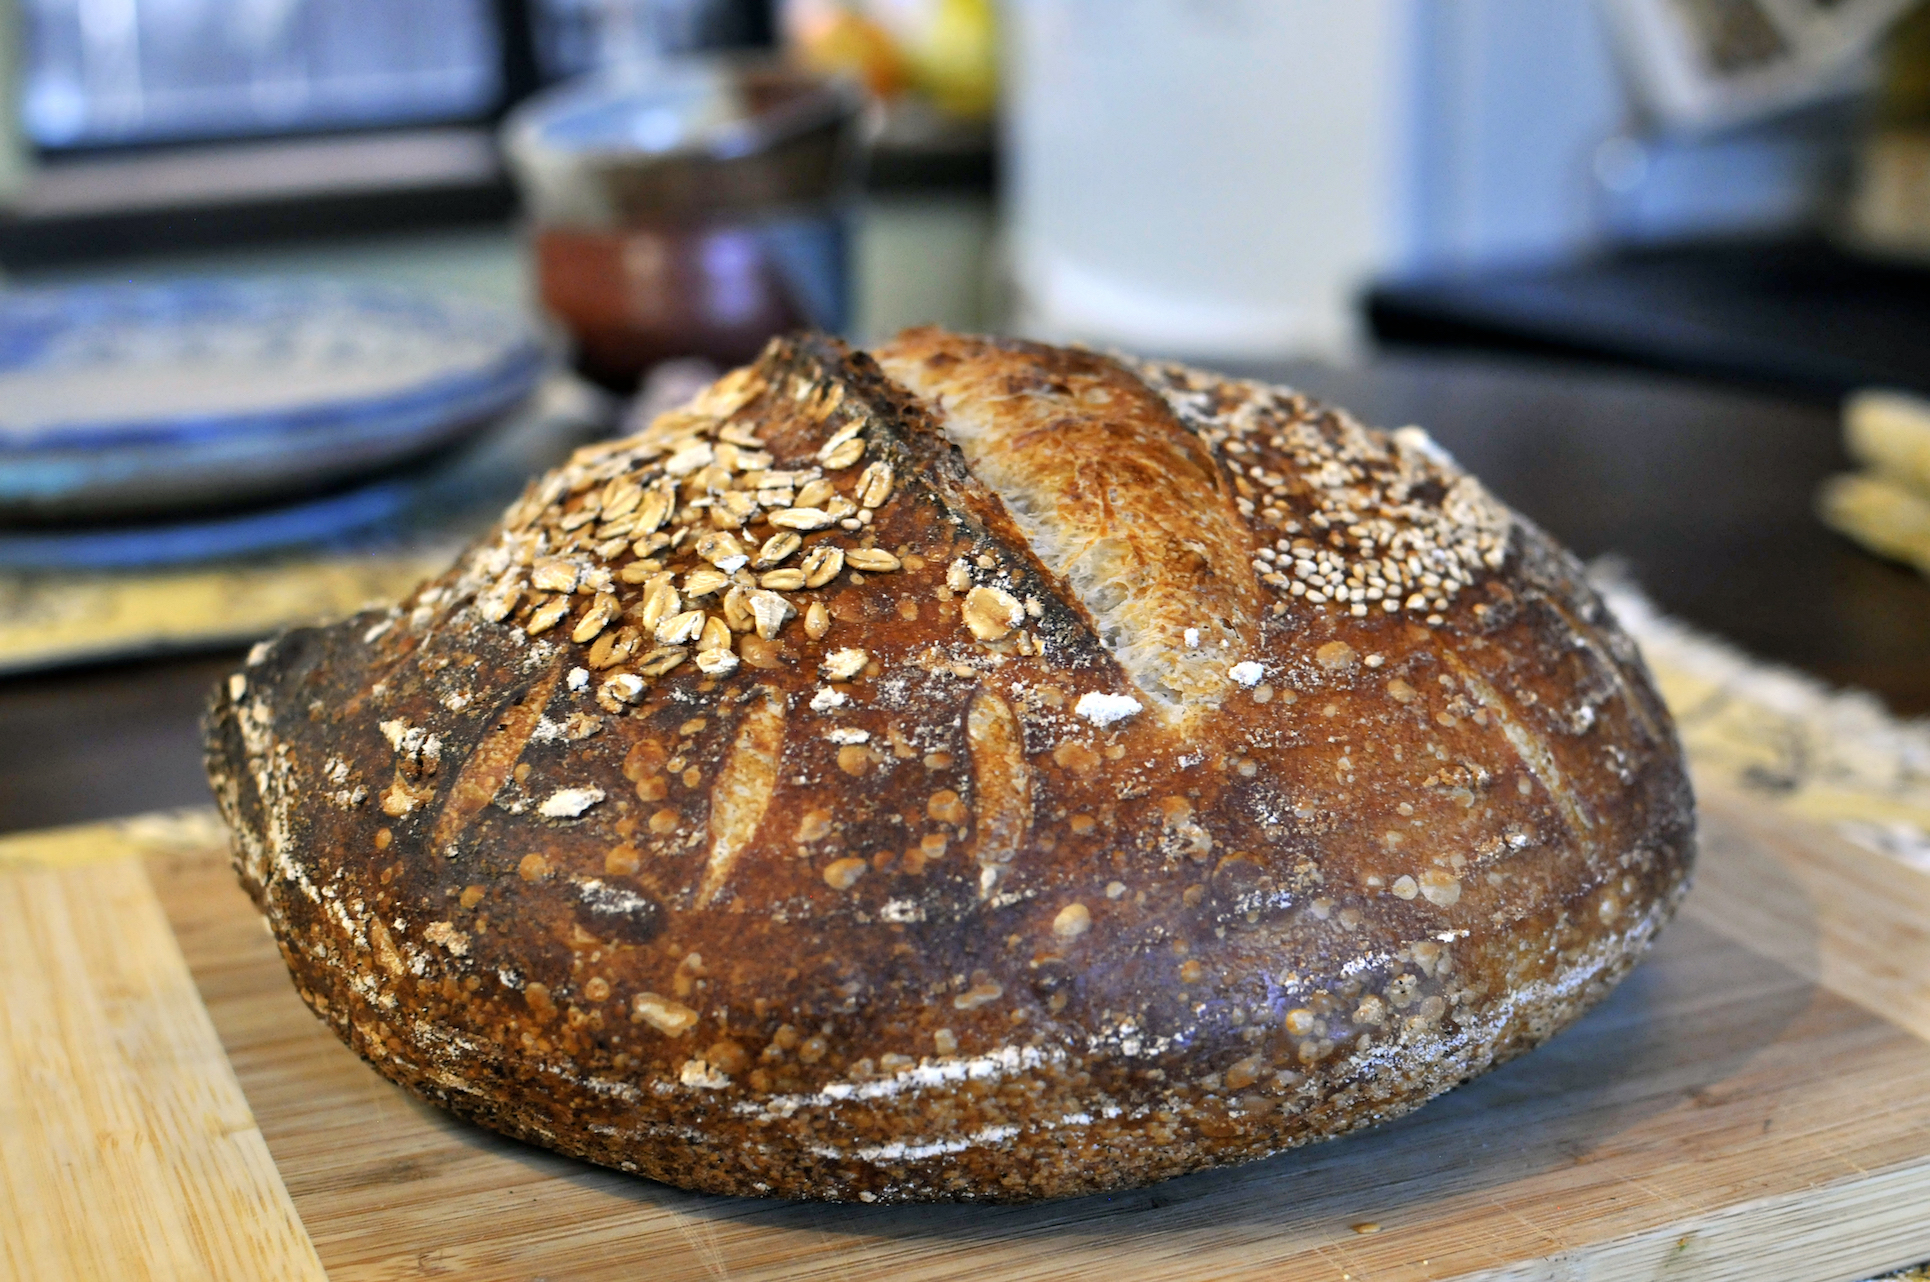
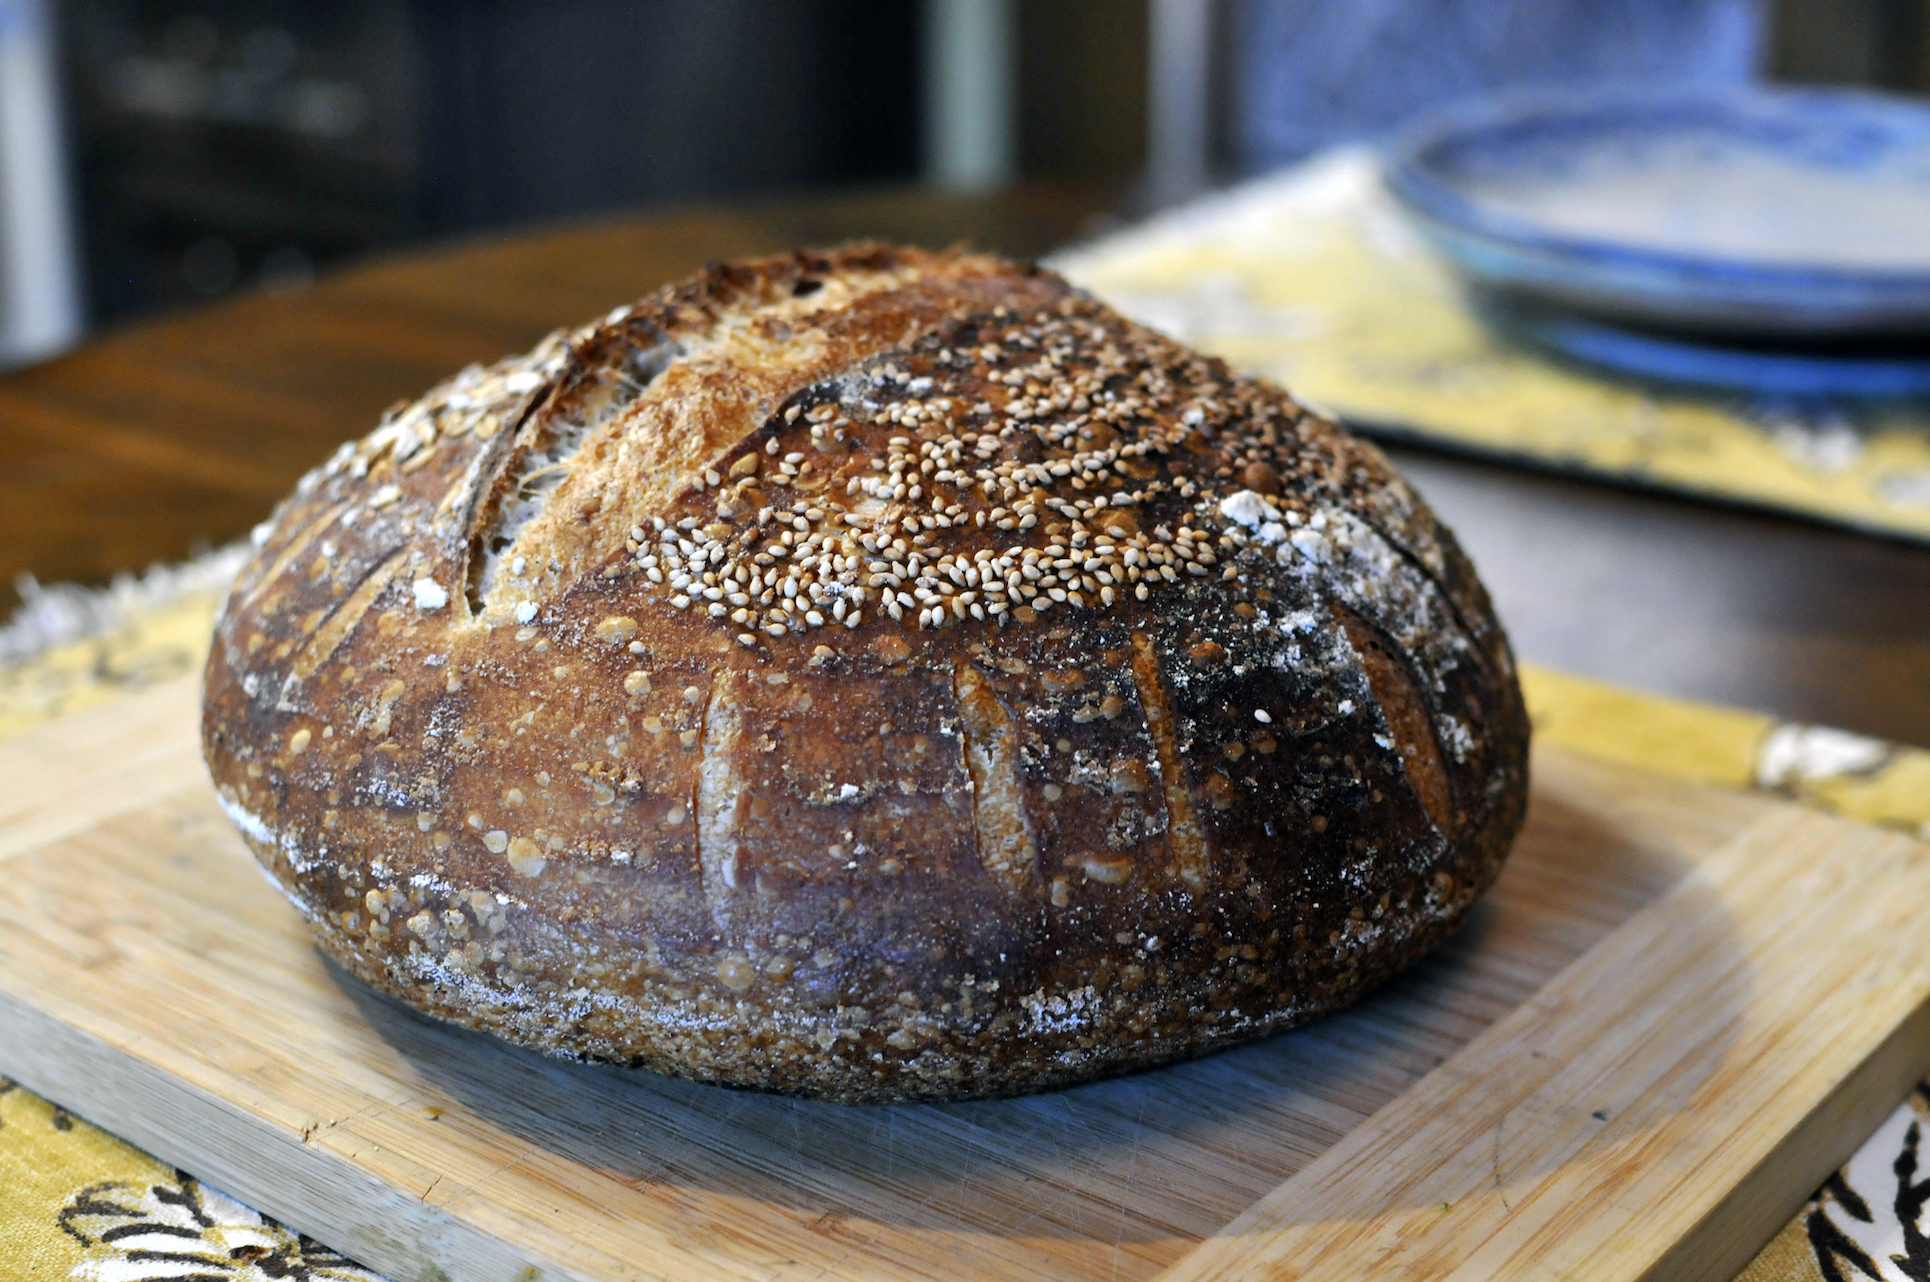

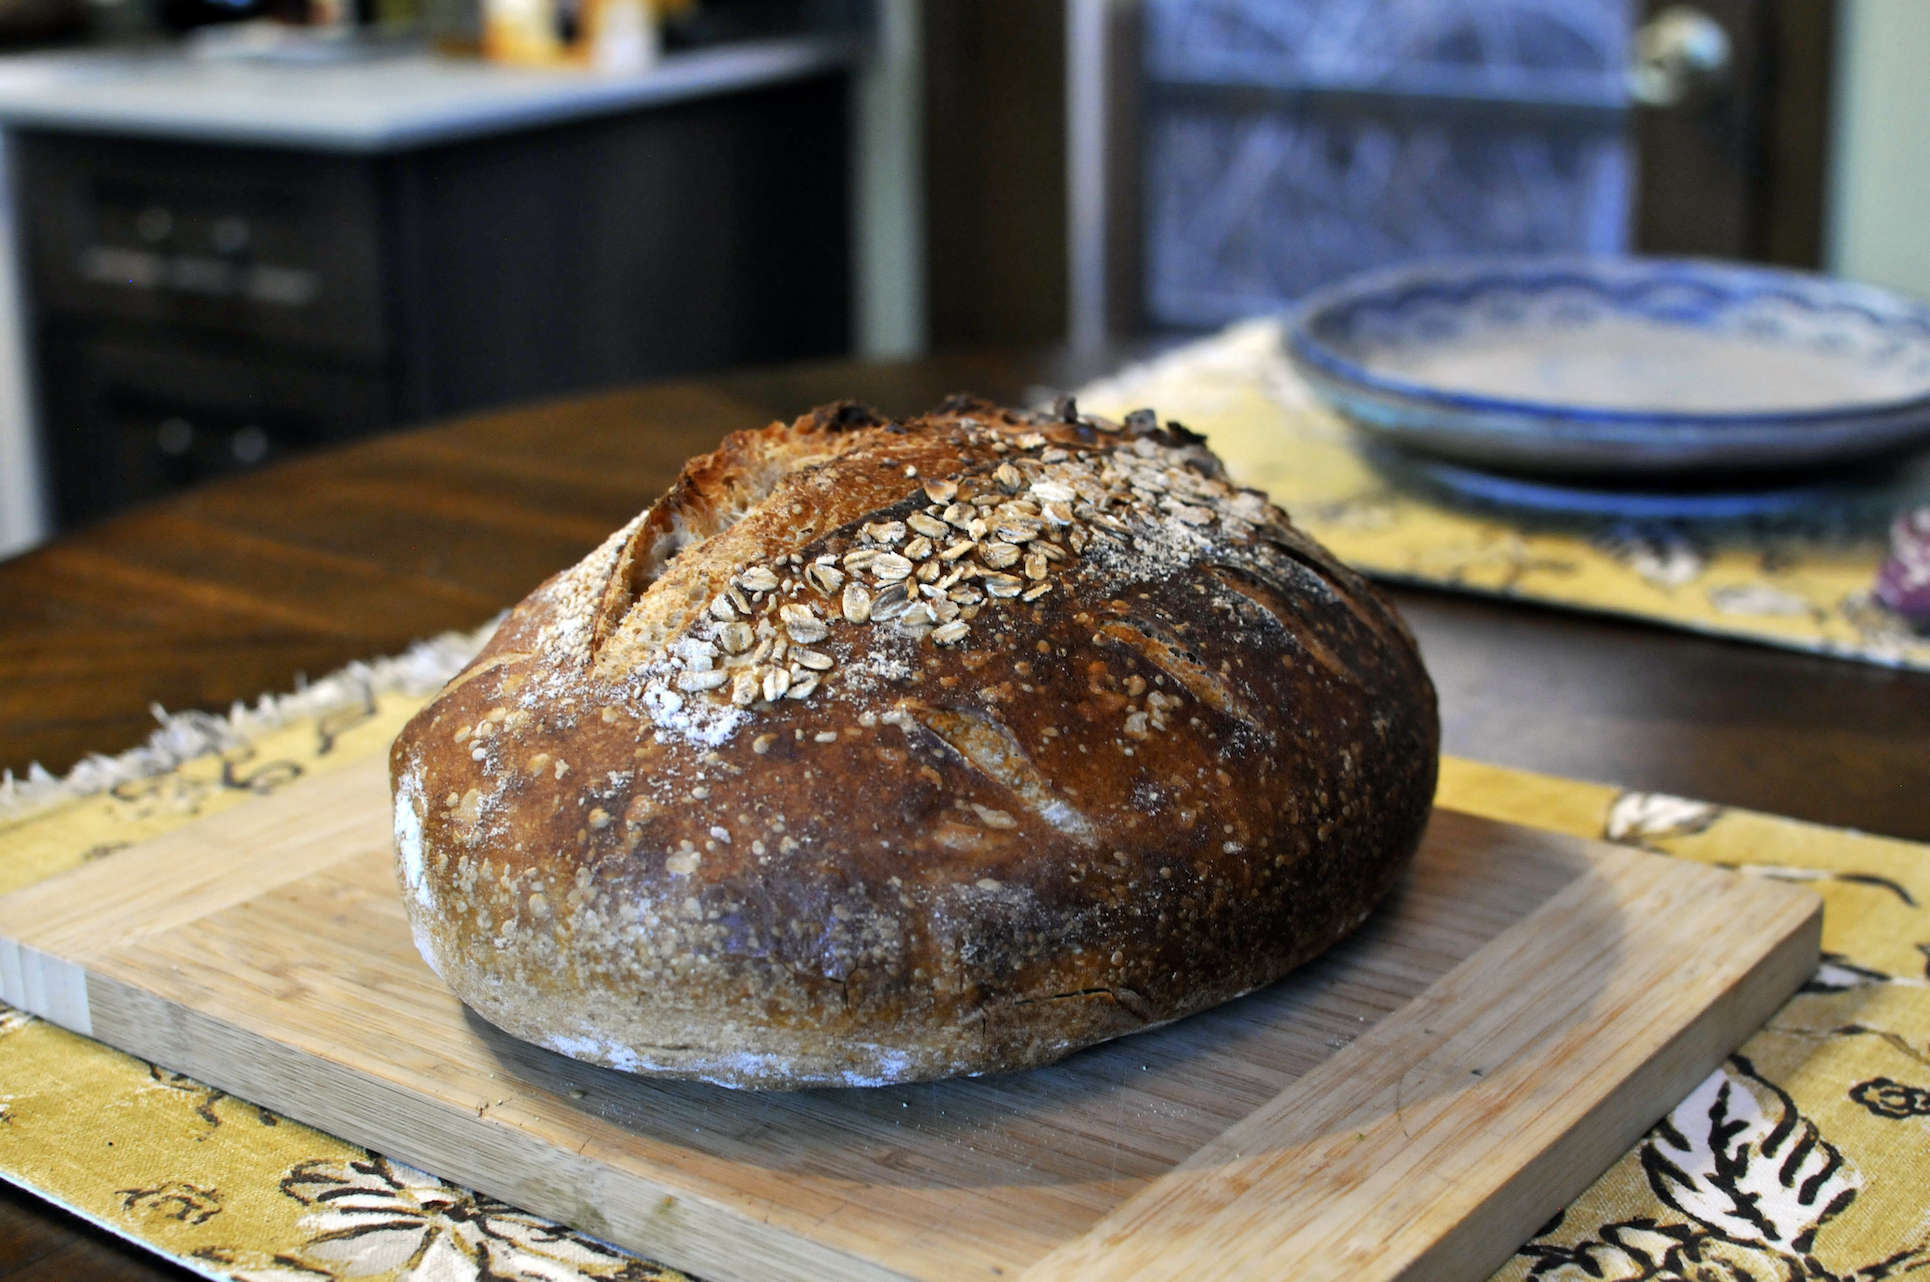
Standard Loaf


Experiment #1 Conclusion
If I had to pick a favorite between the two loaves, it would be extremely difficult. For straight up sourdough loaves, I don’t think diastatic malted barley flour is necessary at all. A few extra minutes in the oven would give a very similar result. I did enjoy the more sweet flavor I was getting from the standard loaf, which is good since it’s the less ingredient way to make bread.
I feel like there will probably be a much more pronounced visual difference when I try this with bagels and pretzels. Stay tuned for future experiments with diastatic malted barley flour!
My Baking Notes
- Ambient Temperature @ mixing: 72’F
- Mixed @ 12:00pm on January 6th
- Dough was 78’F at mixing
- 4 stretch and folds in first 2 hours
- Started proof @ 7:45pm on January 6th
- Preheated oven @ 12:00pm on January 7th (~17 hour cold proof)
- Out of fridge and into oven @ 1:00pm
