Thanks to my friend Ben, I ended up with 25 pounds of Ardent Mills Kyrol flour. It’s a high protein flour (14.3%) which is supposed to be great for bagels. I hadn’t made bagels in a while and I wanted to test out a new recipe plus this flour. This was the first test and, while the bagels came out really well, I’m going to be doing some further experiments to dial in a really solid “same day” bagel recipe.
My goal with this recipe was to make sourdough bagels without the need for an overnight proof in the fridge. After picking apart several different recipes, I compiled the bits and pieces I liked into the one below.
It starts out with a simple overnight levain which is basically hands-off. Just mix it before bed and it’s ready to go in the morning. You can use a ripe or overripe starter for the levain. My starter had missed several feedings and still worked fine in the levain.
After combining all of the ingredients and mixing, there’s a 3-3.5 hour bulk fermentation followed by dividing, shaping and then a 3-3.5 hour proof. The timing will depend on the temperature of your kitchen. In this test, my kitchen was pretty cold so I added a little more time.
After proofing is done, the bagels get a quick dunk in a water bath, topped with your choice of seasonings, seeds, flavors, etc and then baked.
Looking at a timeline always helps me figure out if the recipe is something I can fit into my schedule. Here’s what the timeline looked like for this test:
- Day 1:
- Levain start: 8pm
- Day 2:
- Mix ingredients: 8am
- Bulk ferment: 8:15-11:15am
- Shape: 11:15-11:30am
- Proof: 11:30-2:30pm
- Boil: 2:30-2:45pm
- Add toppings & bake: 2:45-3:15pm
This recipe makes eight “standard size” bagels. Next time I’ll double the recipe so I can have some extras in the freezer.
Ingredients:
Levain:
- 124g high protein flour (Ardent Mills Kyrol @ 14.3%)
- 113g water (room temp)
- 25g starter
Dough:
- 436g high protein flour (Ardent Mills Kyrol @ 14.3%)
- 227g water (90-94’F)
- 262g levain (all of it)
- 10g sea salt
- 18g honey
- 1 Tbsp malt powder (I used diastatic malt powder)
Water bath:
- 8 cups of water
- 18g malt powder
- 14g granulated sugar
Other equipment you’ll want:
- Stand mixer w/ dough hook
- bench scraper (for dividing)
- large baking sheet
- parchment paper
- wire rack
- large pan
- large slotted spoon or spider
- cornmeal (for dusting pan before proof, or skip and use parchment)
- toppings (sesame seeds, everything bagel mix, cheese, dried onions, etc)
- 1 egg (white only) + 1 Tbsp water for egg wash (helps toppings stick)
Method:
1. Make your levain:
The night before you want to bake your bagels, make your levain by mixing the flour, water and starter. Cover and let it rest for 12-14 hours. It will have risen significantly when it’s ripe.

2. Mix dough
In the stand mixer with dough hook attachment, add the dough ingredients. Mix on low until there isn’t much loose flour present. Turn the mixer to medium and mix for 7 minutes.
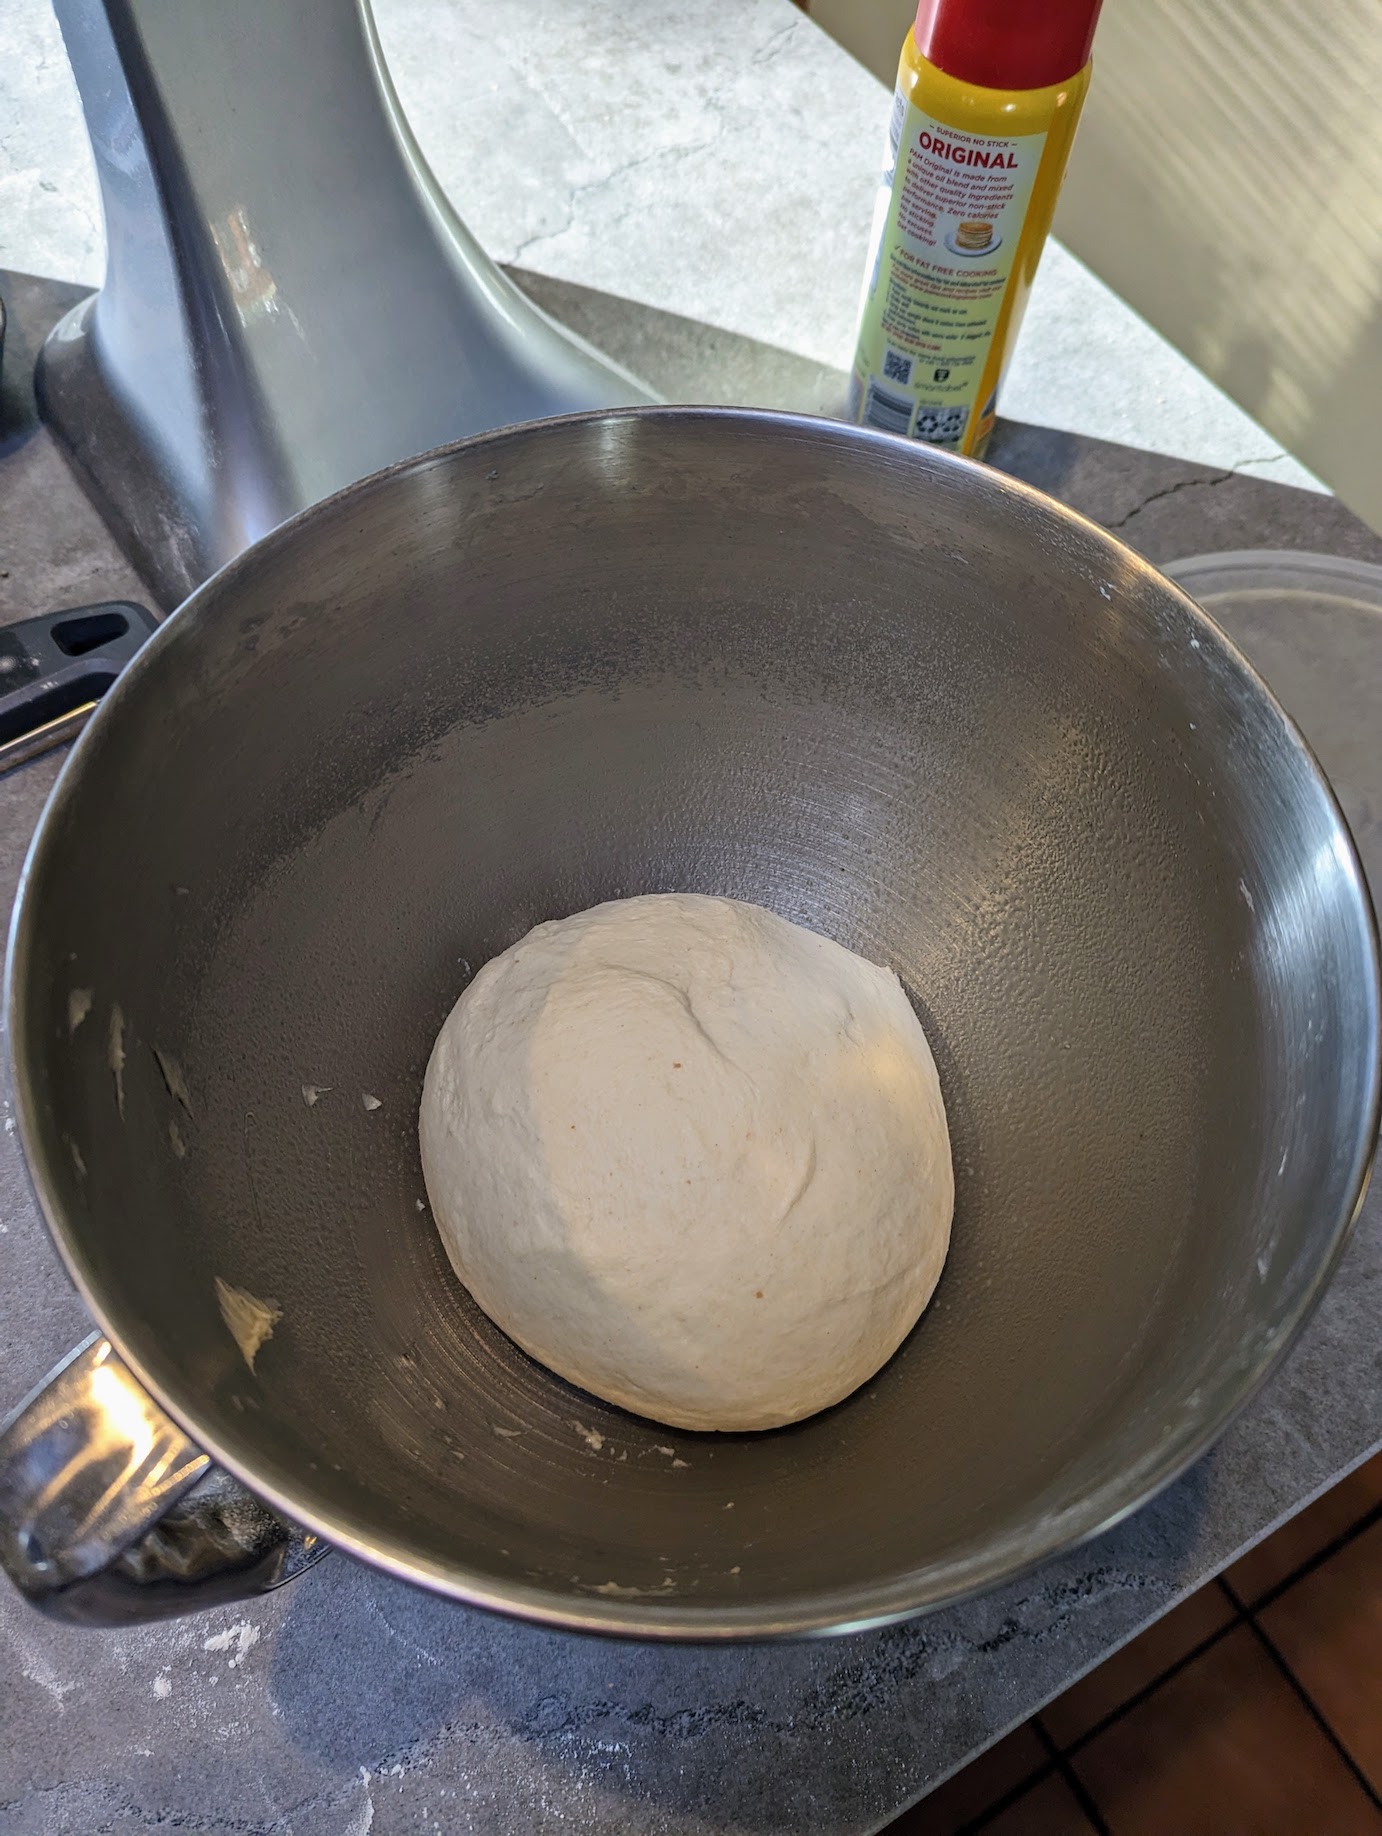
Flour a work surface and knead the dough by hand for 1-2 minutes. Form it into a ball and place it back in the mixing bowl (after spraying with a little cooking oil). Cover the bowl and allow to rise in a warm location for 3-3.5 hours, or until roughly doubled in size.

3. Dividing the dough:
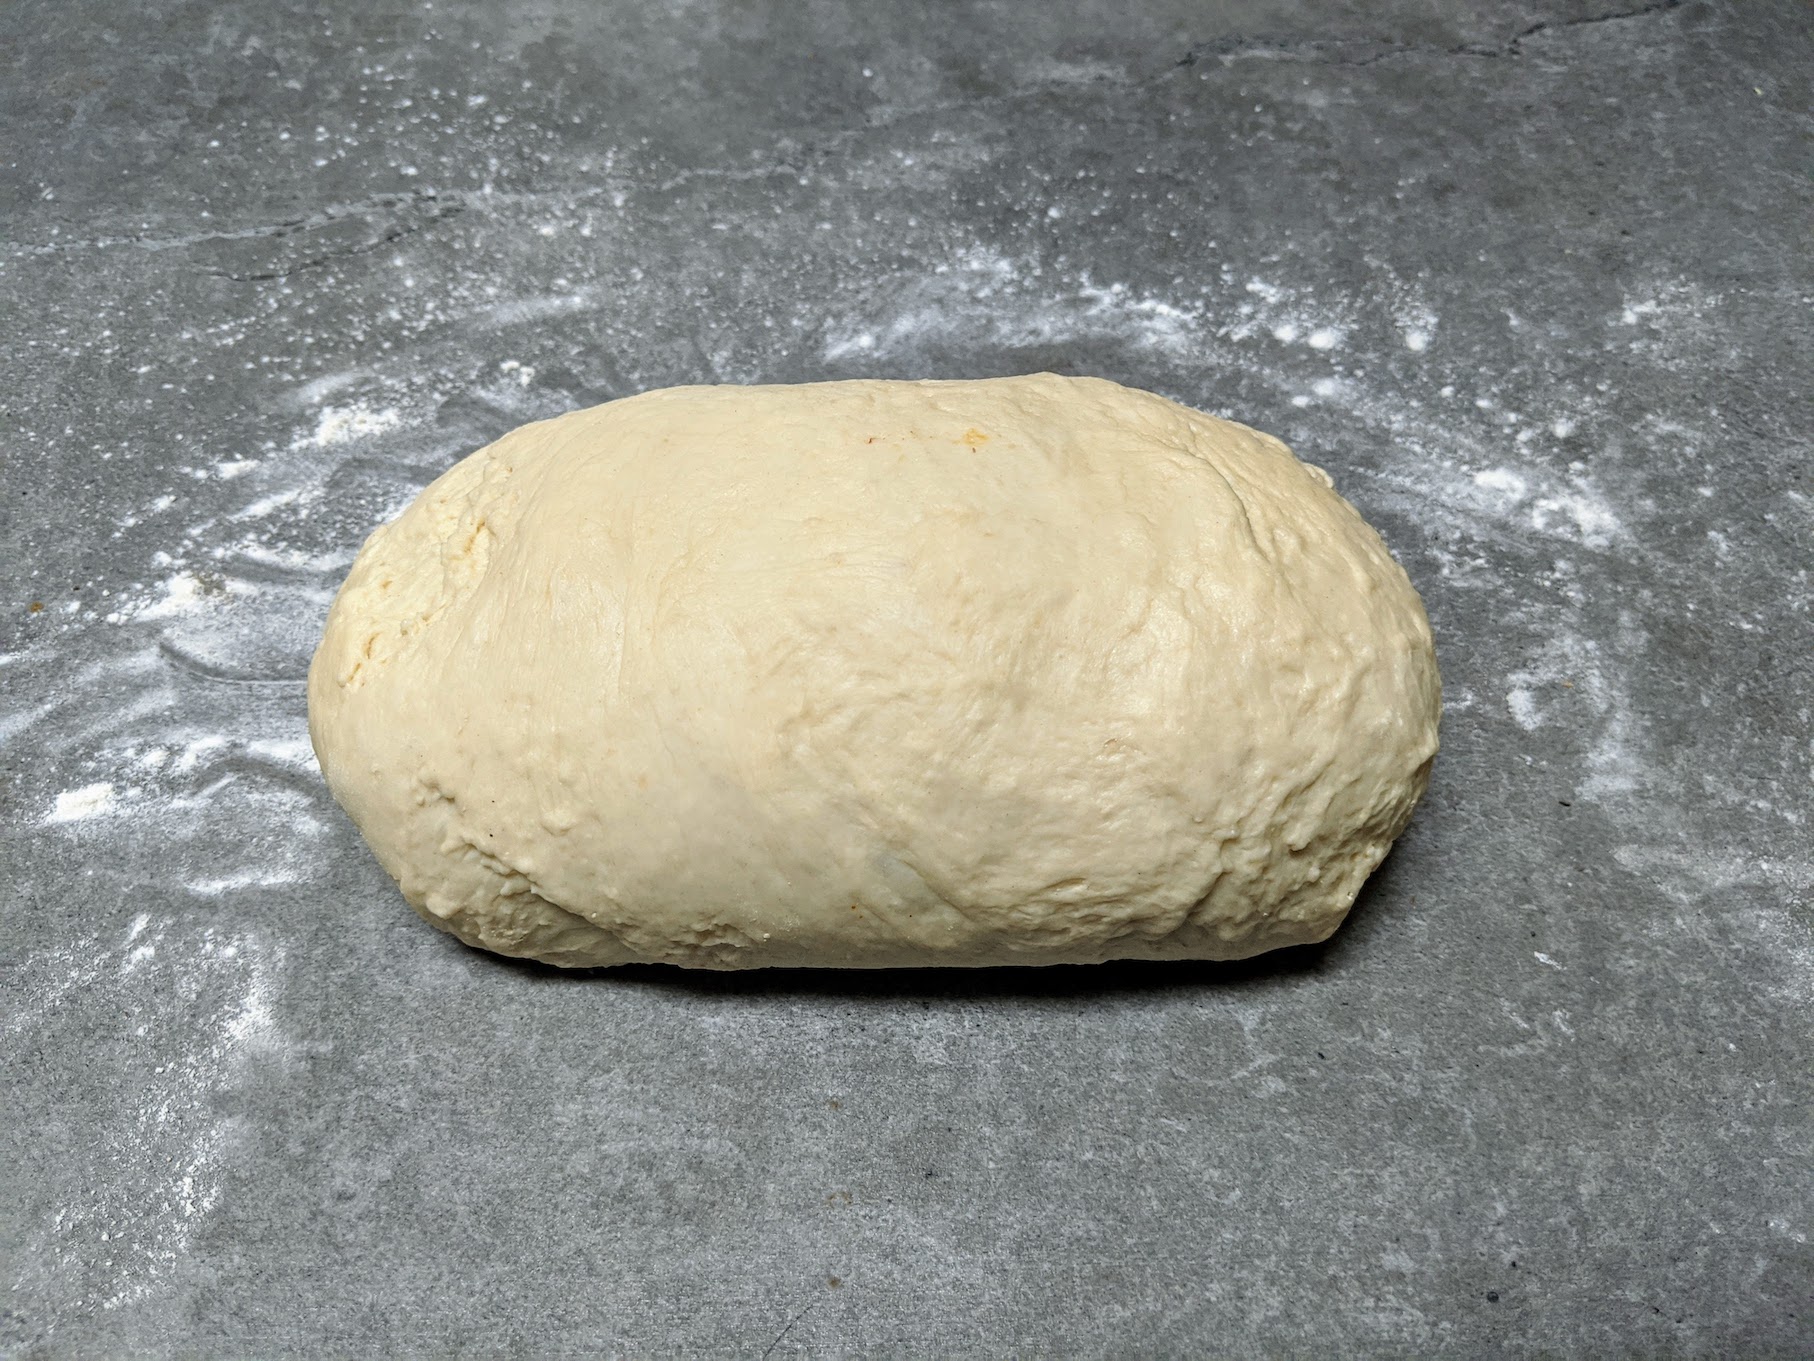
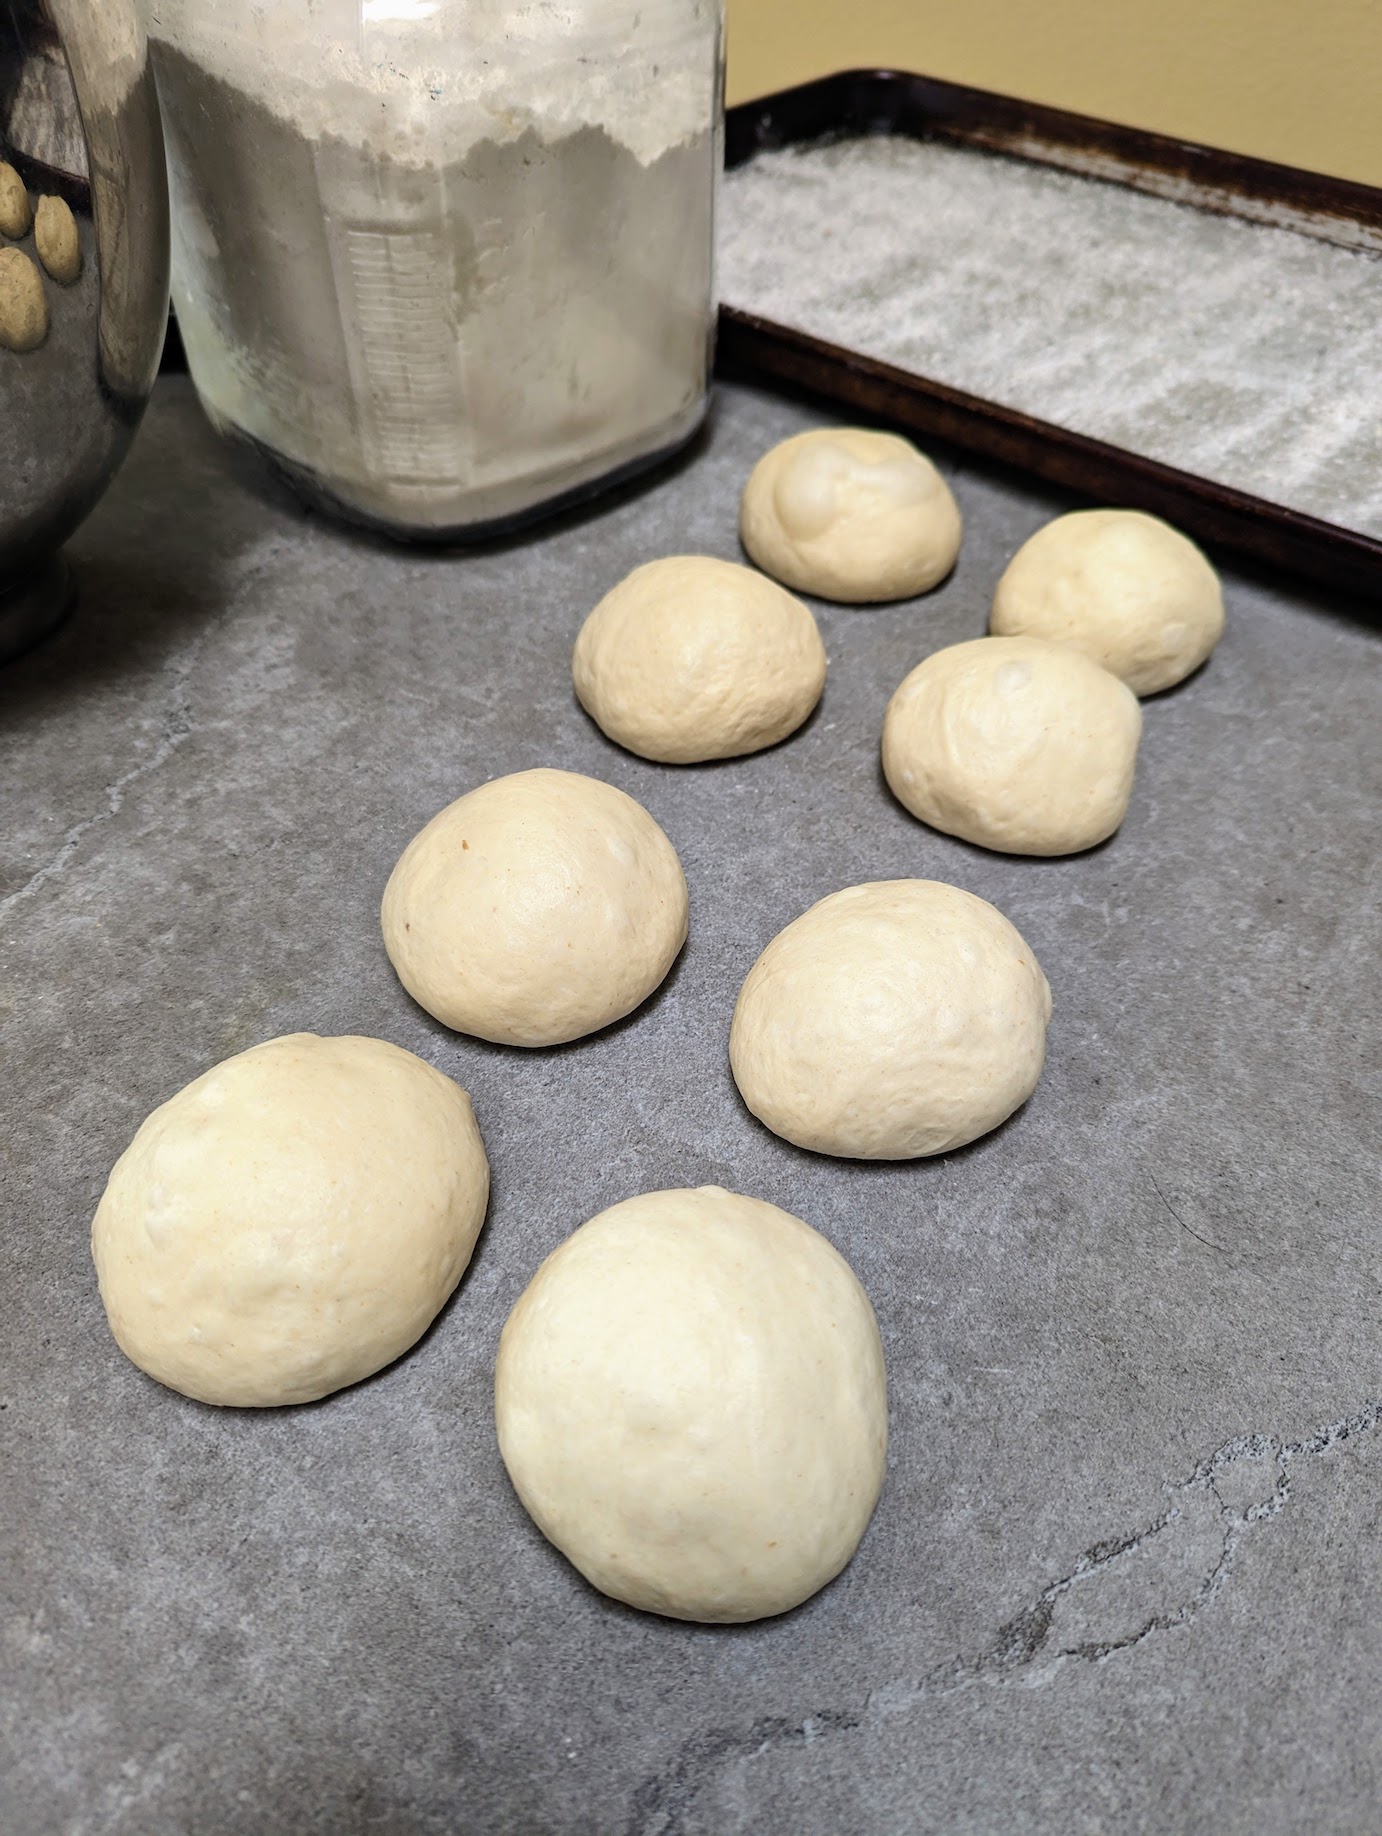
After the dough has doubled in size, transfer it to a floured work surface and then shape it into a rectangle. Divide the dough into 8 equal pieces (each piece should be 115-120 grams). Roll each of those dough pieces into a ball and let them rest on the counter for about 5-10 minutes (this lets the dough relax and helps the creases on the bottom of the ball meld together.
4. Shaping the bagels:
To shape the bagels, poke a hole through the center and stretch until the hole is about 1″ in diameter. Place the shaped bagels on a parchment lined (or cornmeal dusted) baking sheet.
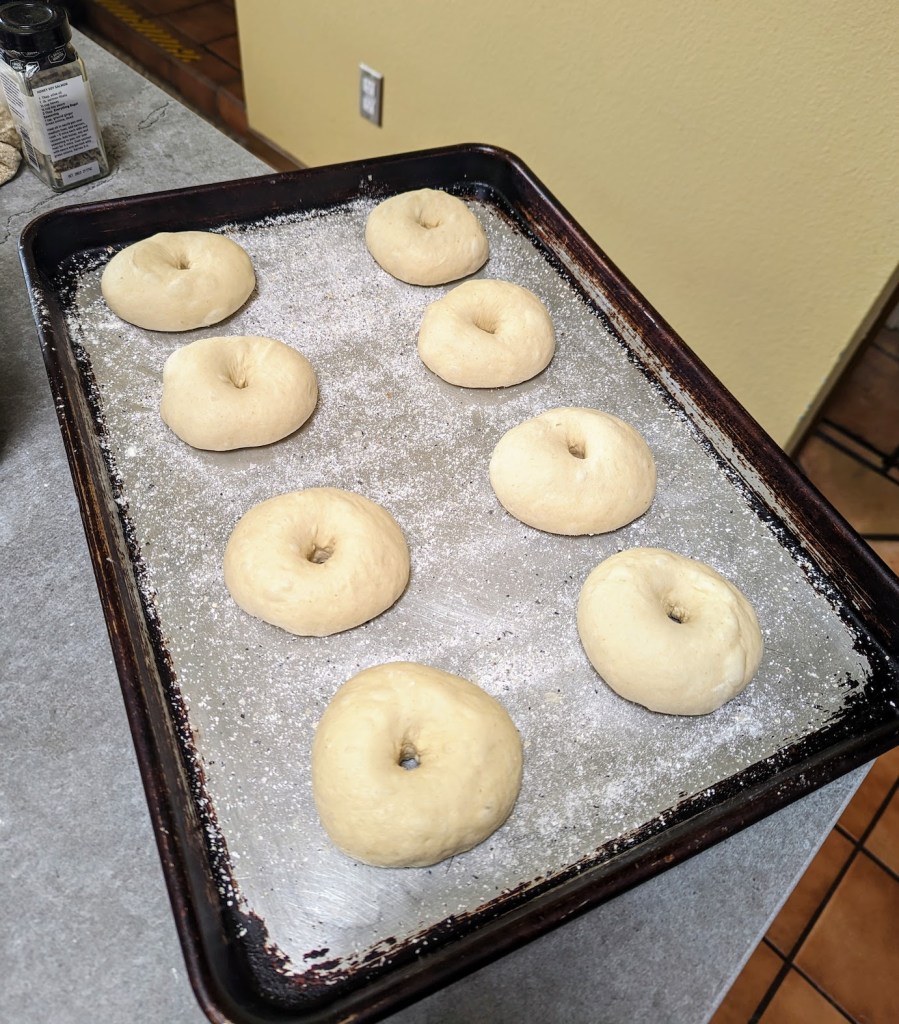
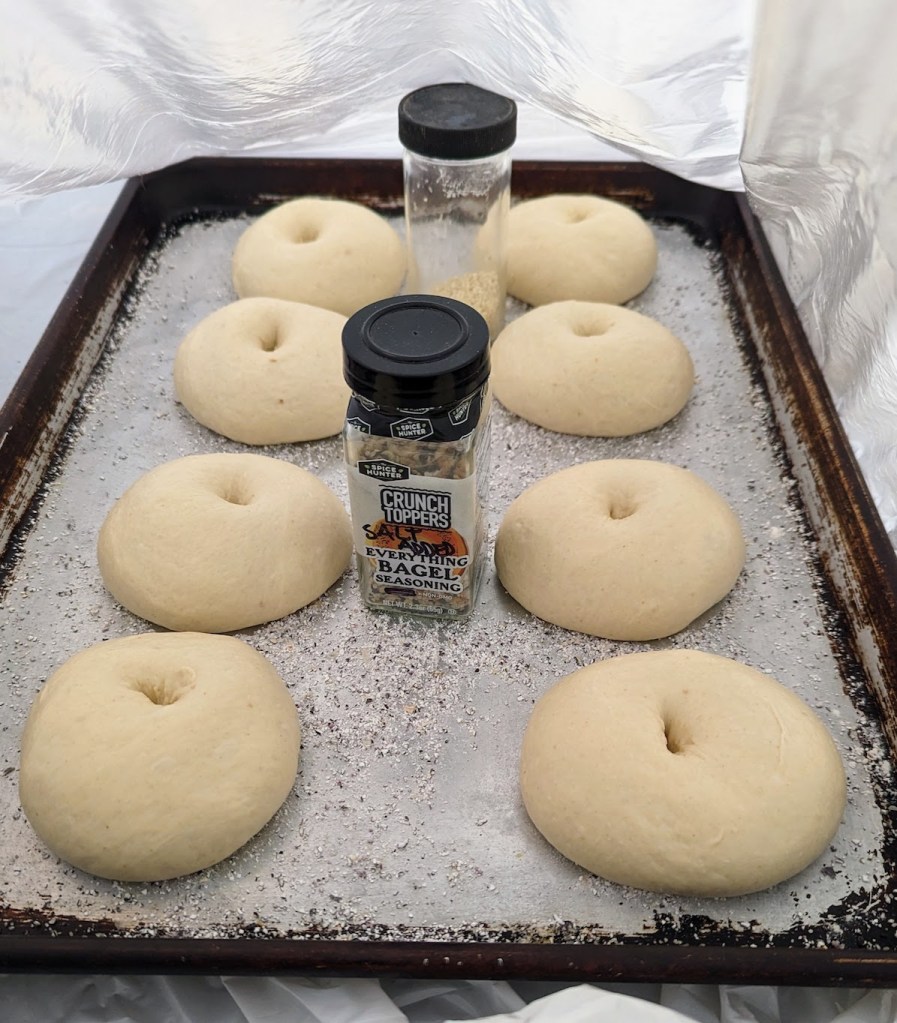
5: Let the bagels proof at room temp
I put a couple spice jars between the bagels on the baking sheet and then slid the whole sheet into a large plastic bag. The spice jars helped keep the bag off the bagels as they proofed. You can also cover with plastic wrap, as long as you have a way to keep the bagels from drying out.
Let the bagels proof for 3-3.5 hours. While the bagels are proofing, get your egg wash and toppings ready (if you’re using them).

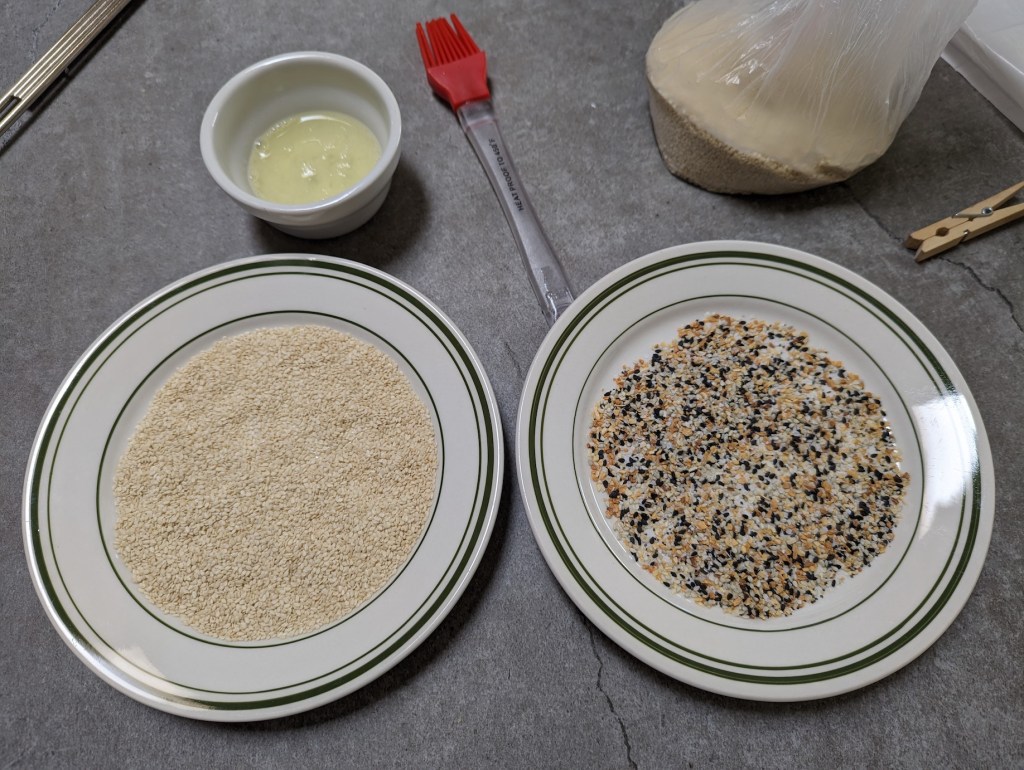
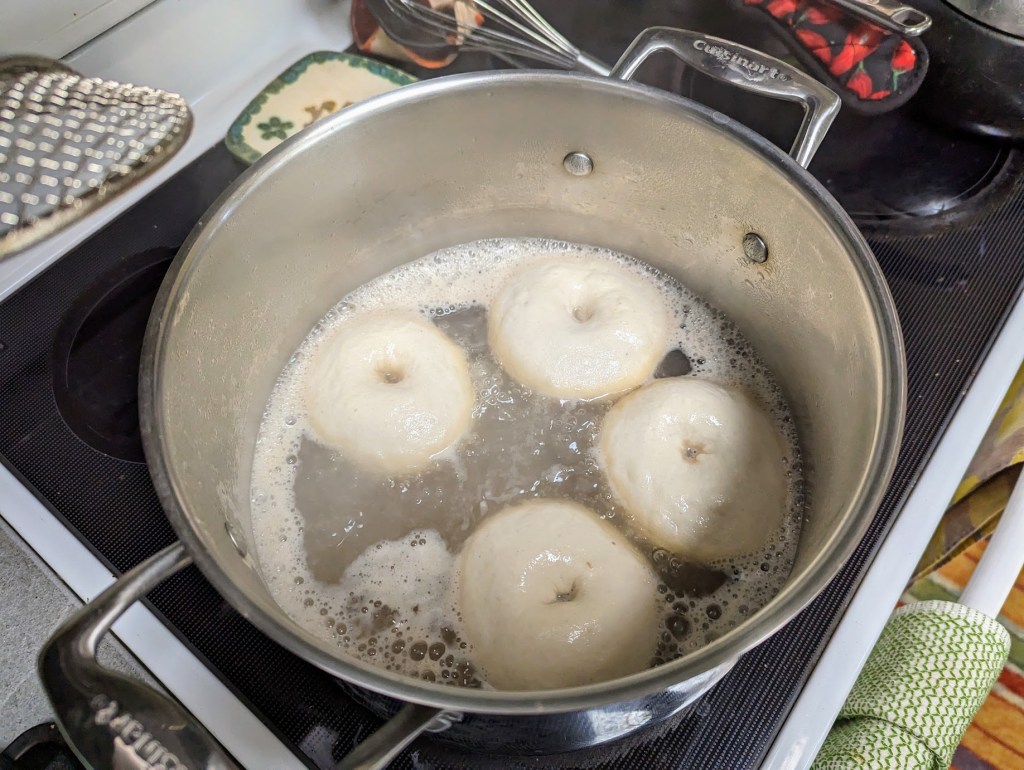
6: Water bath and topping
About 30 minutes before your bagels are finished proofing, preheat your oven to 435’F and get your water bath ready.
The malt powder won’t fully dissolve, and that’s ok. Just mix it as the water comes up to a boil and make sure it doesn’t burn to the bottom of your pot.
Working with four bagels at a time, add them to the water bath and let them simmer on one side for two minutes, flip them and then let them simmer for an additional minute. Remove them and let them sit on parchment paper as you repeat this step.
If you’re going to top the bagels, brush them with your egg wash and dip them in your toppings. Place your finished bagels on a parchment lined baking sheet.


7. Bake your bagels:
Place your sheet of bagels in the bottom 1/3 of the oven and bake for 20-25 minutes, rotating the pan after 15 minutes.
8. Let your bagels cool:
Move your bagels to a wire rack and let them cool down. You can store them in a paper or plastic bag in the pantry for a couple of days or freeze them to use them later.


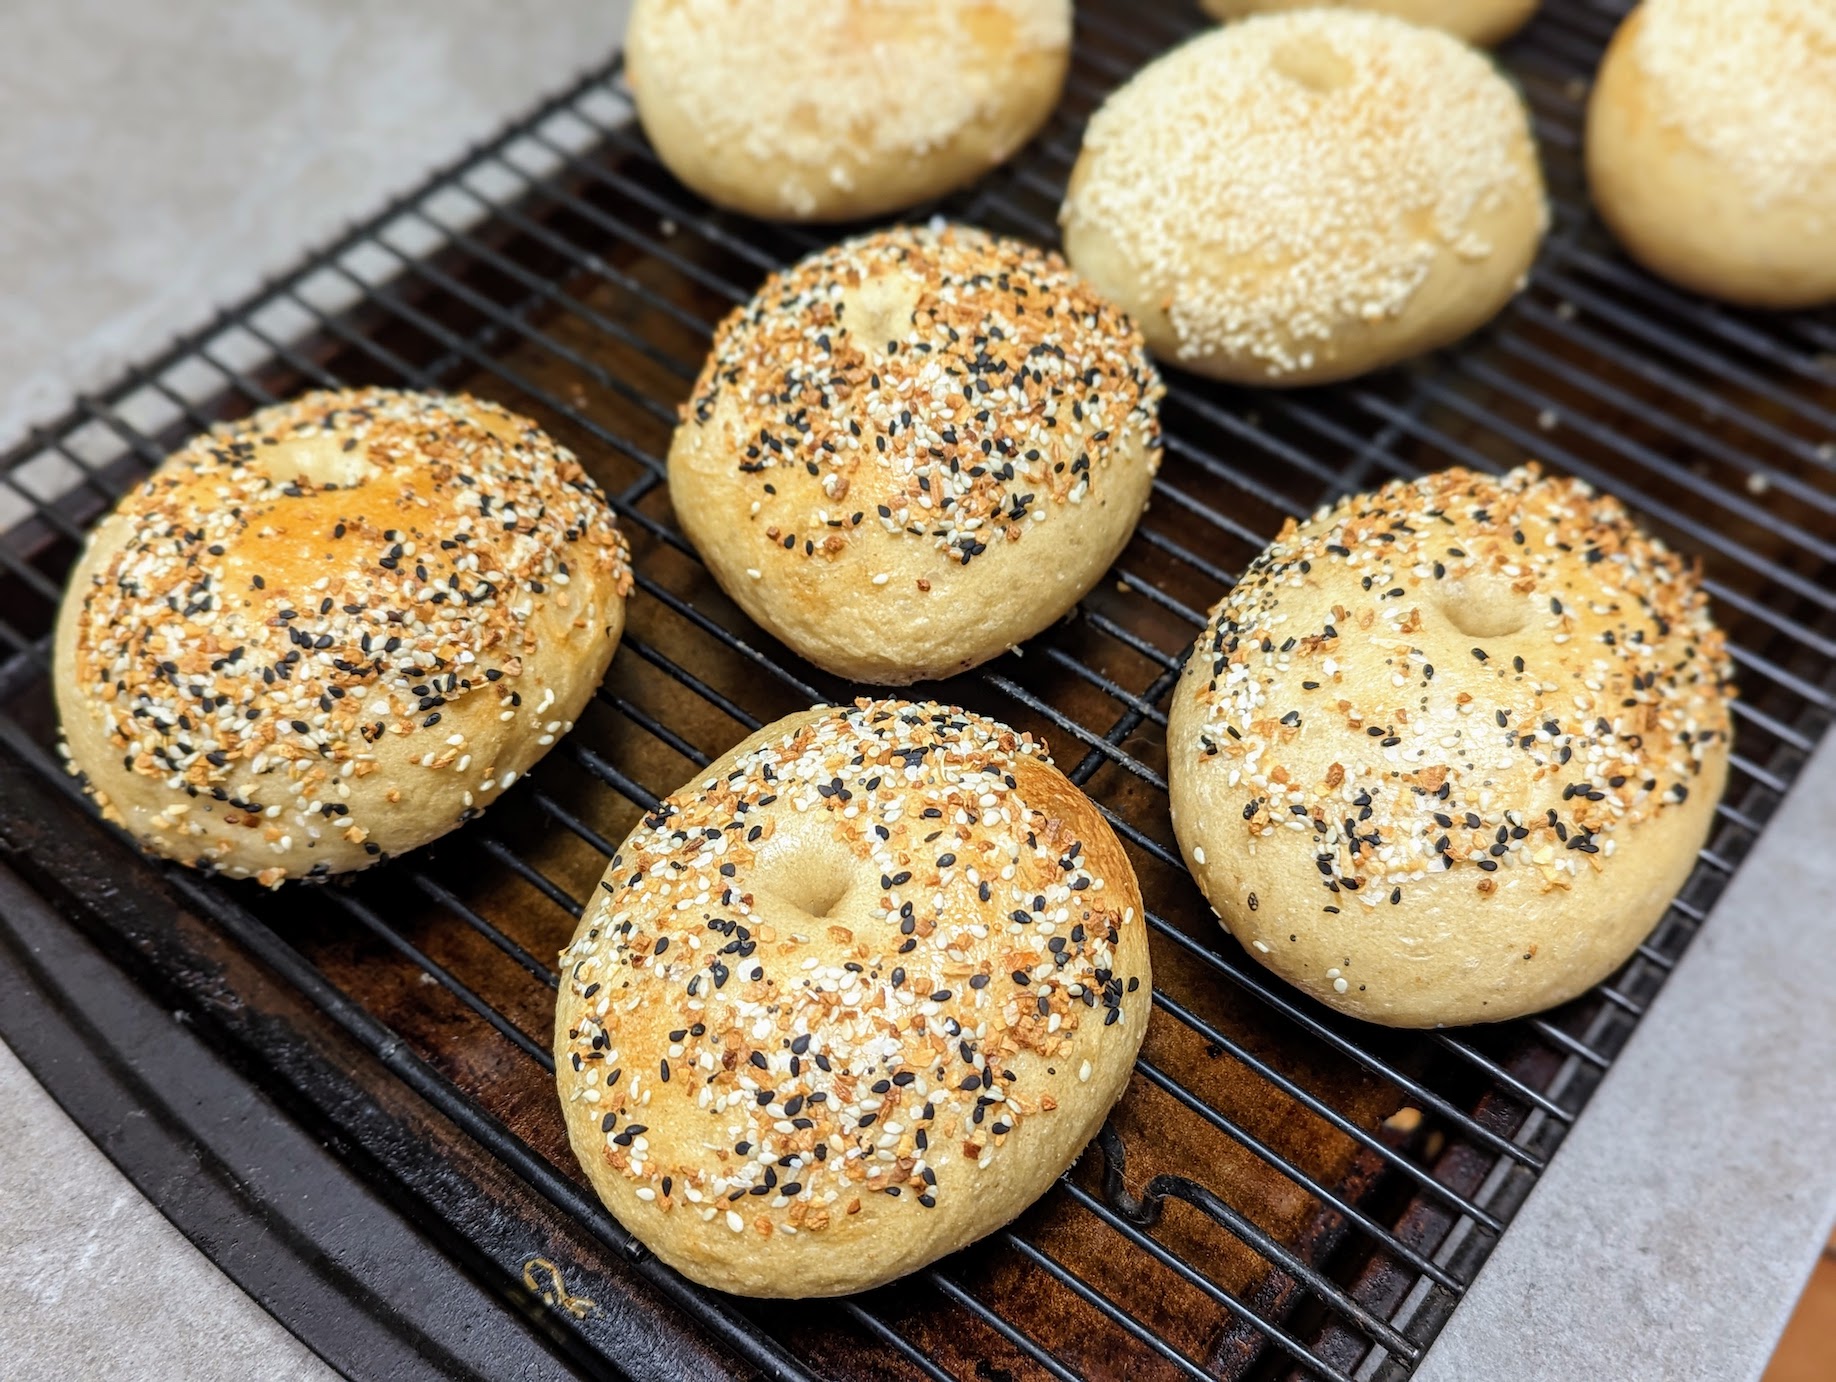


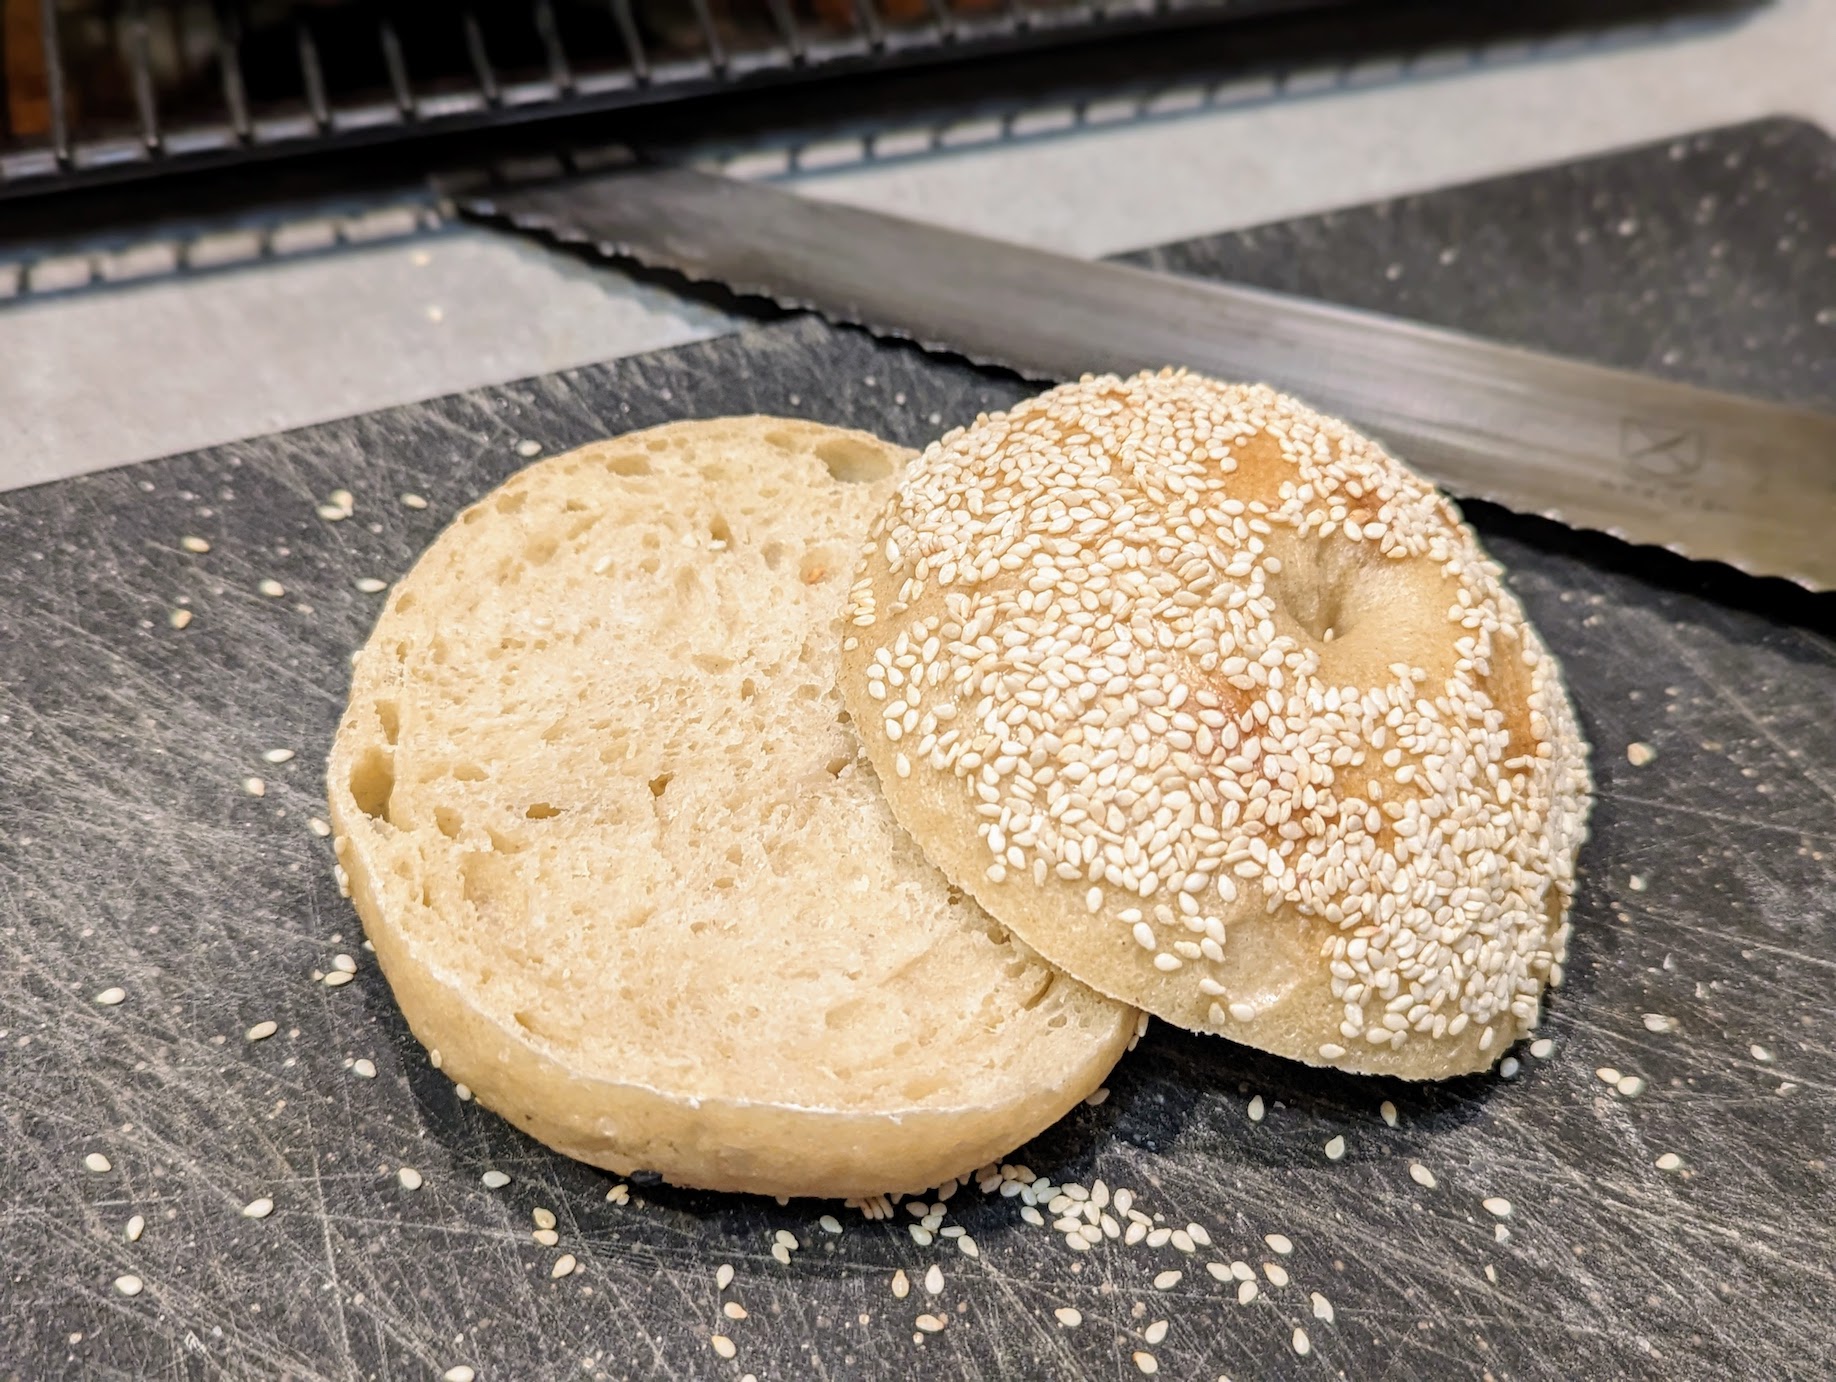

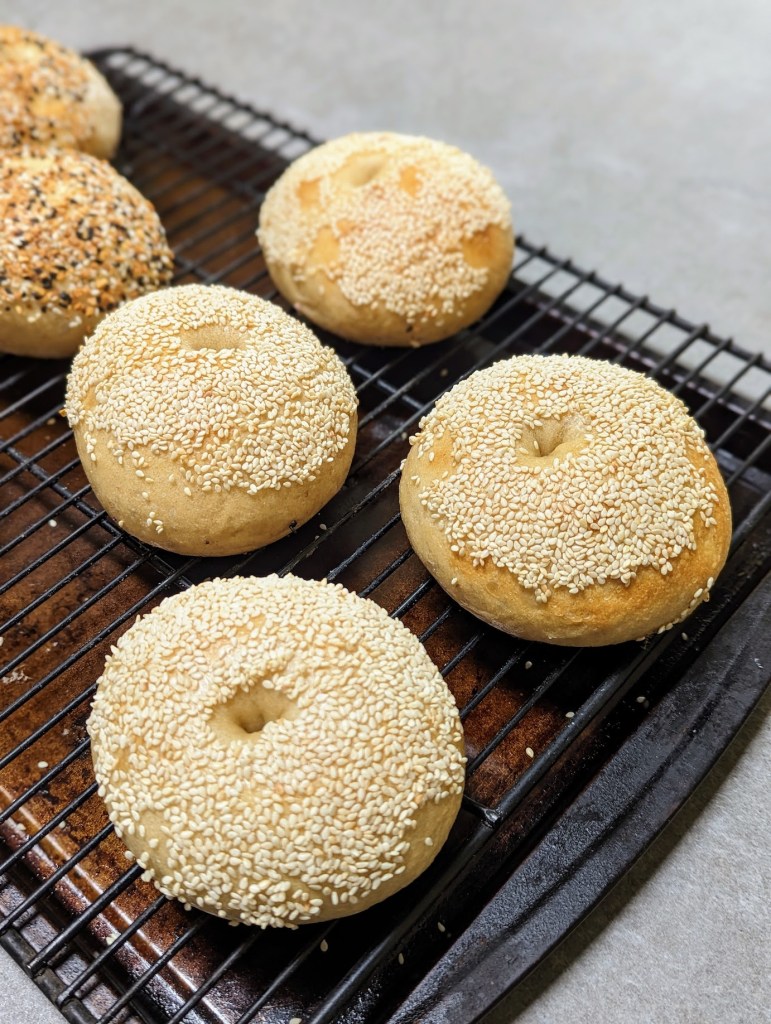
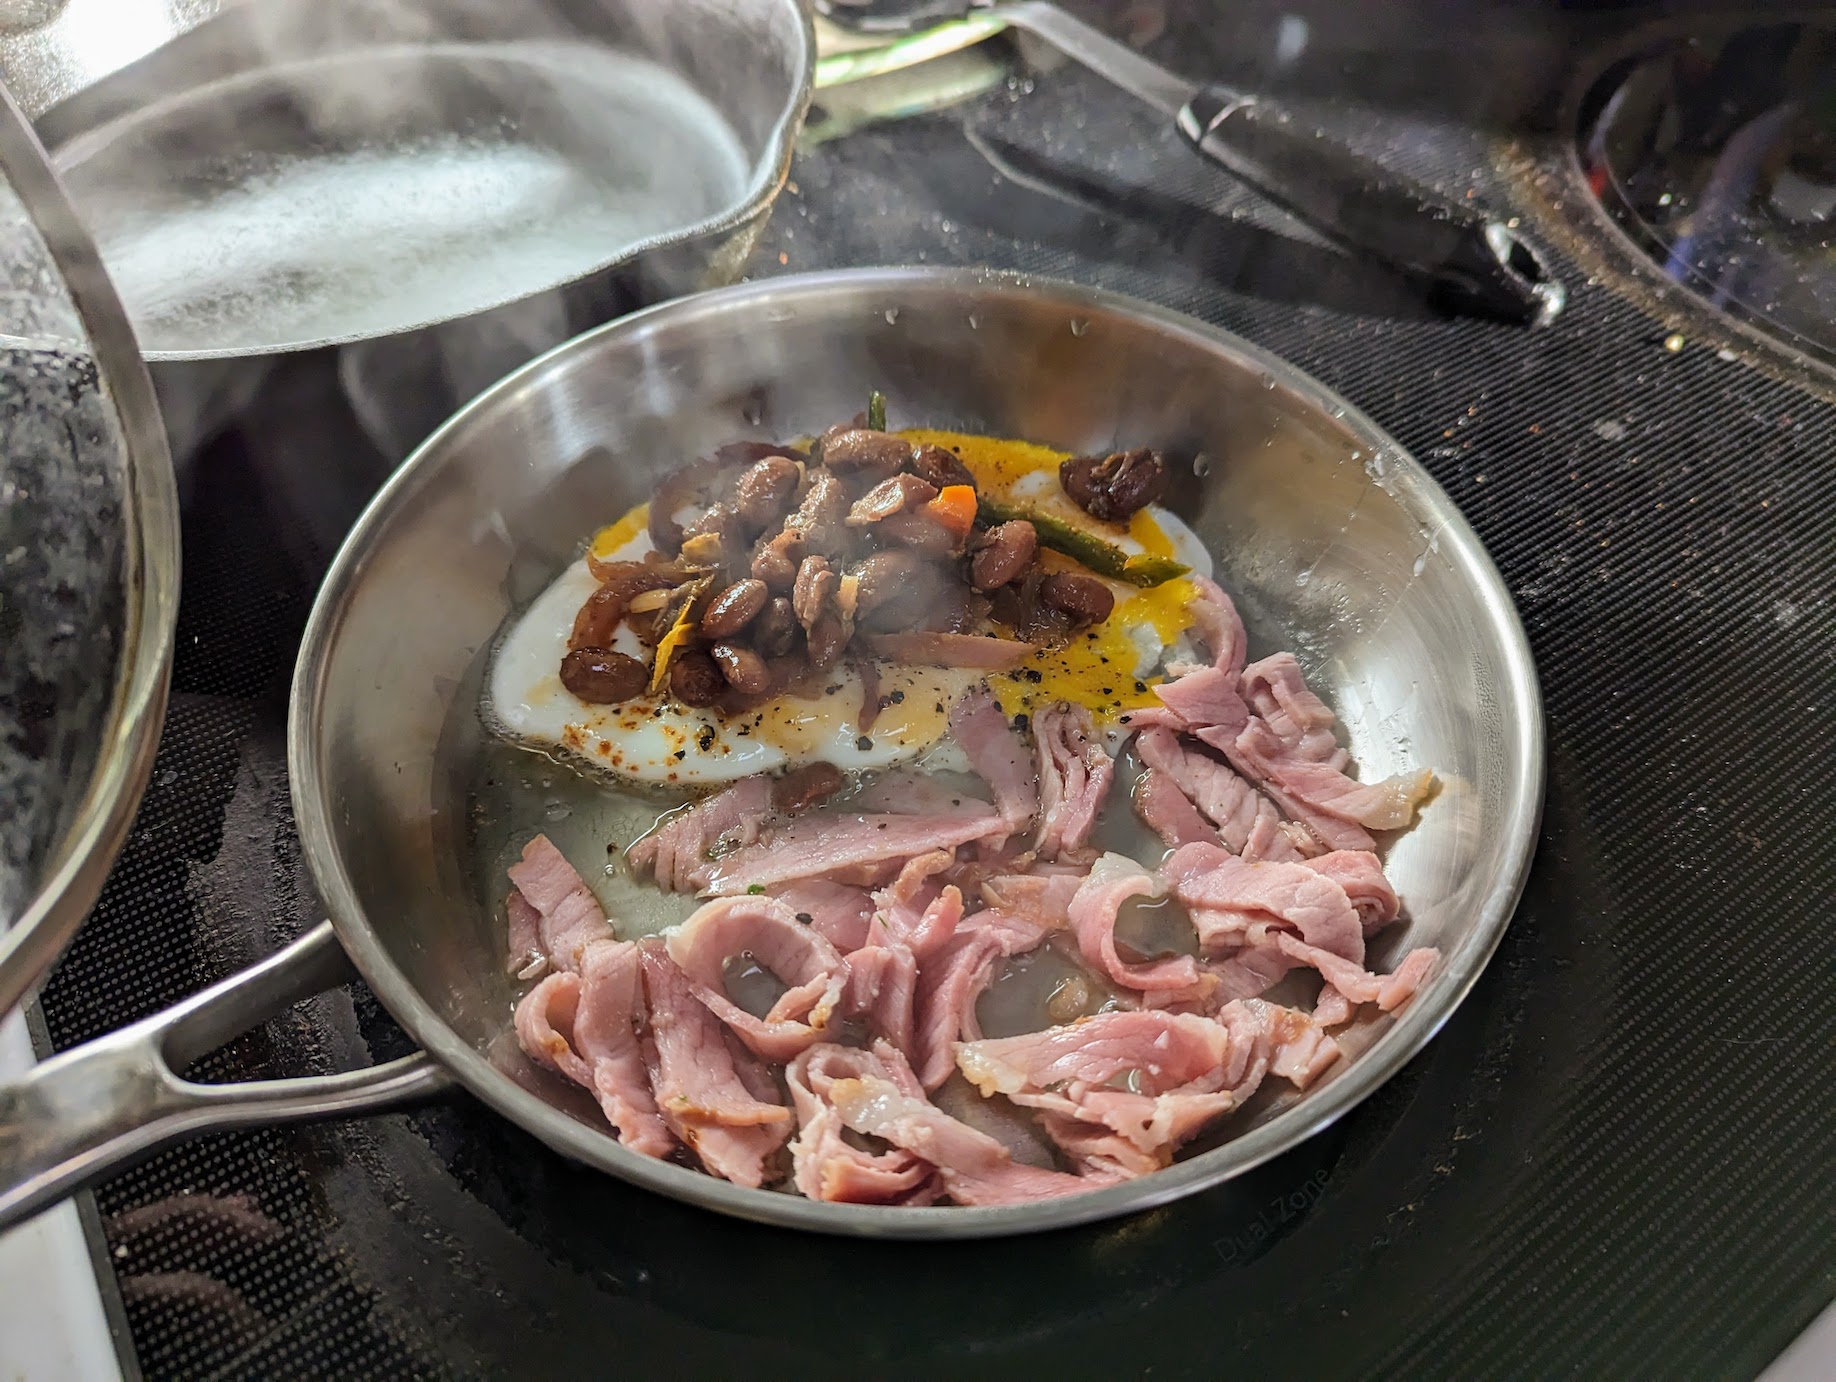
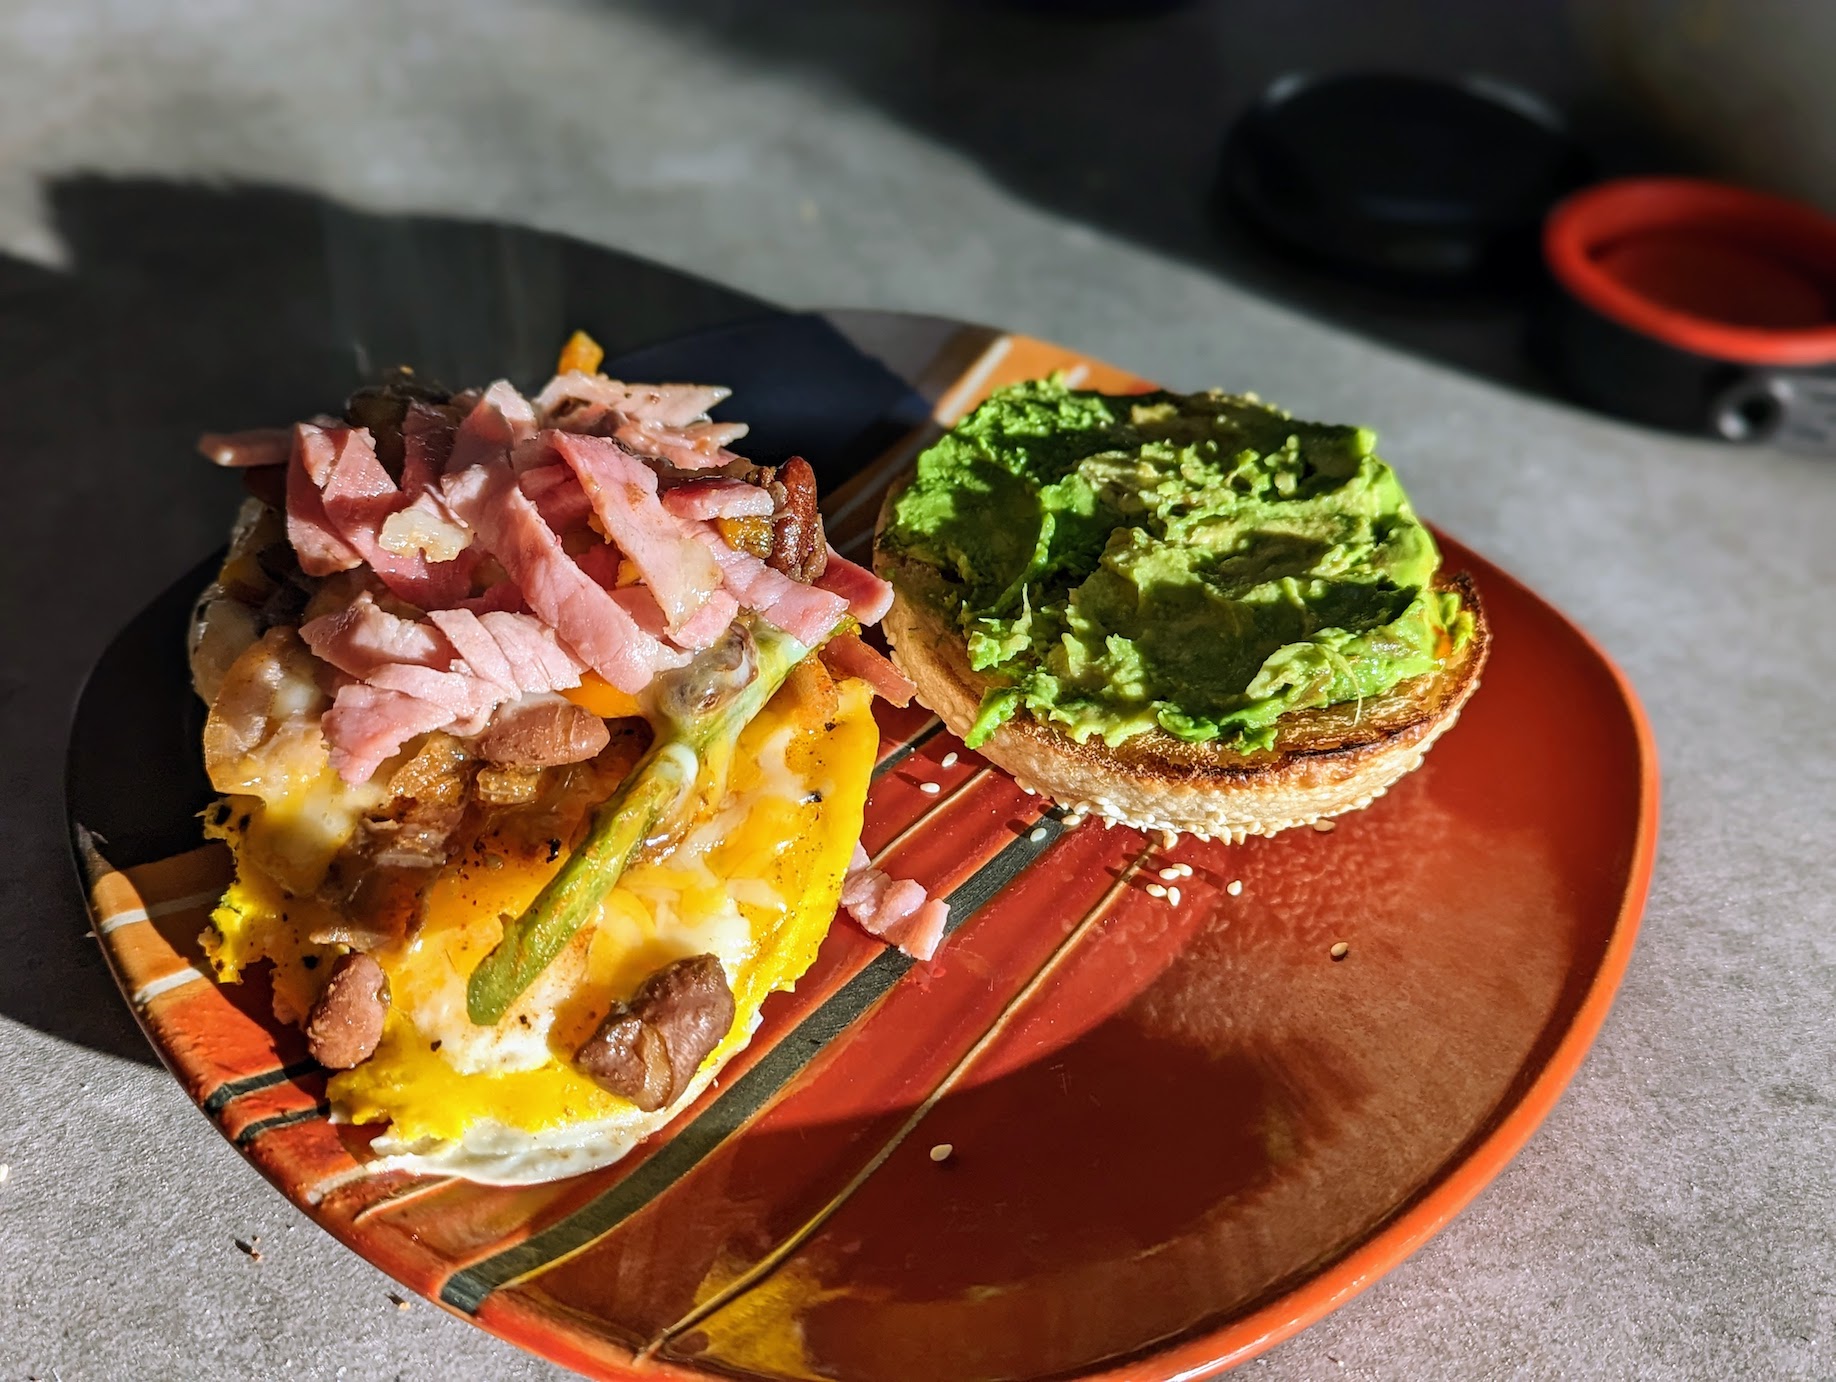
9. Toast them up and enjoy!
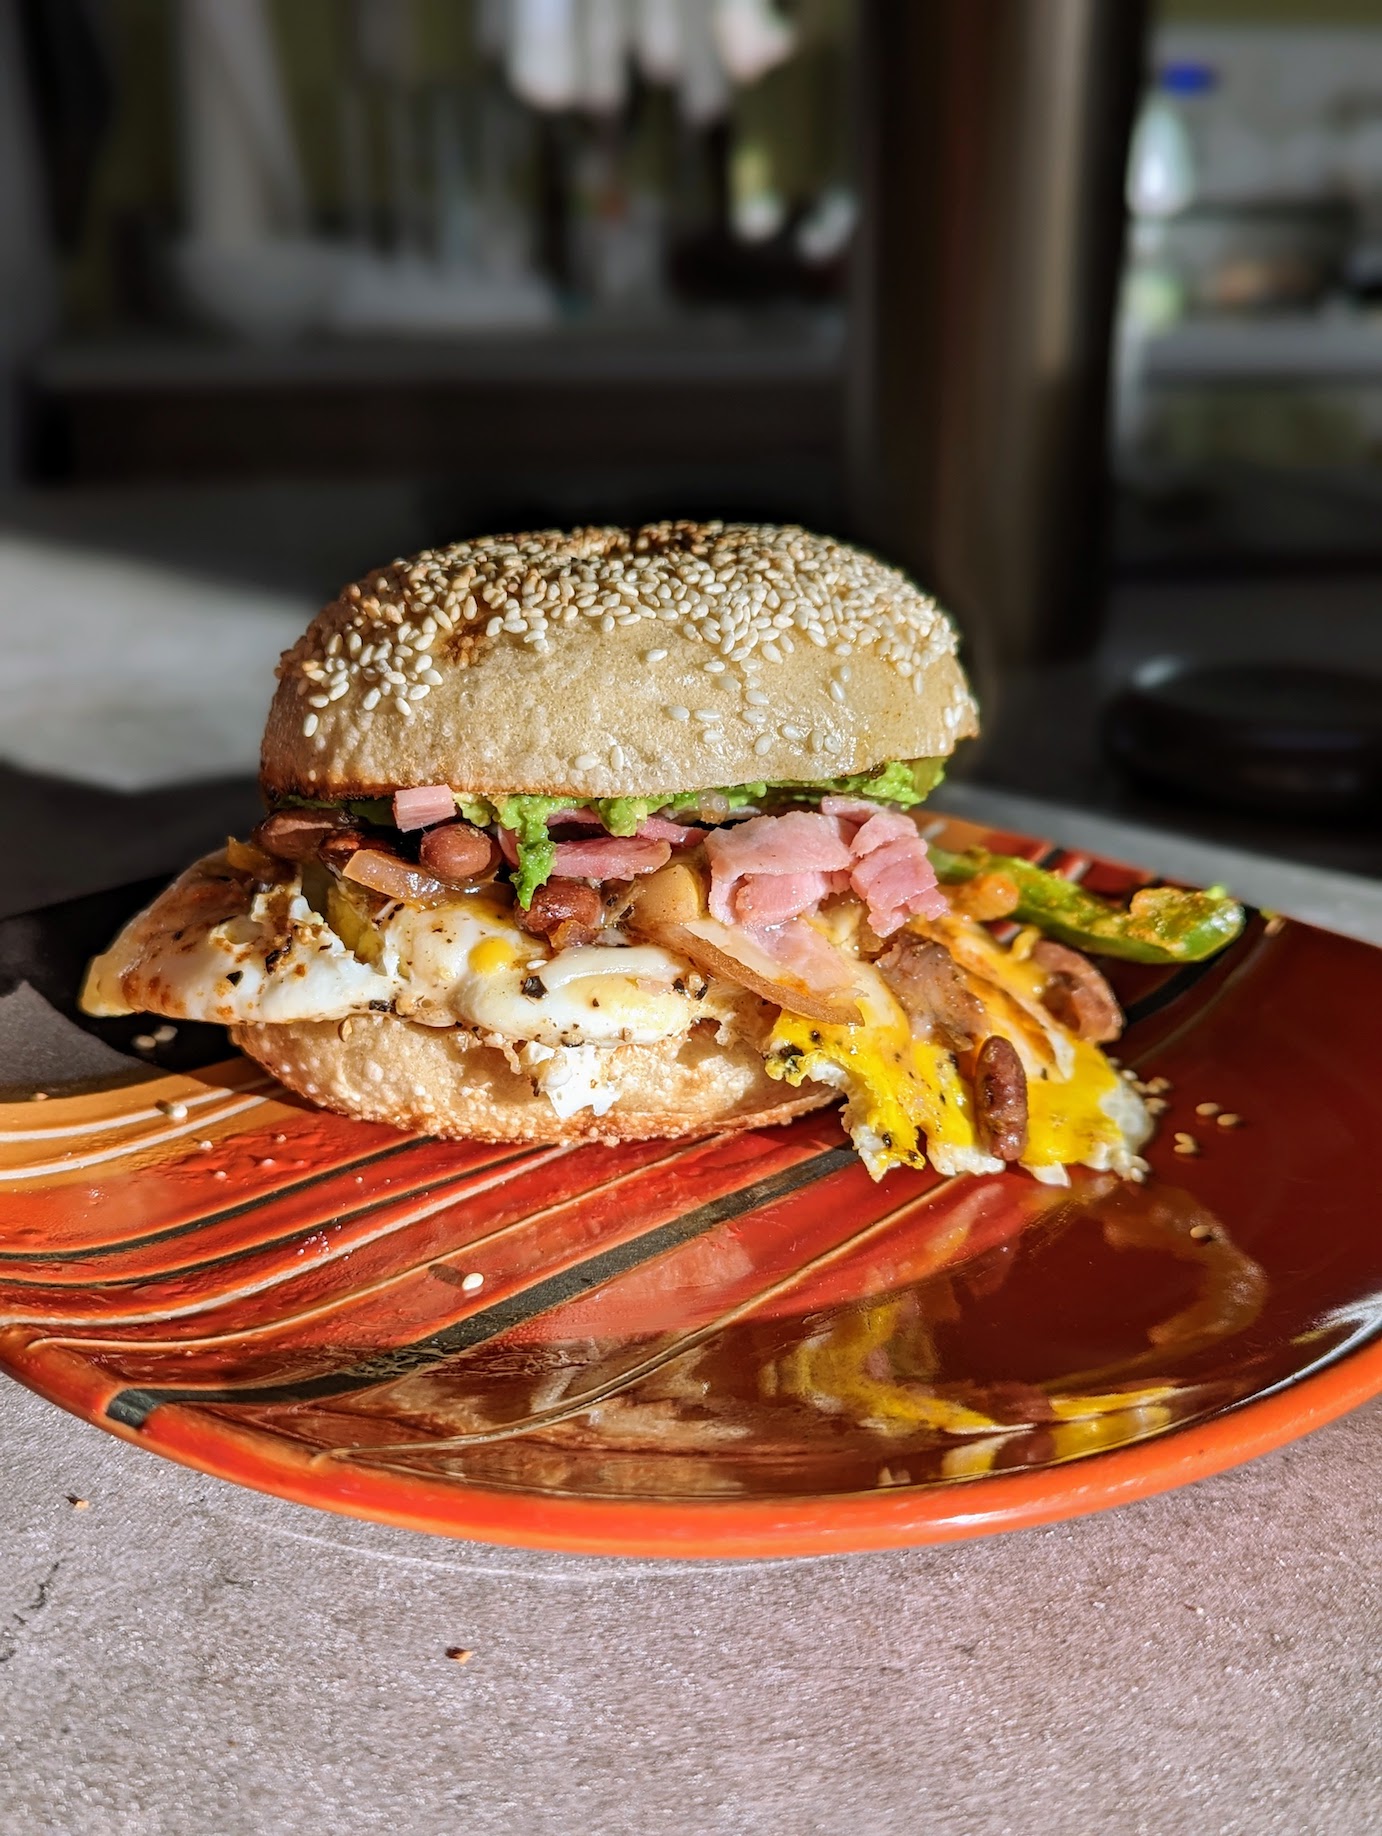
This test batch didn’t get a big hole in the middle, which is fine for making breakfast sandwiches. I toasted my bagel and loaded it up with avocado, Peruvian pepper jam, egg, jalapenos, bell peppers, onion, pinto beans, ham and cheese.

Changes for next time
Like I said earlier, this was the first trial of this recipe I put together. There was a lot I learned in the process and a few things I want to change for next time. Some of those changes are:
- Let the dough balls rest longer on the counter and make sure there aren’t obvious folds on the bottom of the balls
- Make the holes in the bagels larger prior to proofing
- Try to get the crumb a little tighter by rolling each bagel when making the hole
- Bake at a slightly higher temperature to get better browning
