I’ve made this crust countless times (with both yellow and blue cornmeal) and it’s quickly become my go-to pizza dough recipe. There’s no autolyse and no stretching and folding. You can make it first thing in the morning and get it into the fridge before work so it’s ready for you when you get home. The cornmeal adds a nice toothsome bite and the crust is sturdy enough to hold up a slice loaded with toppings.

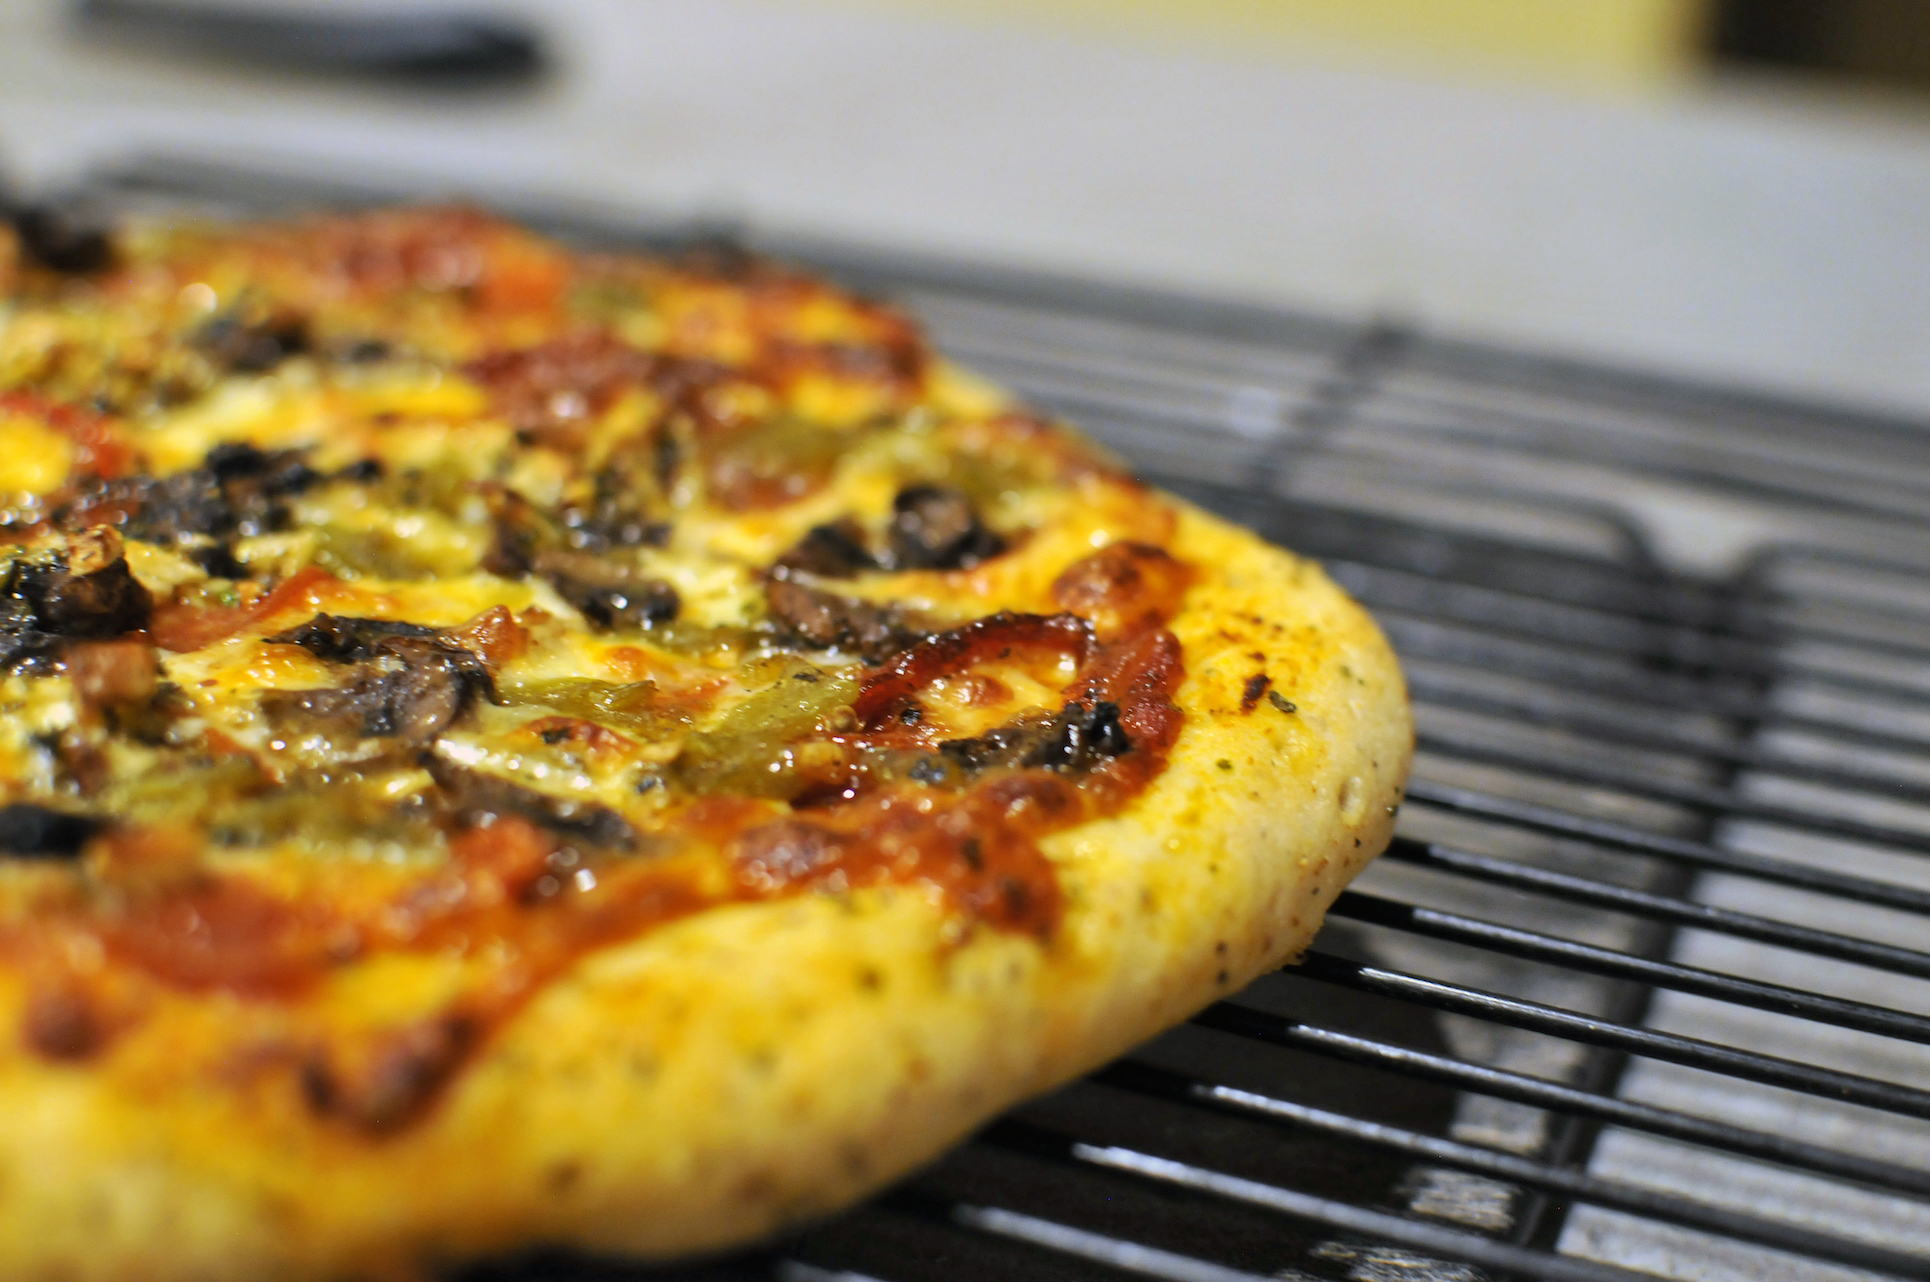
This recipe is scaled down for two pizzas, each about 12″ in diameter. I like my crust thin and crispy and these pizzas turned out exactly that way. To help keep the crust from burning, I like to coat it in an olive oil mixture that’s been soaking with garlic and other herbs. I liberally brush the oil on after adding all the toppings.
About an hour before baking the pizzas I started preheating my pizza stones at 450’F. I’ve tried other methods for baking the pizzas but I always come back to the pizza stones. If you prefer a softer crust, using a baking sheet might be a better choice.
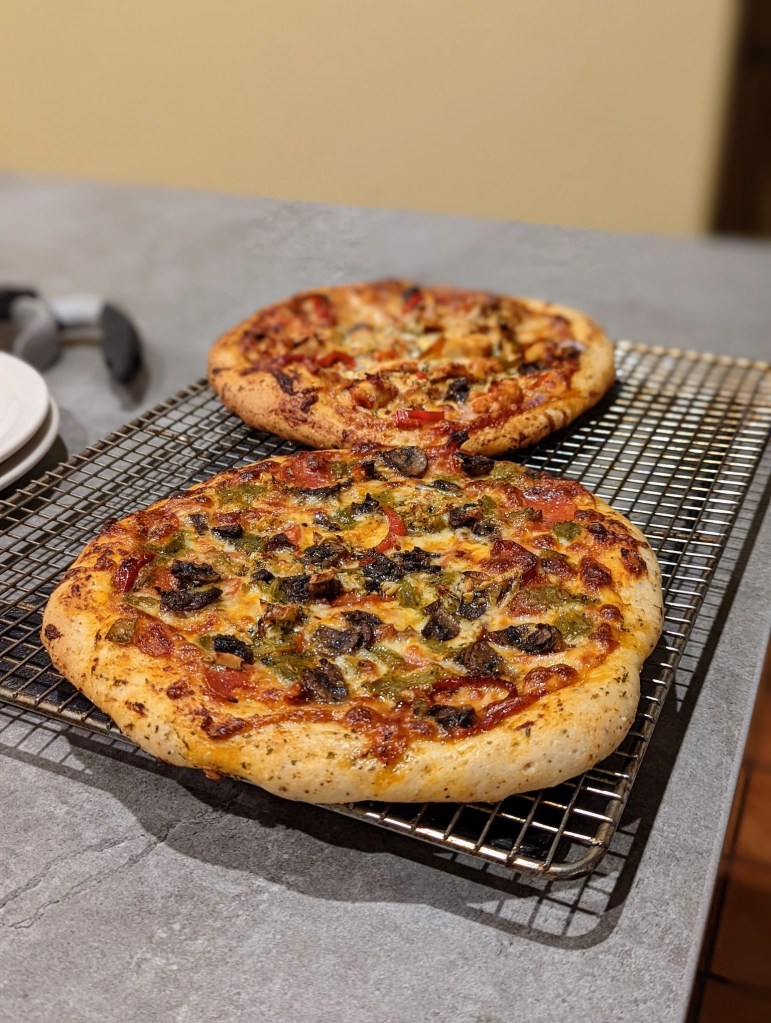
It’s hard for us to practice restraint when it comes to topping our pizzas. For this round, we made two pizzas with the following toppings:
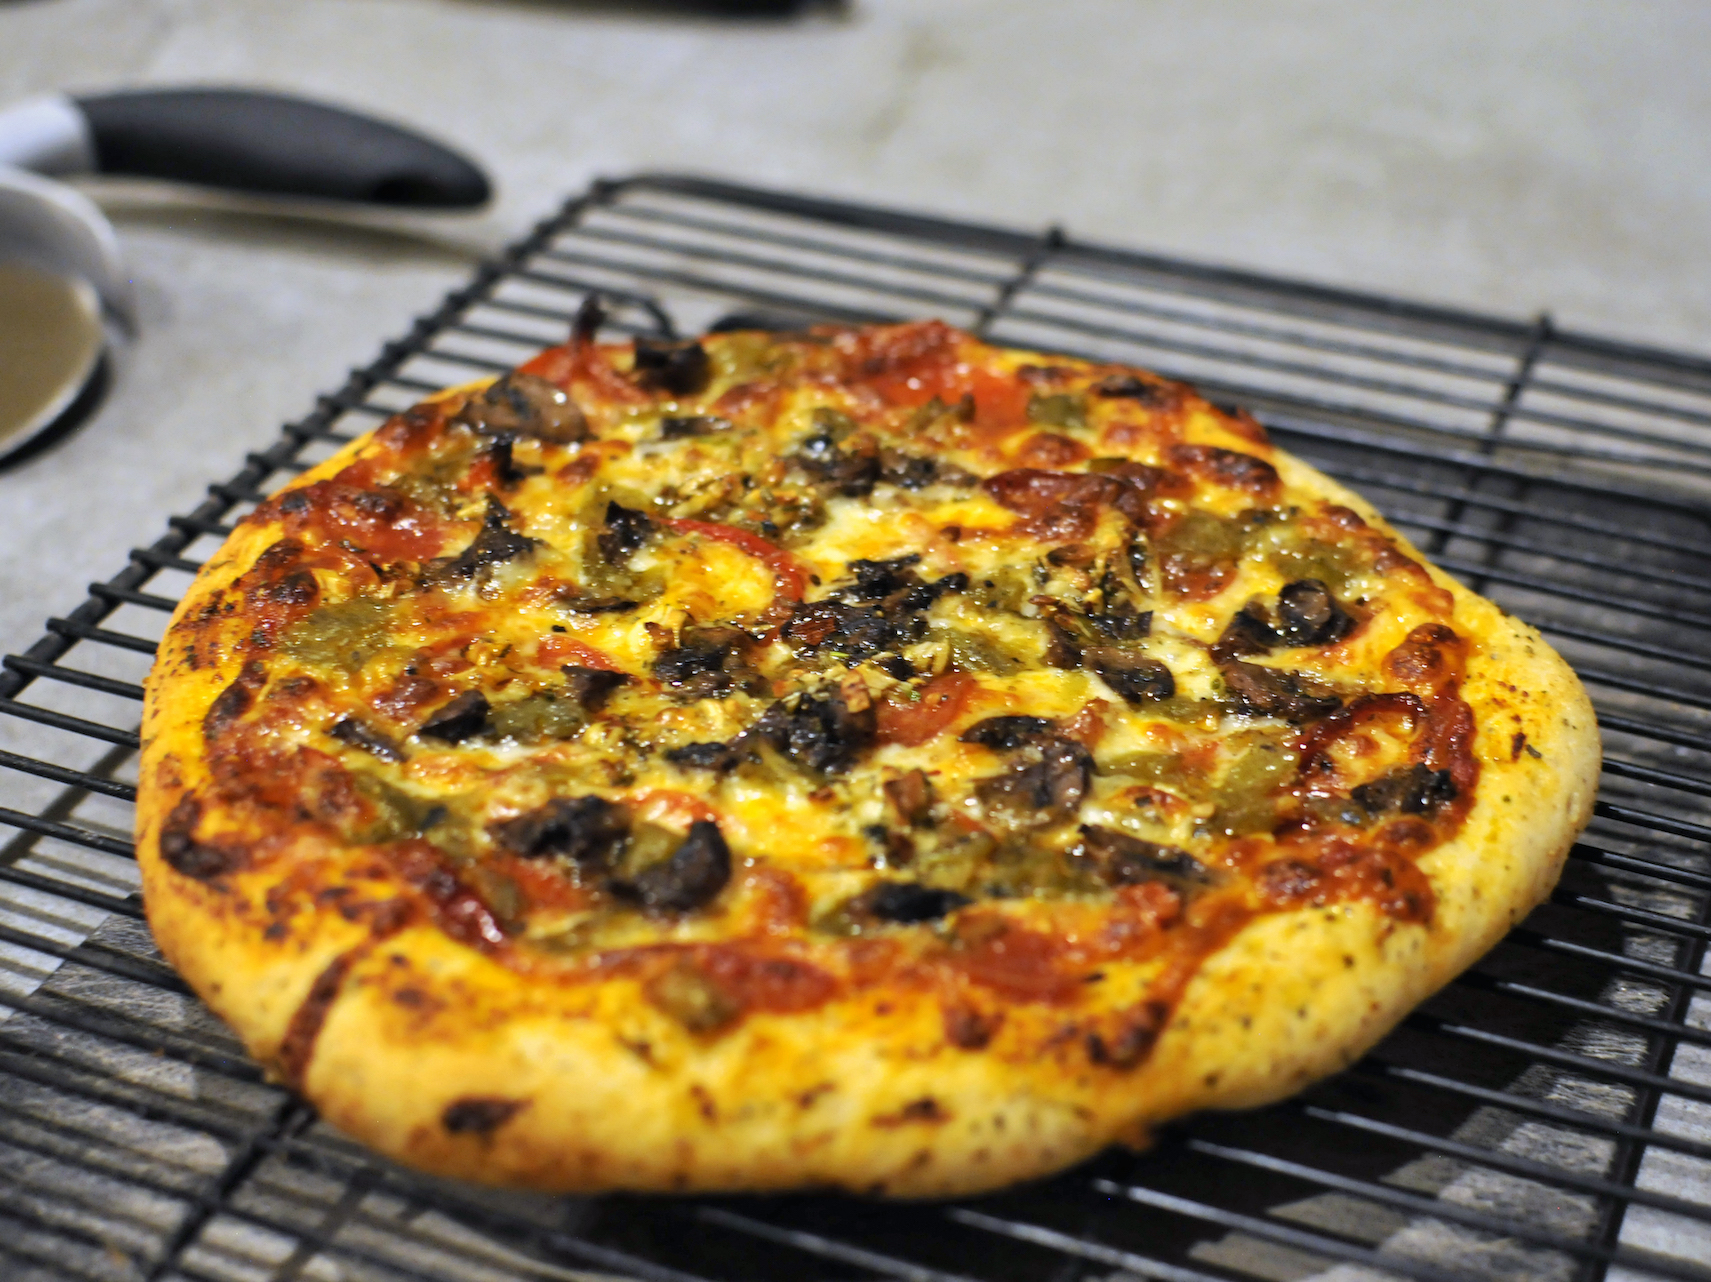
Pizza 1: Pepperoni, mushrooms, bell peppers, green chile, mozzarella cheese and pizza sauce.
Pizza 2: BBQ chicken, red onion, mushrooms, bell peppers, guajillo peppers (home grown), mozzarella cheese and half pizza sauce/half BBQ sauce.
Both the mushrooms and bell peppers were precooked to help reduce the amount of liquid they’d expel during the baking process.
Ingredients:
Dough
Makes two 12″ pizzas or four calzones. This recipe can be easily doubled/quadrupled for more pizzas or cut in half for one pizza.
- 300g All Purpose flour
- 245g filtered water @ 90’F
- 15g blue cornmeal
- 8g sea salt
- 3.5g bakers yeast


Method:
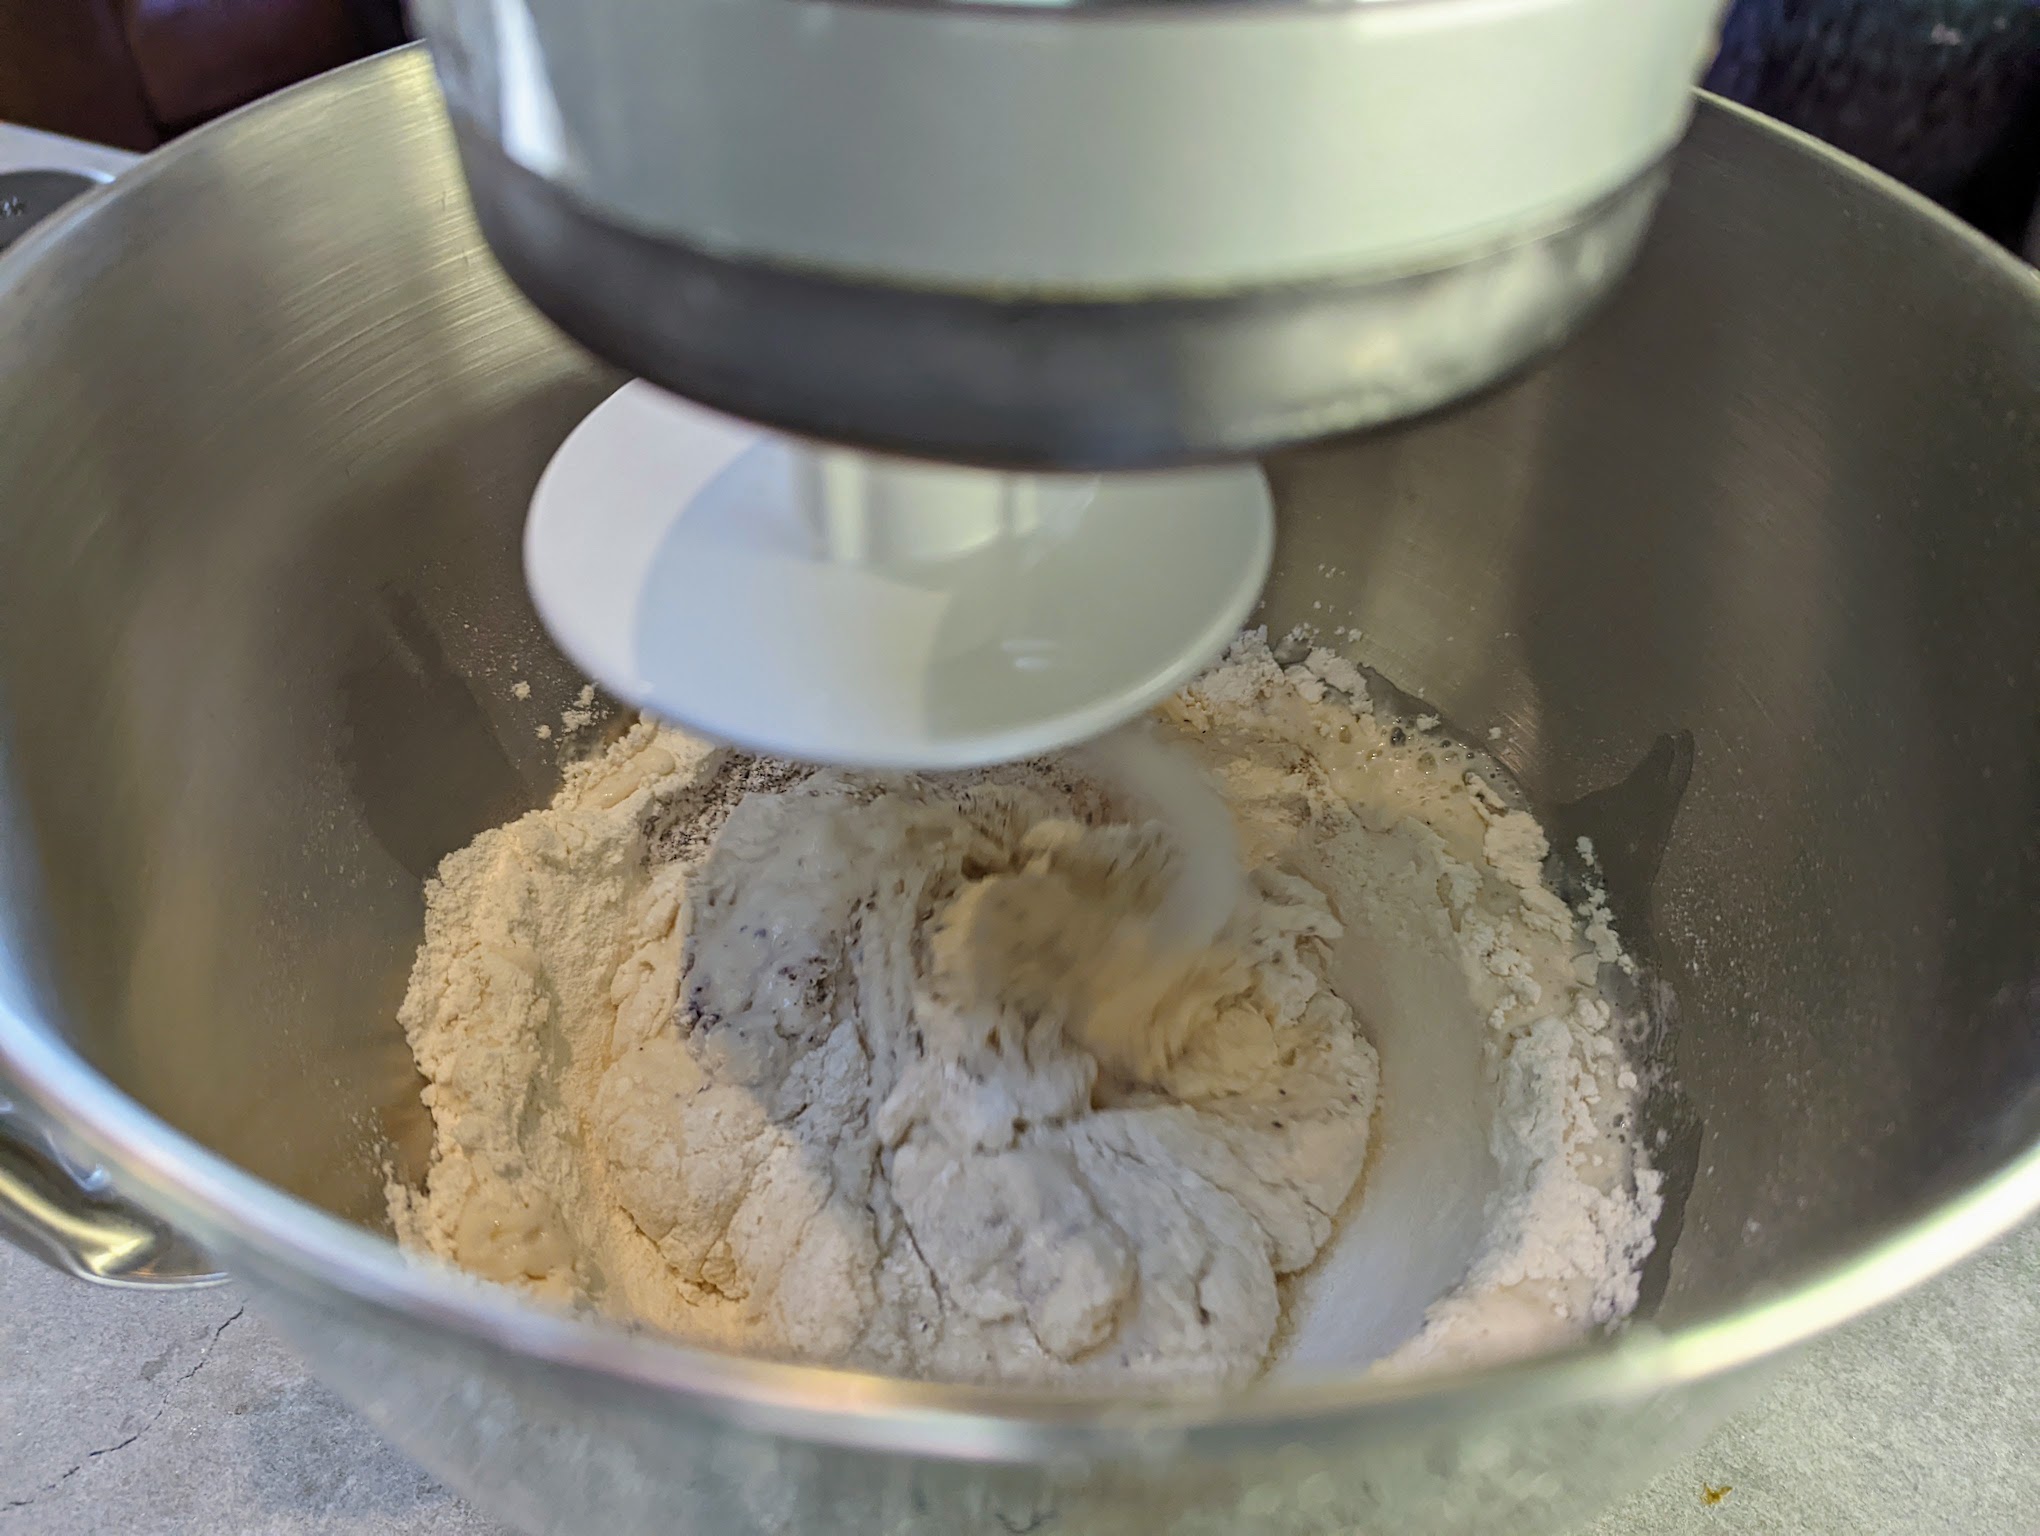
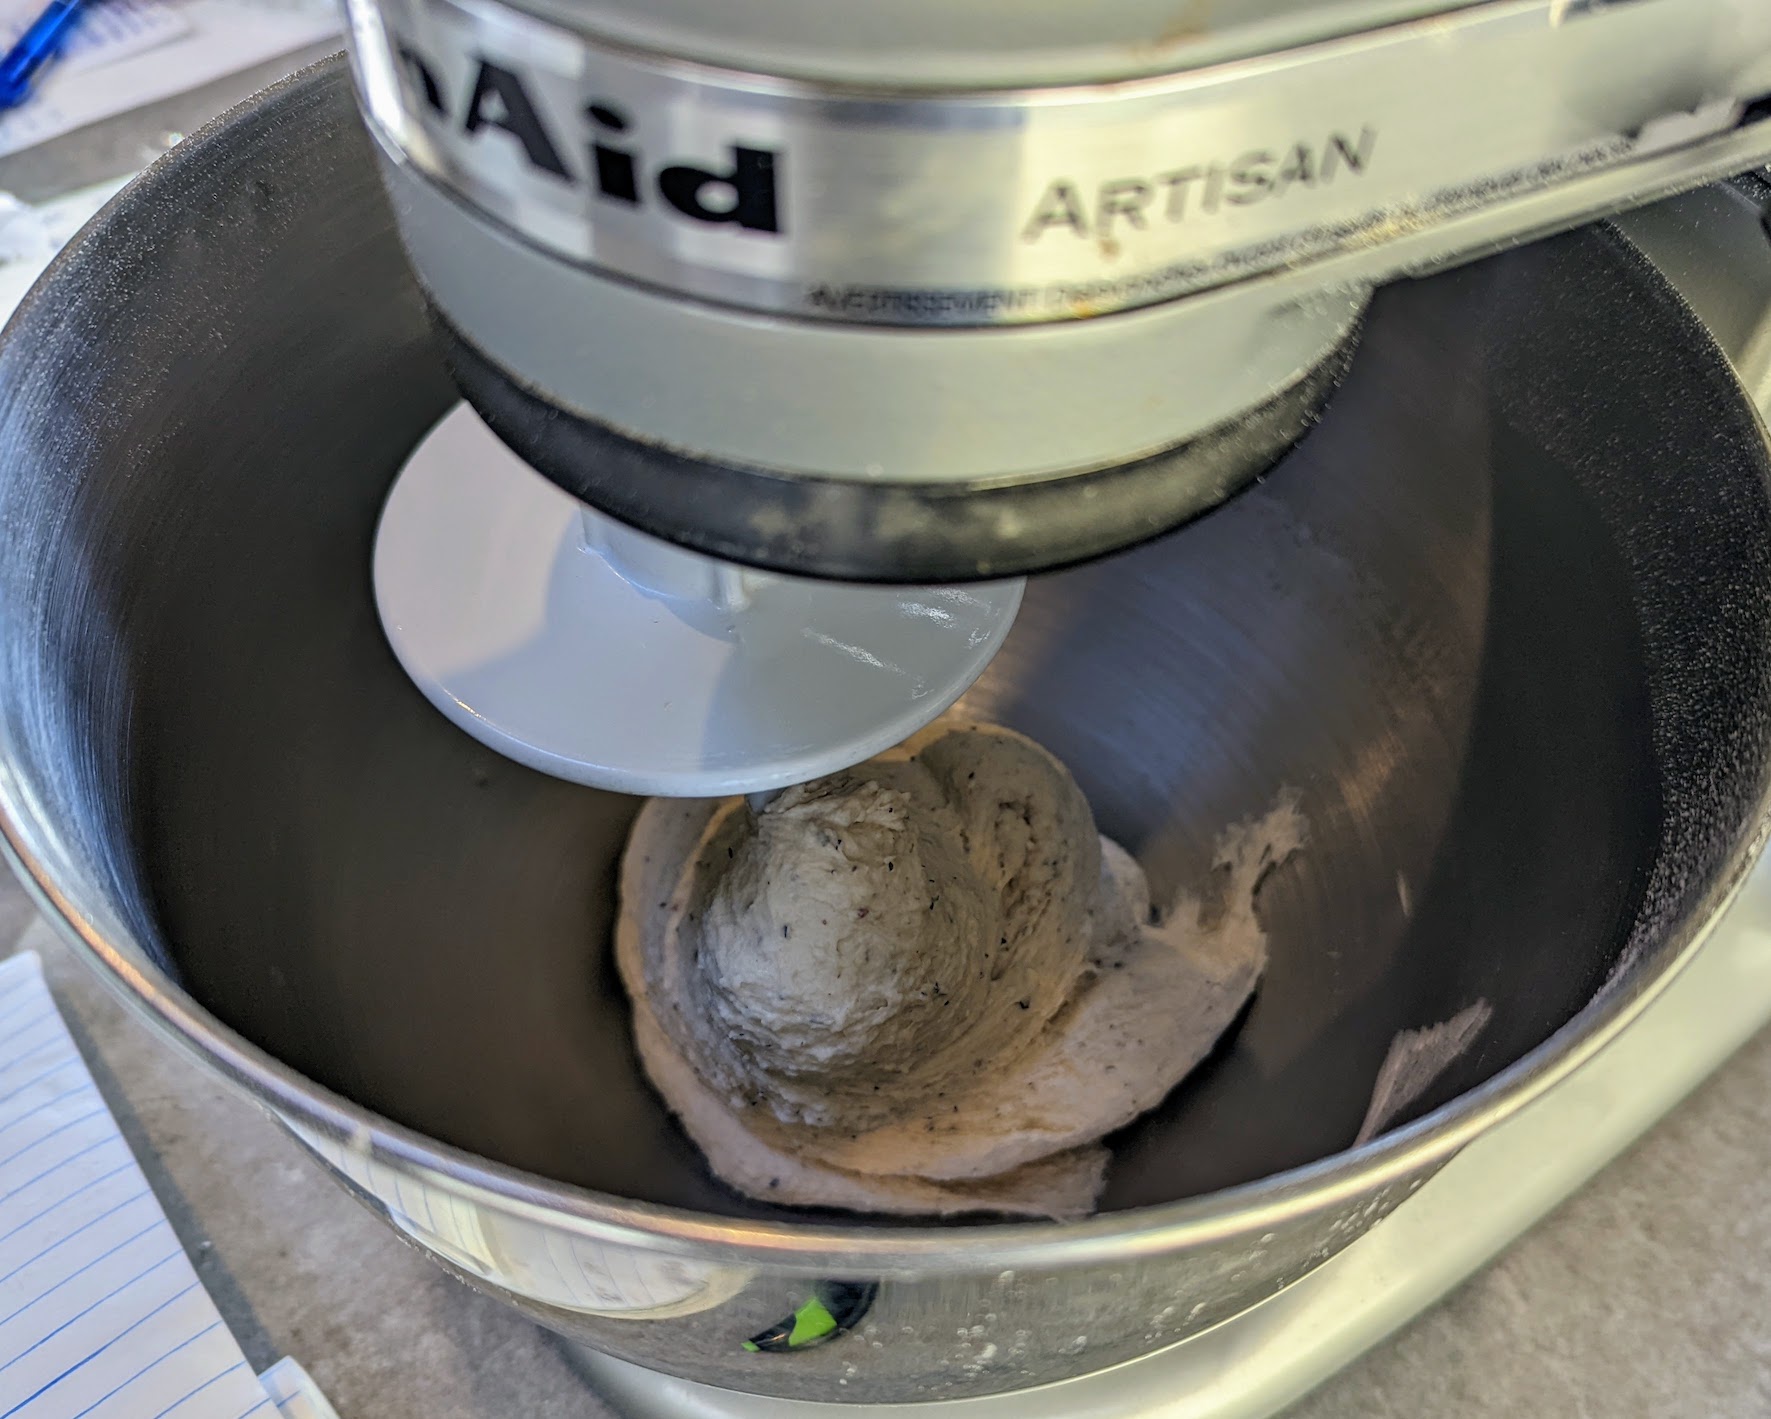
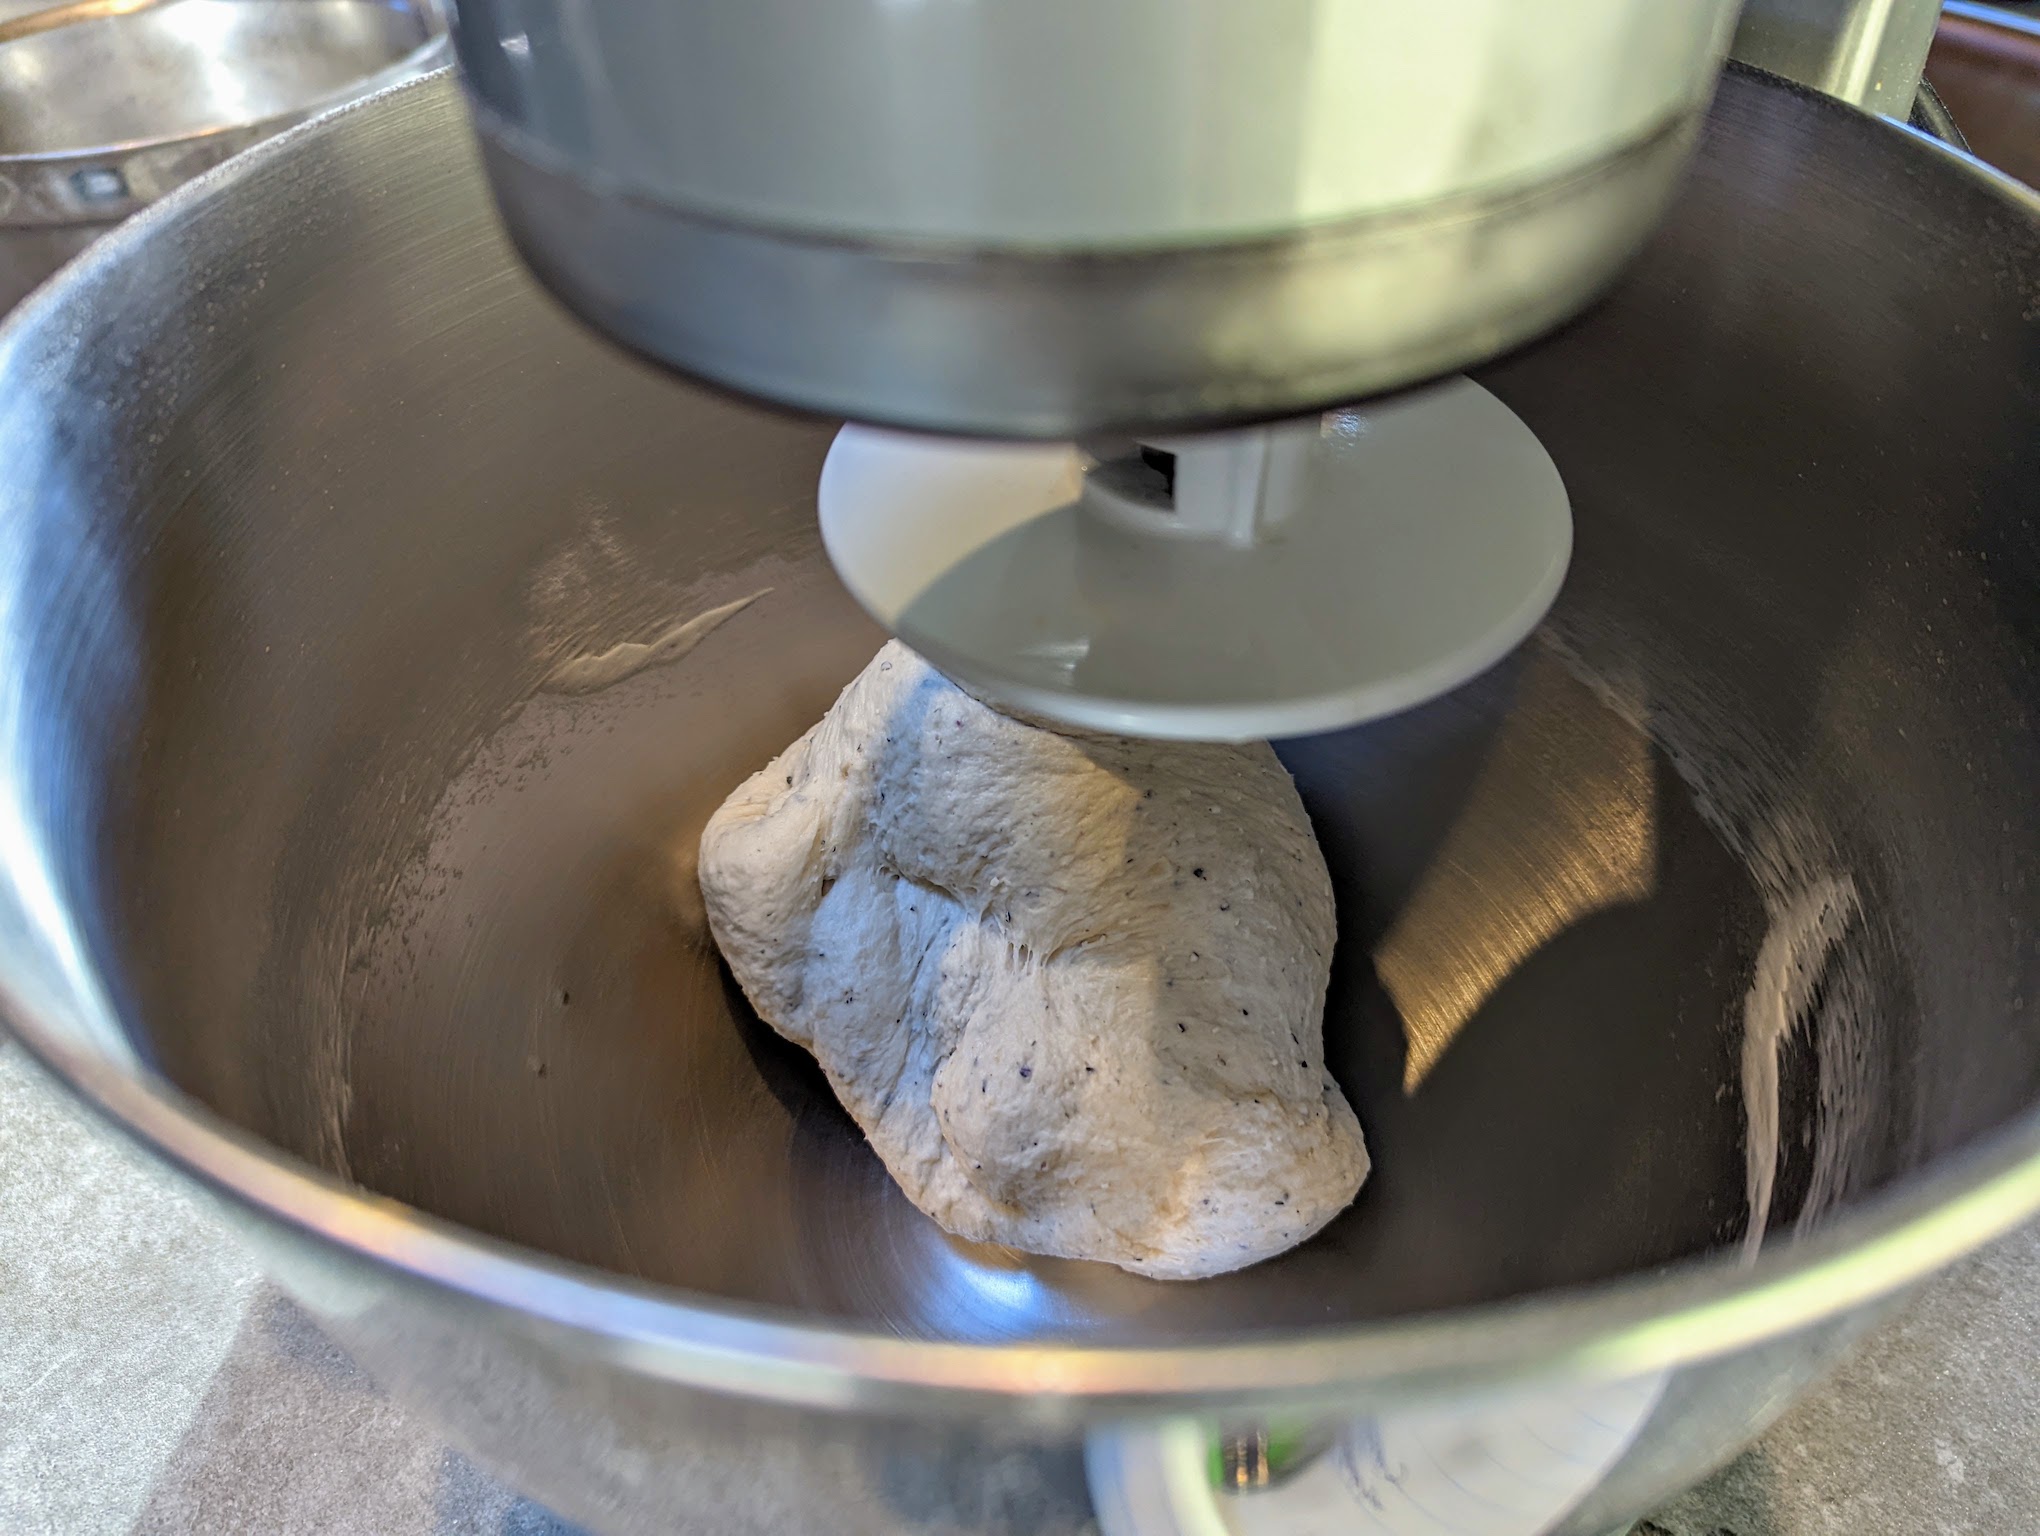
I combined all of the above ingredients together in a stand mixer with the dough hook attachment and mixed then kneaded for about 10 minutes on high. I didn’t worry about trying to autolyse the flour and water and instead just started mixing.
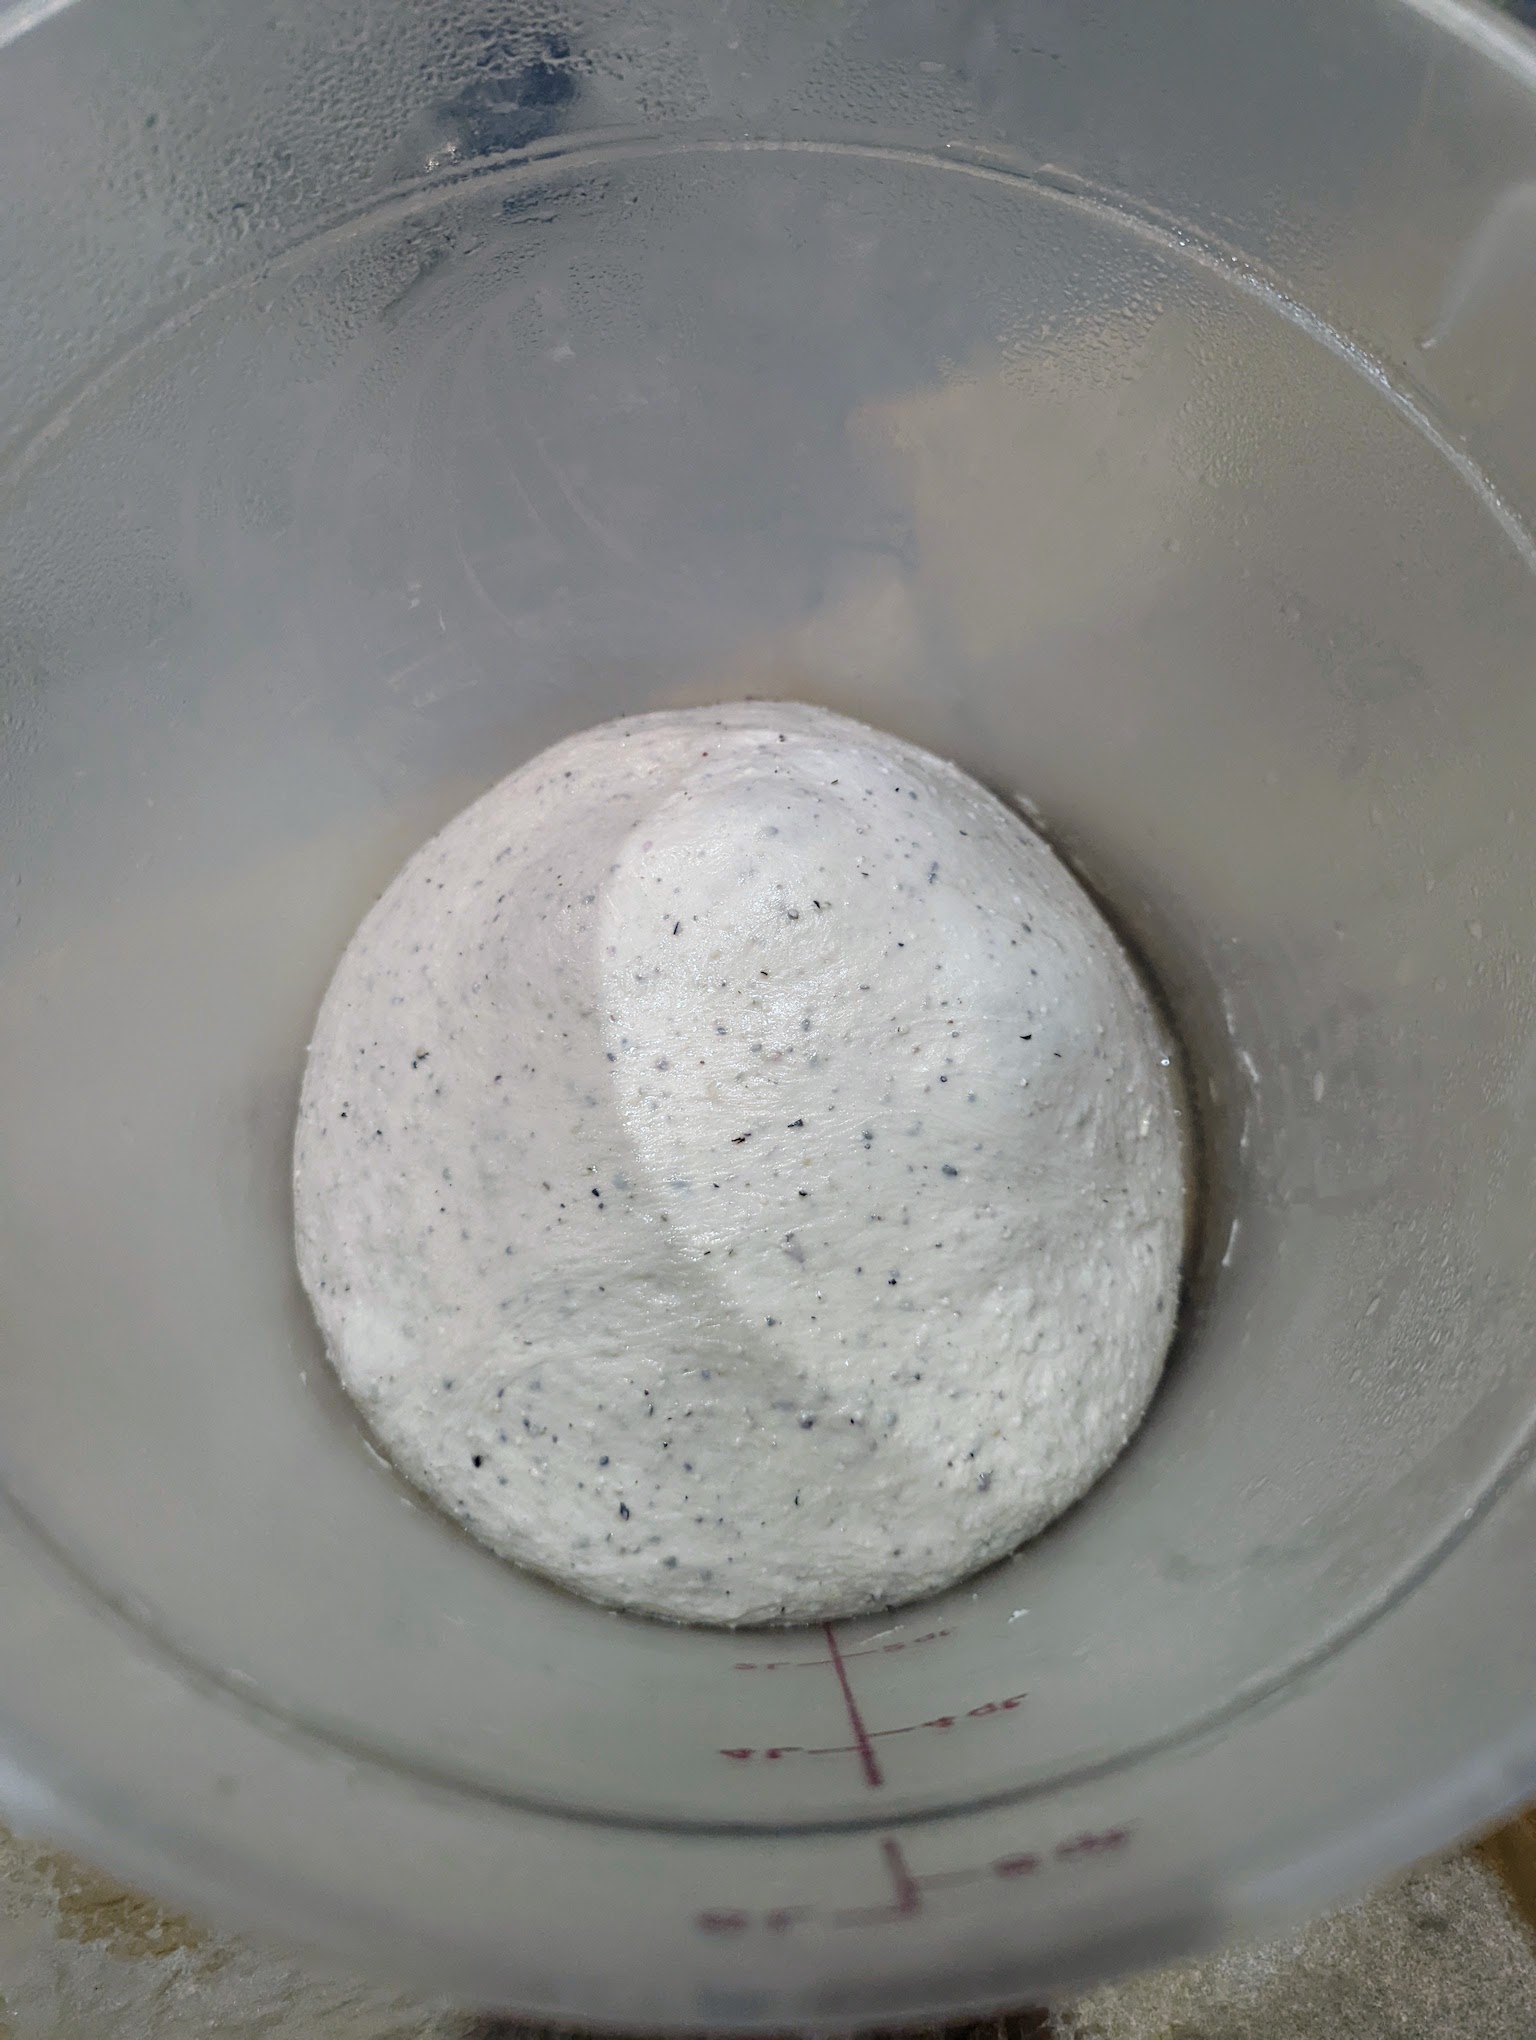
Living up to the ‘No Fuss’ name, after kneading you just put the dough into a covered container and let it ferment at room temperature for two hours. After bulk fermentation is up, form the dough into a ball, oil it and the bowl and then put it in the fridge for a minimum of 2 hours (I did 8 hours in the fridge today).
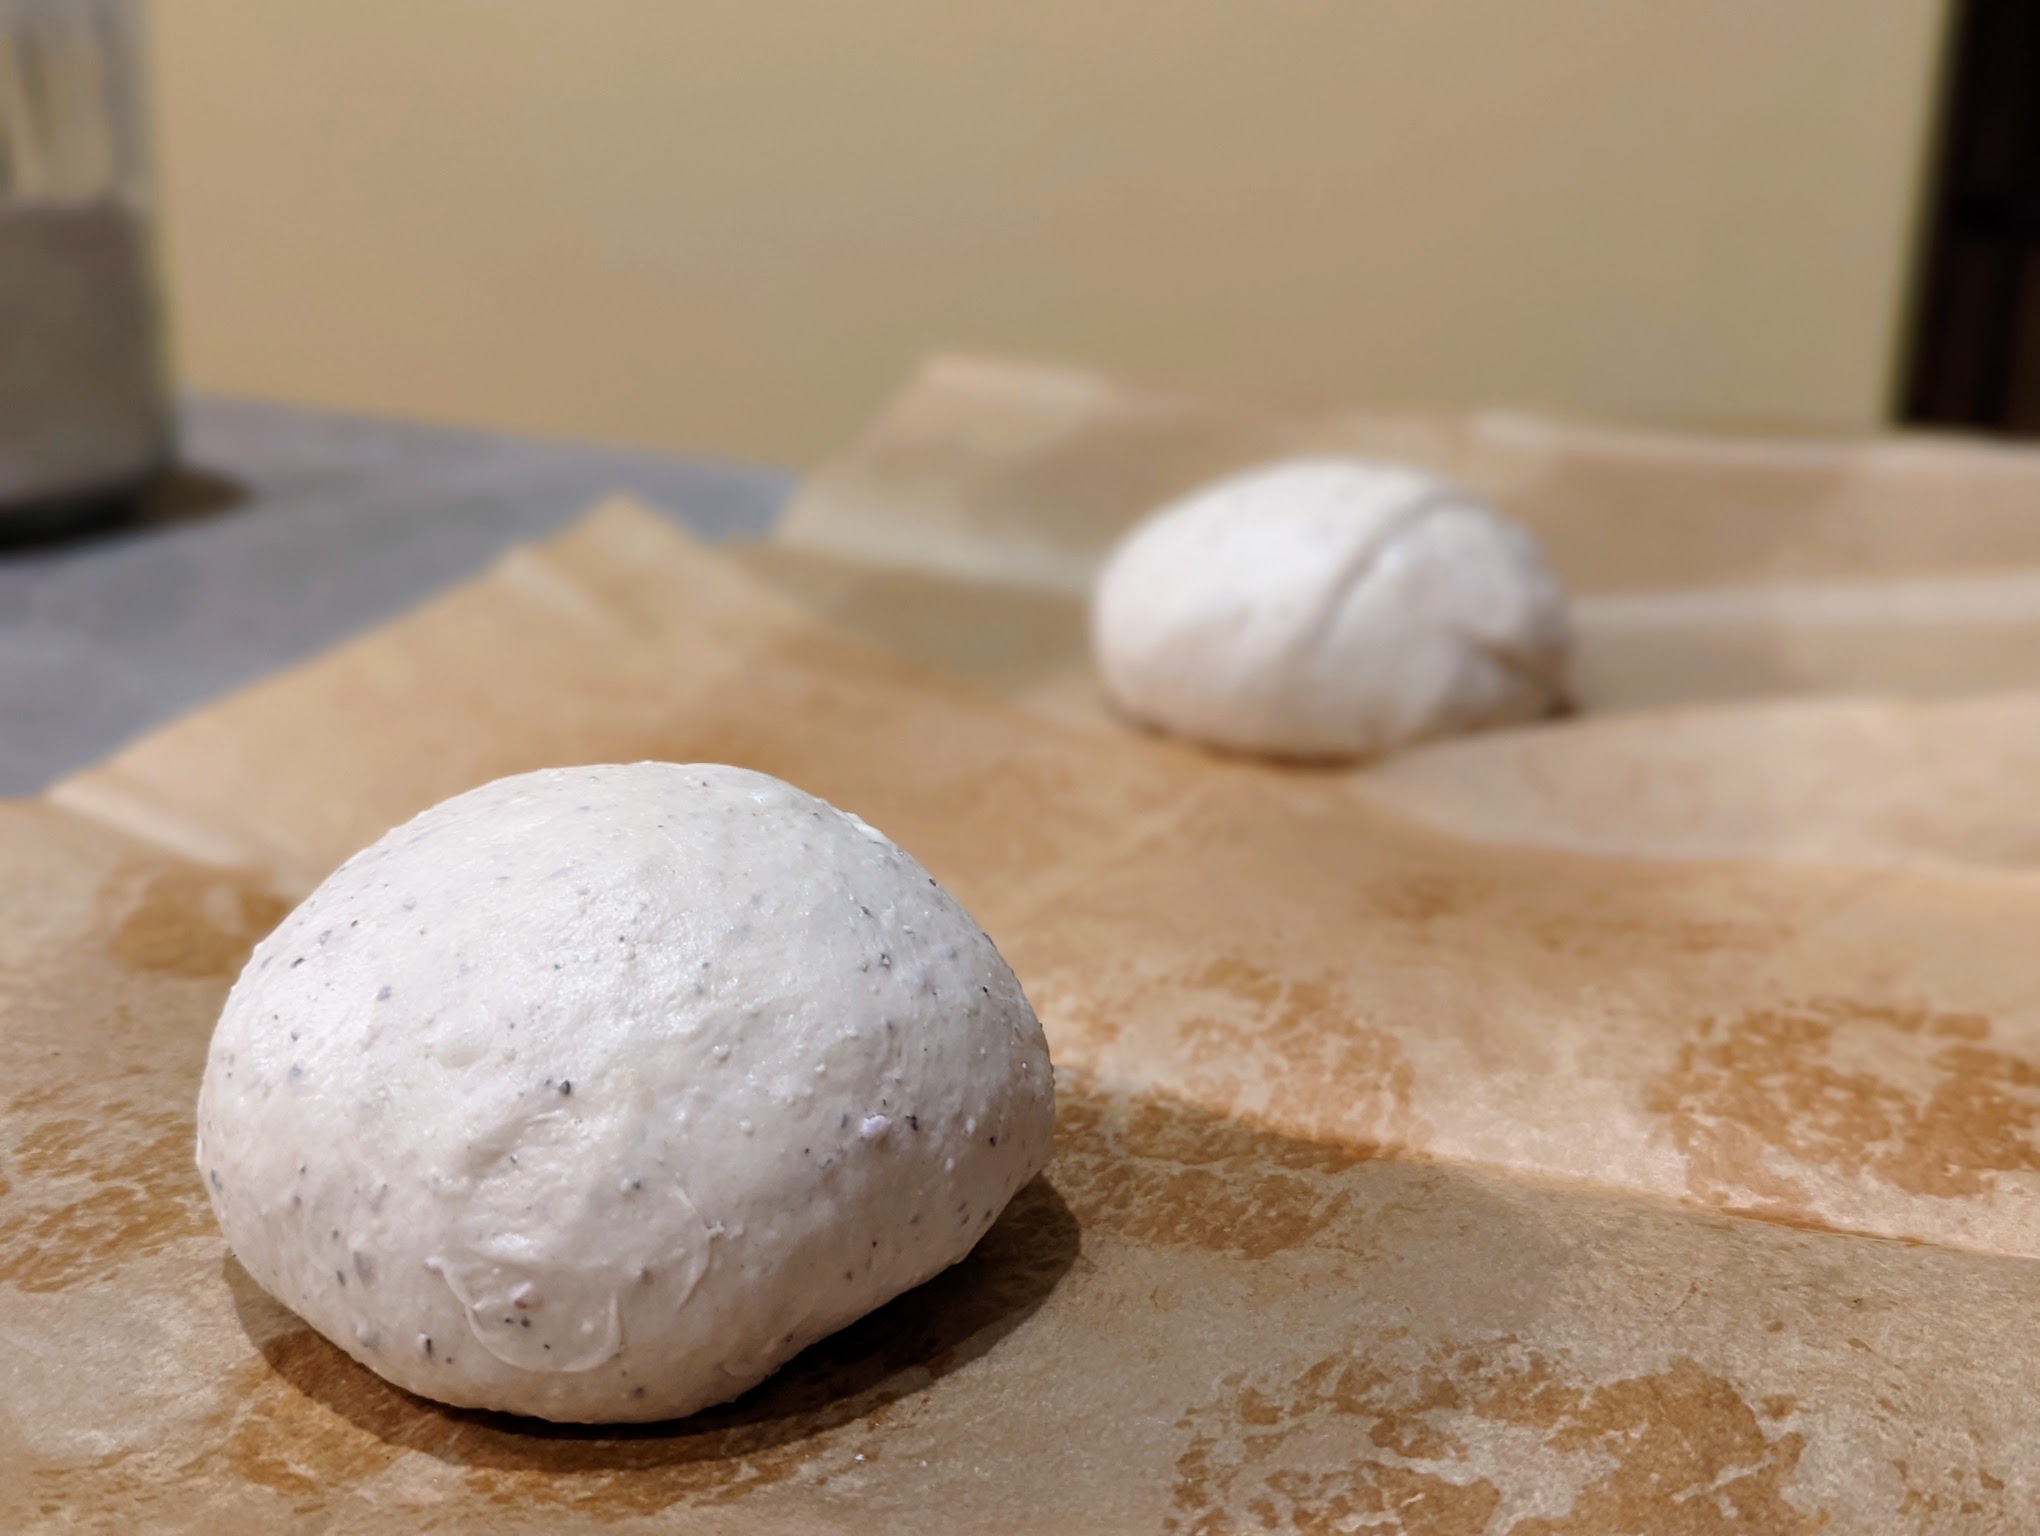
After 8 hours in the refrigerator I took the dough out, divided it in half, putting each half onto some parchment paper. I like to let this dough sit at room temp for at least 30 minutes before shaping it. The warmer dough is easier to work with and doesn’t spring back as easily.
Once the dough balls had relaxed and warmed up, I formed them into 12″ rounds, poked liberally with a fork (to prevent bubbles) and proceeded to top them. I like to spread my dough out on parchment paper so it’s easier to transfer onto my pizza stones.


After adding all the toppings to my pizza, I like to coat the crust with some herb and spice infused olive oil to help it brown. After that, I put the pizzas in the oven at 450’F to bake for about 10-15 minutes, or until the cheese reaches your desired level of browned.


Result:
This is an extremely quick and easy pizza dough to throw together. Hands on time is very minimal and the amount of time it sits in the refrigerator is up to you. If you want pizza on a weeknight, wake up a little early and get this dough mixed together, leaving yourself enough time for a 2 hour ferment before heading out of the house. The longer it sits in the fridge, the more flavorful the dough will get. I’ve gone anywhere between 2 hours in the fridge up to several days.
As I said above, the crust turns out wonderfully thin and crispy. I get my dough very thin when rolling it out but if you wanted a thicker crust, just ease back on that slightly.
I’ve also used this dough in a cast iron skillet which also makes great pizza. I found that preheating the cast iron on the stove with a little butter or olive oil prior to spreading out your dough really helps cook it evenly.

My Baking Notes
- Ambient temperature: 70’F
- Water temp: 90’F
- Start Kneading: 7:50am
- Bulk fermentation start @ 8:00am
- Into fridge @ 10:10am
- Started preheating oven/stones @ 6:00pm
- Divided dough at 6:25pm
- Into oven @ 7:25pm

One Comment Add yours