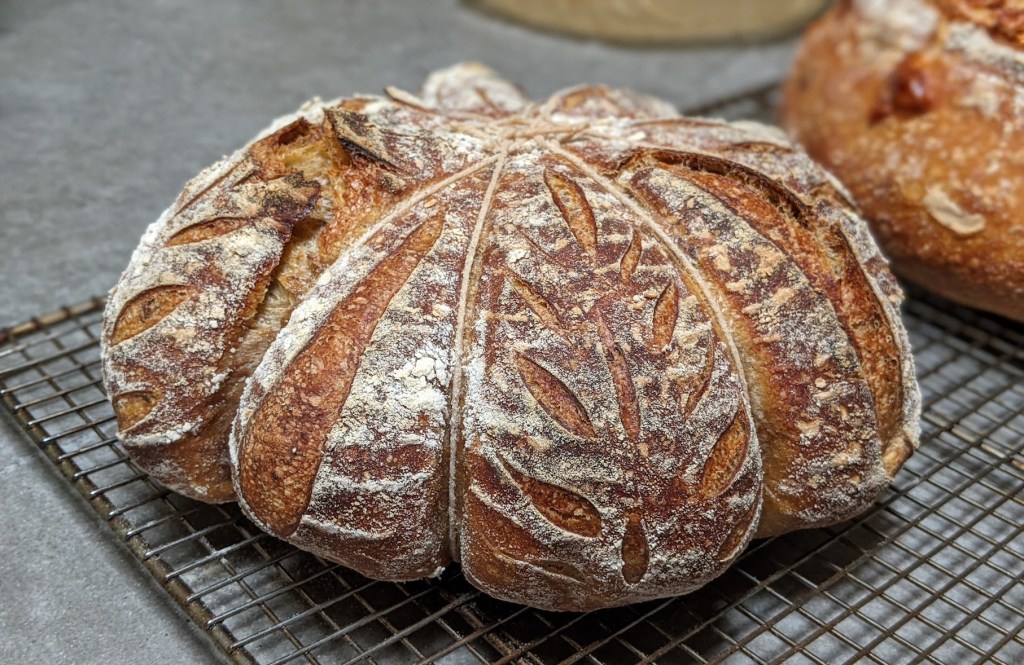
The Aspens are changing color and the nights are getting chilly which means Fall is here! In honor of Fall, I wanted to try my hand at making a pumpkin shaped loaf that had a hint of the flavors of a pumpkin pie. I ended up pretty impressed with my first try at this style of loaf!

Schedule
Using the lazy sourdough method is actually quite simple. The real key to this method is that you can use your unfed starter straight from the fridge without the need to make a levain. There’s also no autolyse which saves about 30 minutes.
Schedule: Here’s a link to the lazy sourdough method.
The exact schedule I used is at the bottom of this post.
Ingredients:
Dough
- 450g bread flour
- 50g dark rye flour
- 375g filtered water @ 84’F
- 100g unfed starter straight from fridge (100% hydration)
- 1 Tbsp dutch processed cocoa powder (for making the inside slightly swirly)
- 11g sea salt
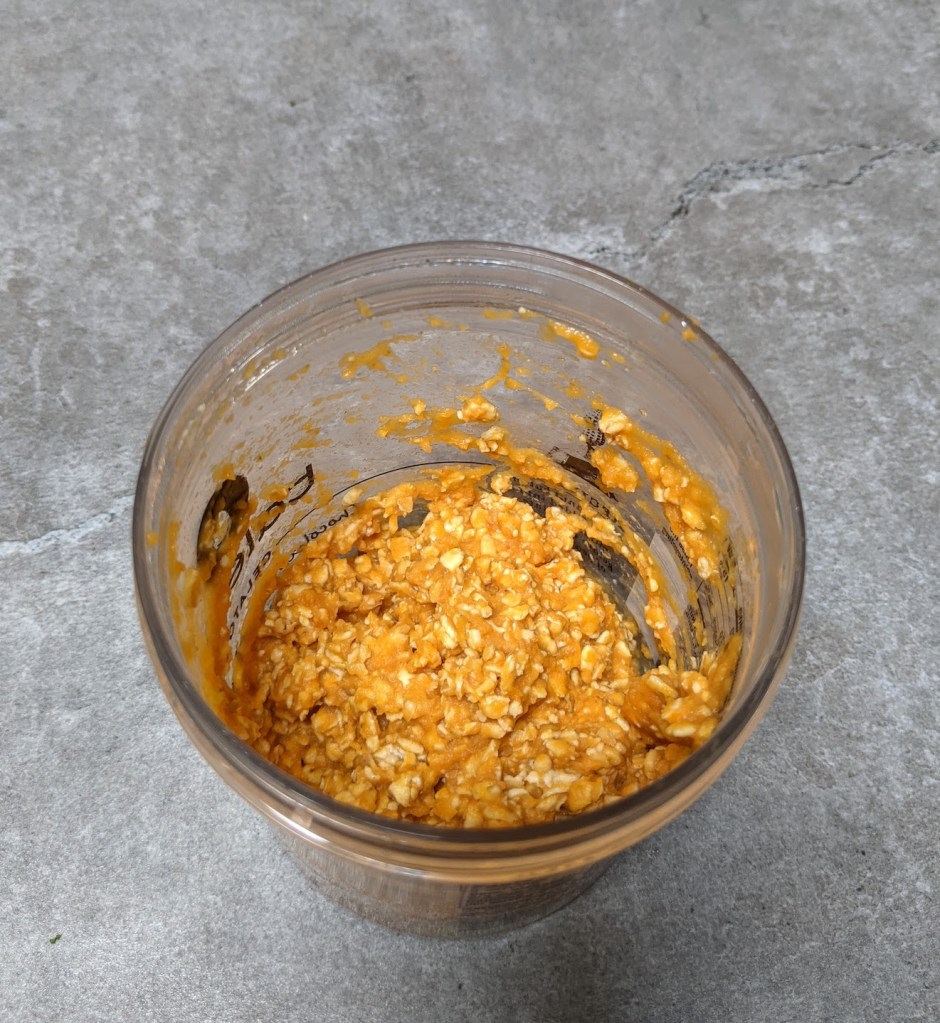
Pumpkin mixture (added at first fold)
- 75g canned pumpkin puree (unspiced)
- 30g water
- 30g rolled oats
- 1/2 tsp cinnamon powder
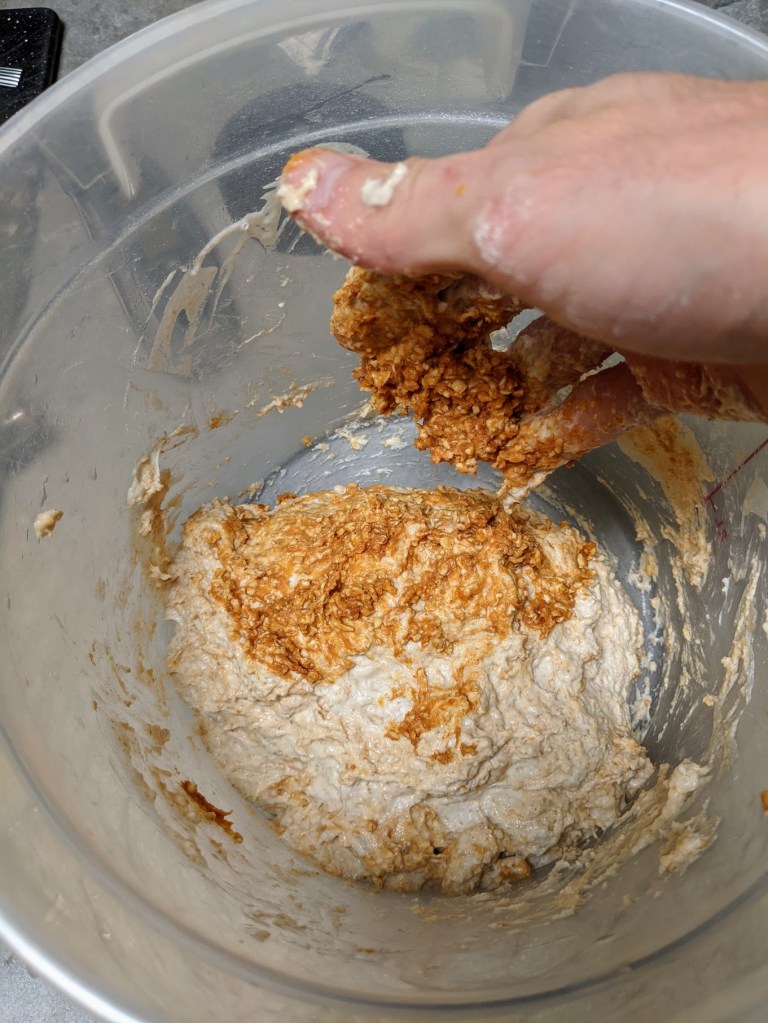
Mixing in the pumpkin mixture
Method:
The night before I started the dough I mixed together the pumpkin puree, water and oats and let them sit in the fridge overnight. I took the mixture out of the fridge and added the cinnamon powder about a half hour before staring the dough.
After mixing the dough, I performed 4 stretch and folds within the first 2 hours. Mix the pumpkin puree into the dough during the first fold, being sure to incorporate it well. I added 1 Tbsp of dutch processed cocoa powder at the 3rd fold so there would be a little bit of a swirl in the bread.
I let the dough bulk ferment at room temperature for a total of 8 hours. Bulk fermentation can take anywhere between 7-9 hours depending on the temperature of your kitchen and how active your culture is.
Once the dough had doubled, I shaped the loaf and put it in a banneton that I liberally dusted with rice flour. I put the banneton in a vegetable bag and then placed it in the fridge for a 17 hour cold proof.
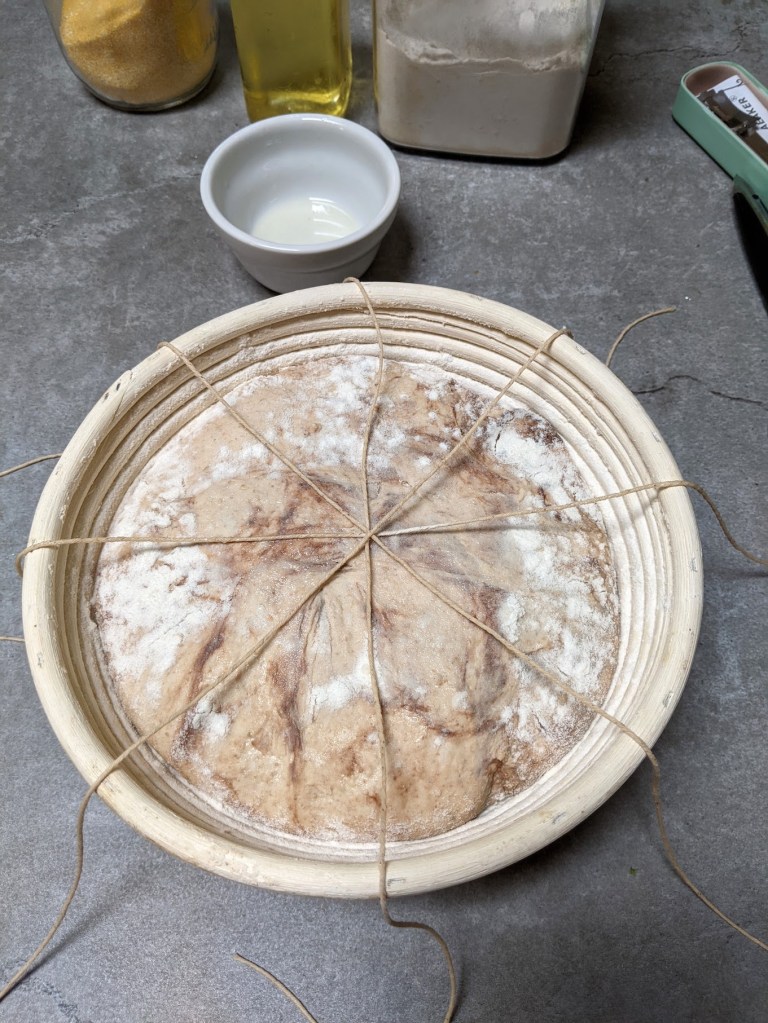
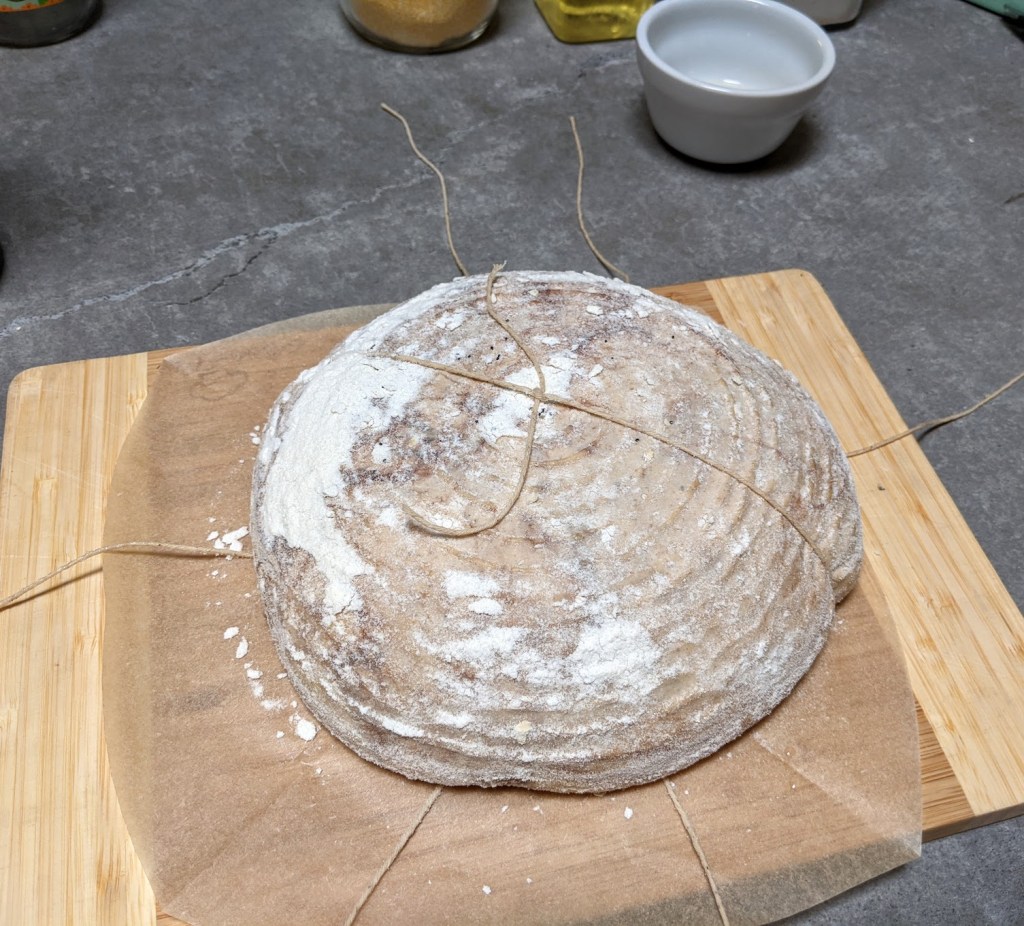
One hour before baking I started preheating the oven, with dutch ovens inside, to 450’F. When it was time to bake, I took the loaf out of the fridge and carefully laid the oil soaked kitchen twine over the proofed dough. I then placed a piece of parchment paper over it and then covered that with a cutting board and flipped it over.
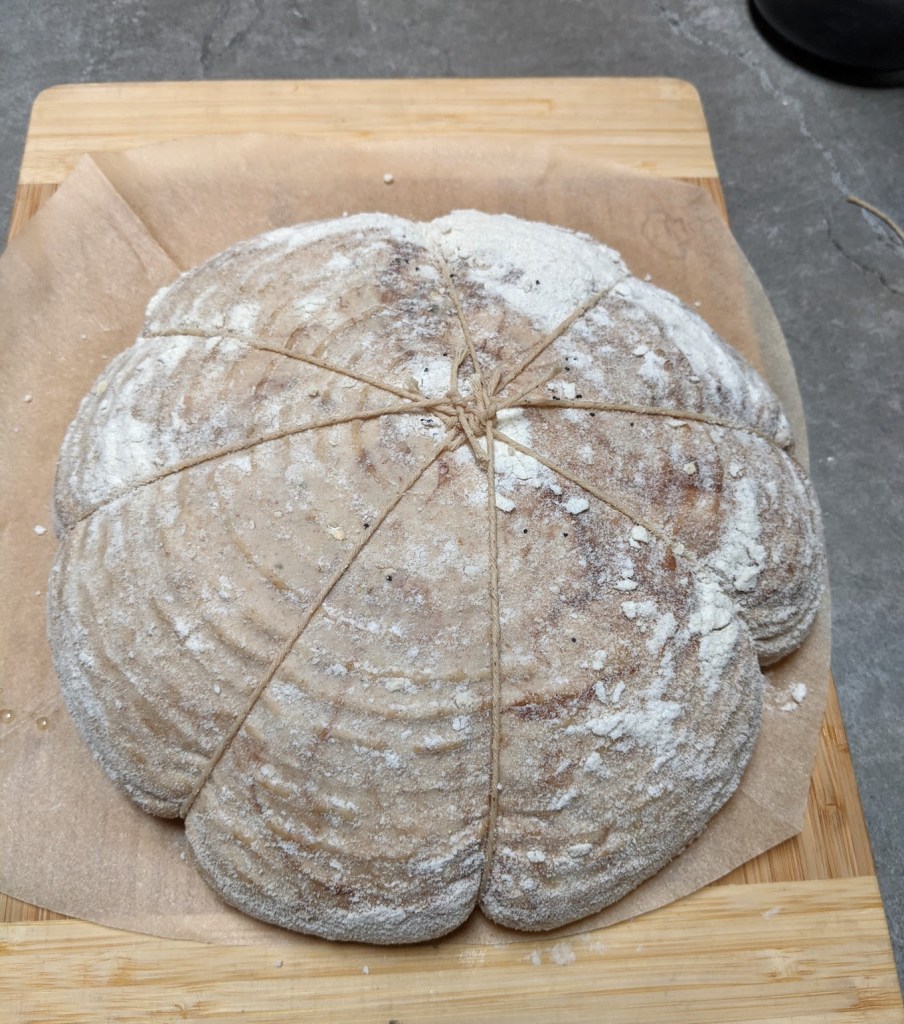
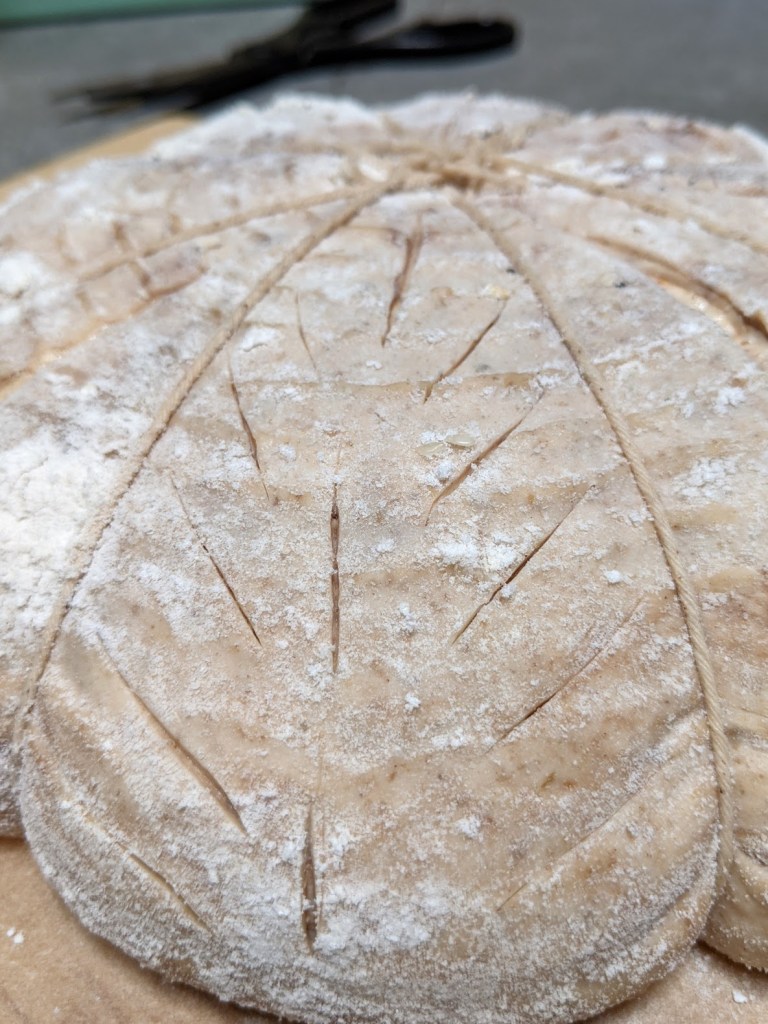
After the dough was right-side-up, I gently tied off the twine, cutting off the excess. I gave each piece of the loaf a quick score and then transferred it to the preheated dutch oven.
I baked the loaf at 450’F for 20 minutes covered, then removed the lid of the dutch oven and baked for an additional 30 minutes.
Tying off the dough
When your dough is fully proofed, follow these instructions for tying off the twine so it forms a pumpkin shape in the oven.


Result:
This bread smelled fantastic. The cinnamon, pumpkin puree and chocolate all combined to make it seem like I was baking something much sweeter.
My scoring did pretty good but it naturally vented and opened up in a few spots a little too much. Because I didn’t score too deep, the dough ended up a little more on the dense/moist side.
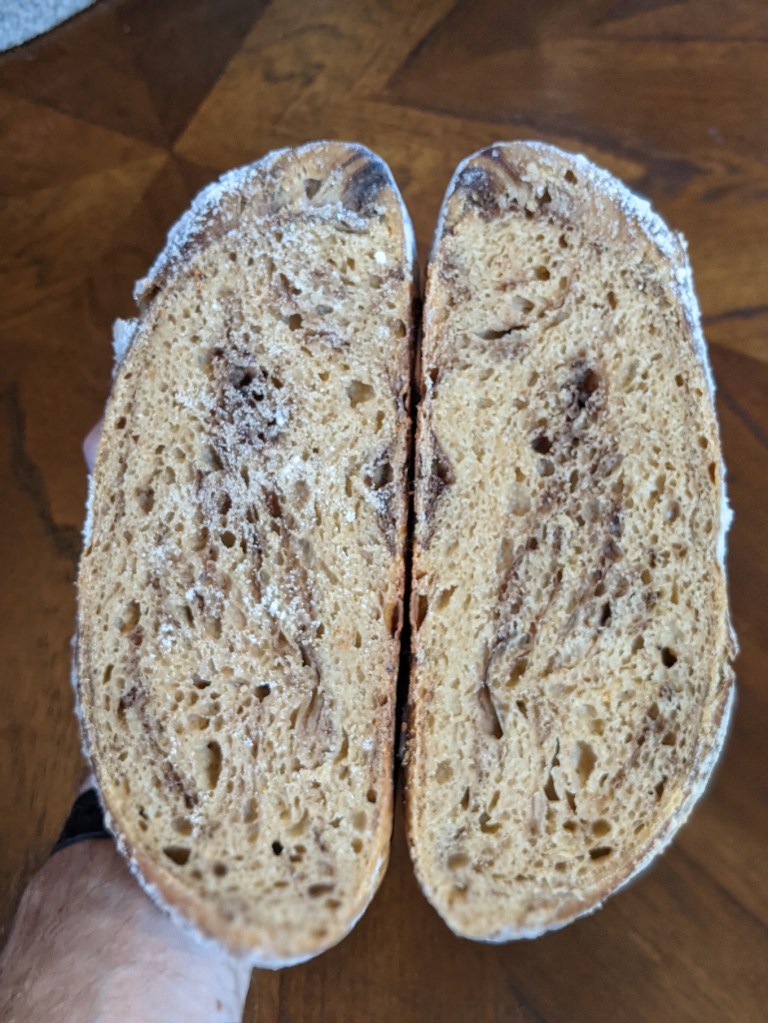
I was hoping for a little more defined of a chocolate swirl in the crumb, but I’m sure the flavor will still be nice.
The flavor of the bread has a lot of the pumpkin taste which is complimented well by the cinnamon and chocolate. My plan is to use this bread for French toast, so the crumb being a little dense isn’t really that big of a deal.


My Baking Notes
- Ambient Temperature @ mixing: 73’F
- Mixed @ 1:00pm on October 13th
- Dough was 77’F at mixing
- 4 stretch and folds in first 2 hours
- Started proof @ 9pm on October 13th
- Preheated oven @ 1:00pm on October 14th (~17 hour cold proof)
- Into oven @ 2:00pm
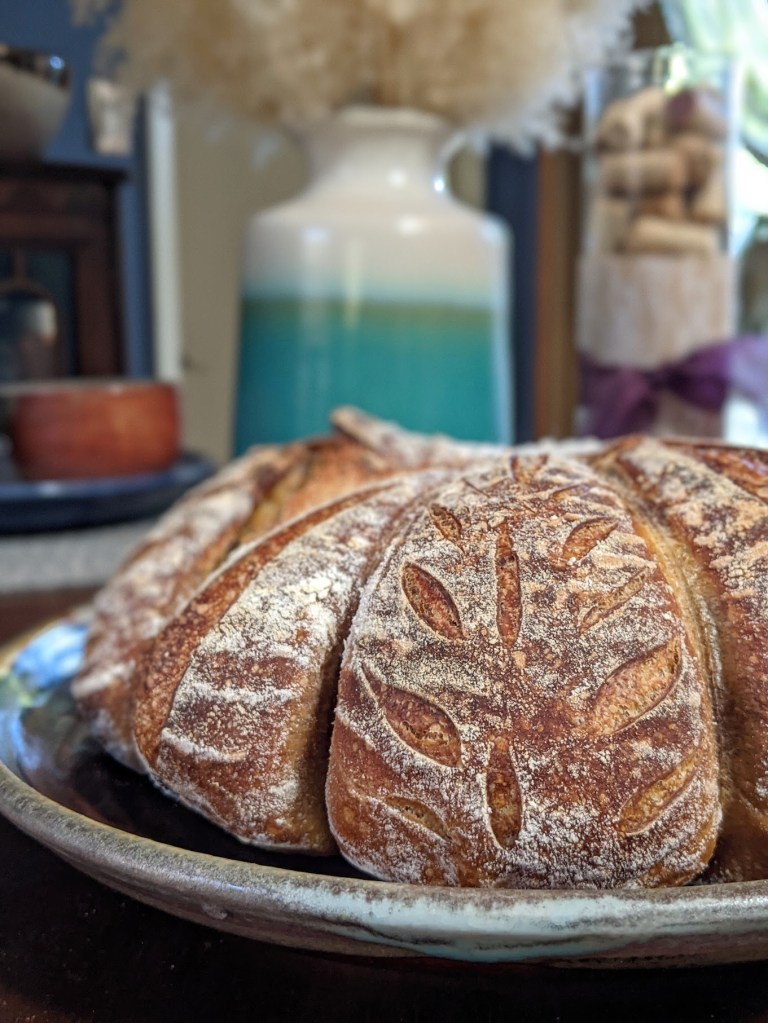

Beautiful scoring!
LikeLike