I’ve been meaning to experiment a little more with my loaves and I’m starting to check off some recipes I’ve had in my backlog. These “Umami Bomb” loaves are loaded with red miso, dry seared green onions and sesame seeds to give a huge umami boost. These are perfect for breakfast or pressed sandwiches.
Schedule
Using the lazy sourdough method is actually quite simple. The real key to this method is that you can use your unfed starter straight from the fridge without the need to make a levain. There’s also no autolyse which saves about 30 minutes.
Schedule: Here’s a link to the lazy sourdough method.
The exact schedule I used is at the bottom of this post.
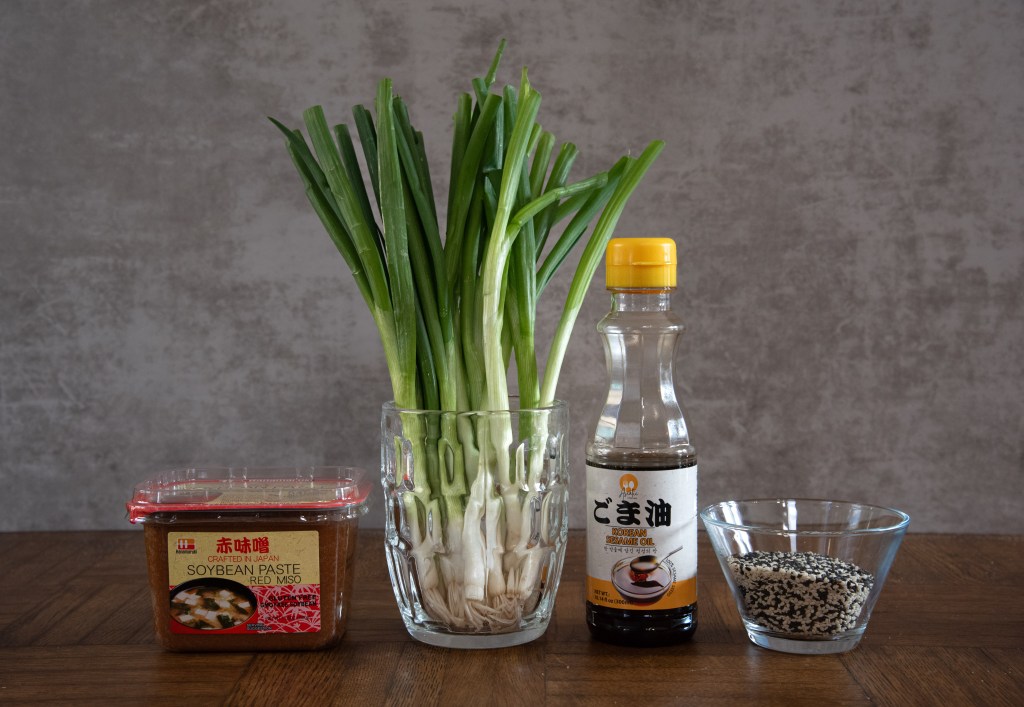
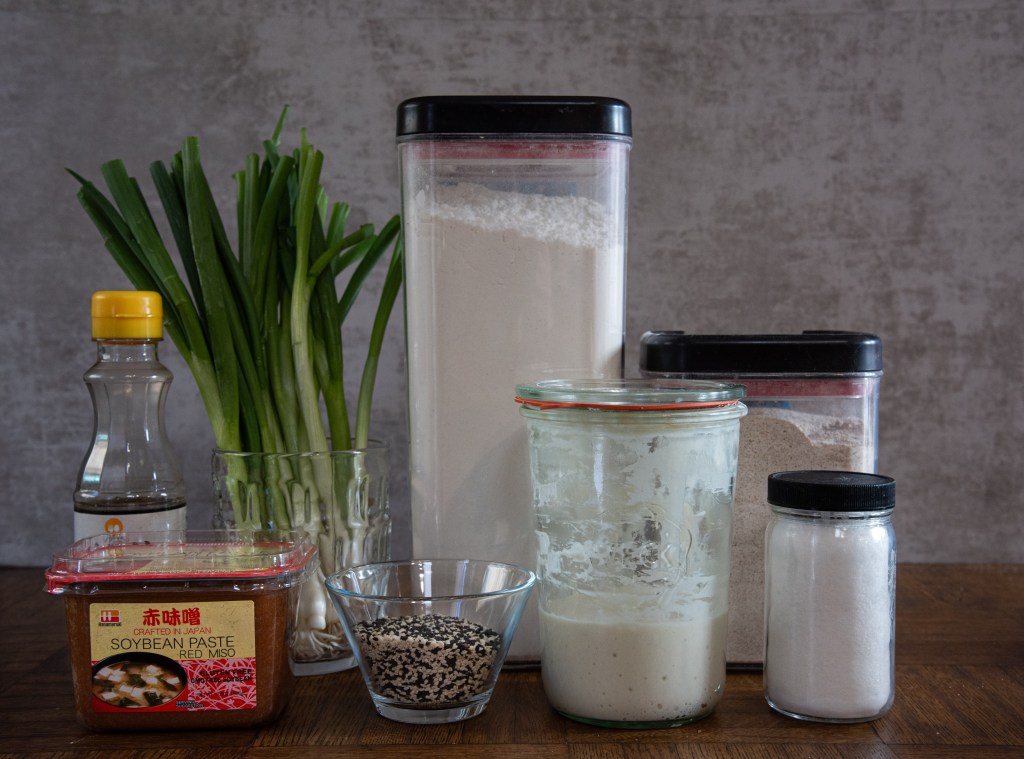
Ingredients:
This recipe makes two loaves. Simply divide all the ingredients by two if you only want one loaf.
Dough:
- 850g King Arthur bread flour
- 150g Whole wheat flour
- 750g filtered water @ 92’F
- 200g unfed starter straight from fridge (100% hydration)
- 15g sea salt (adjusted down due to miso containing salt)
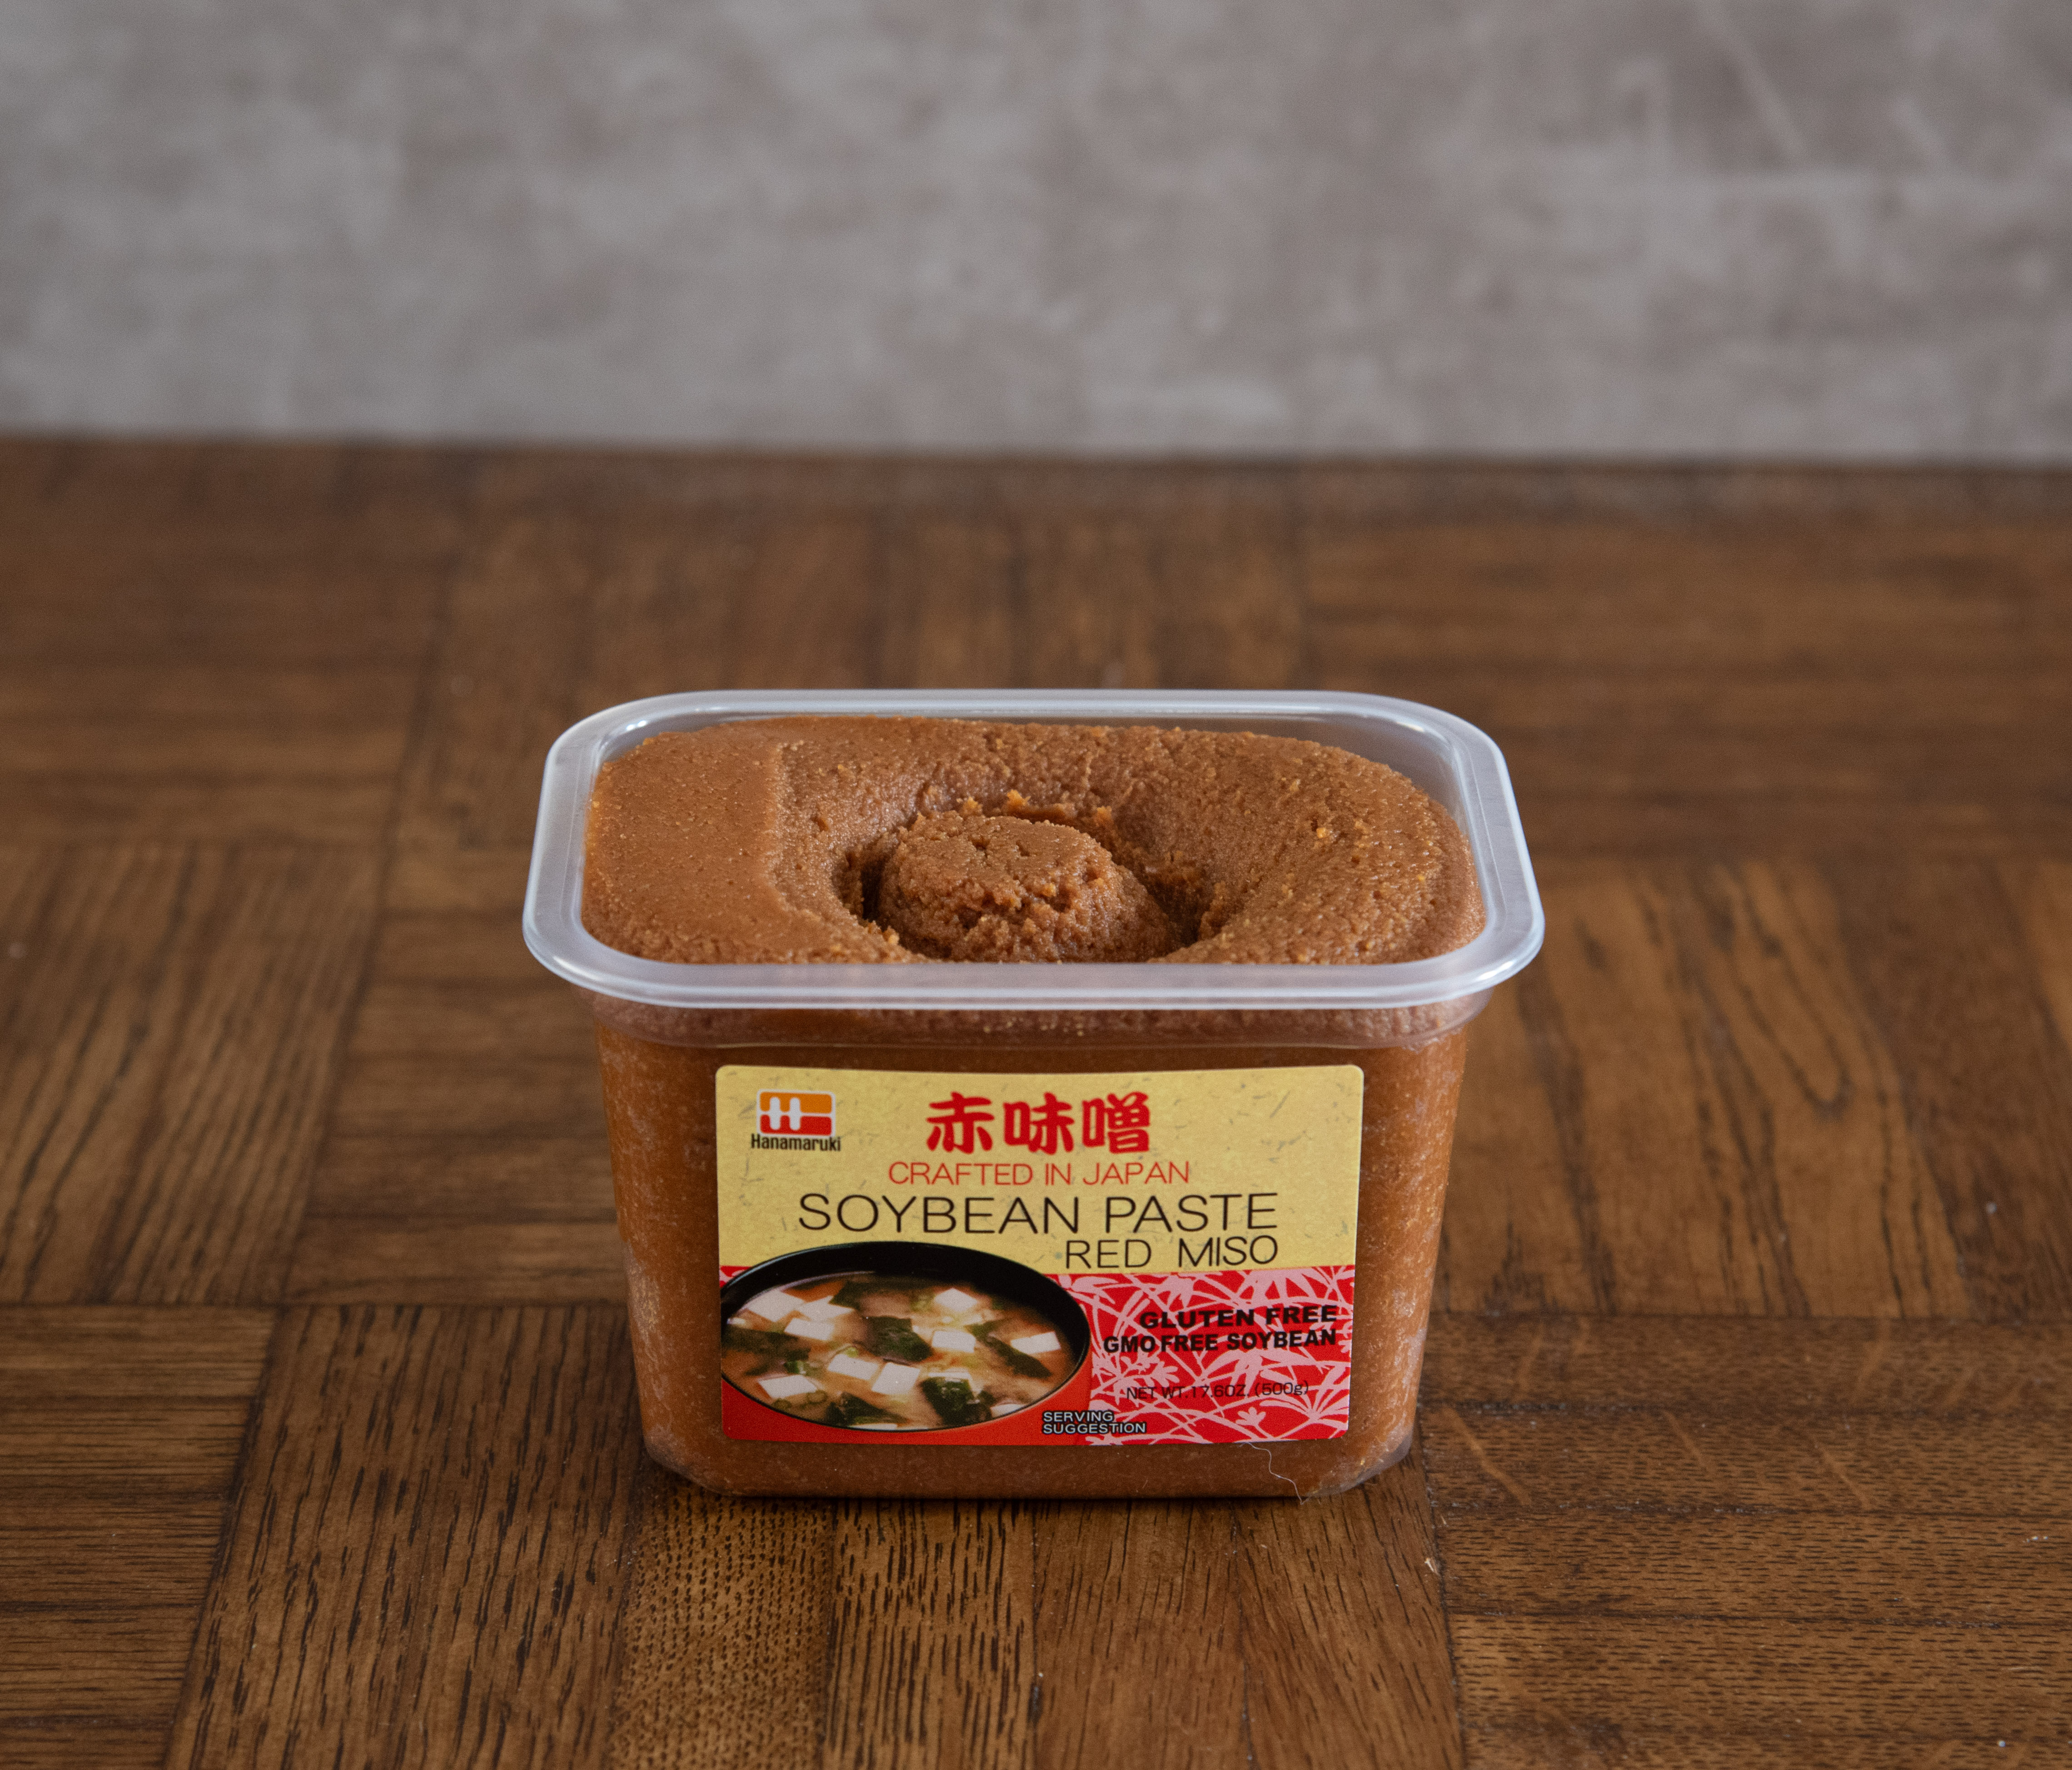
- 50g red miso paste (dissolved into the hydration water)
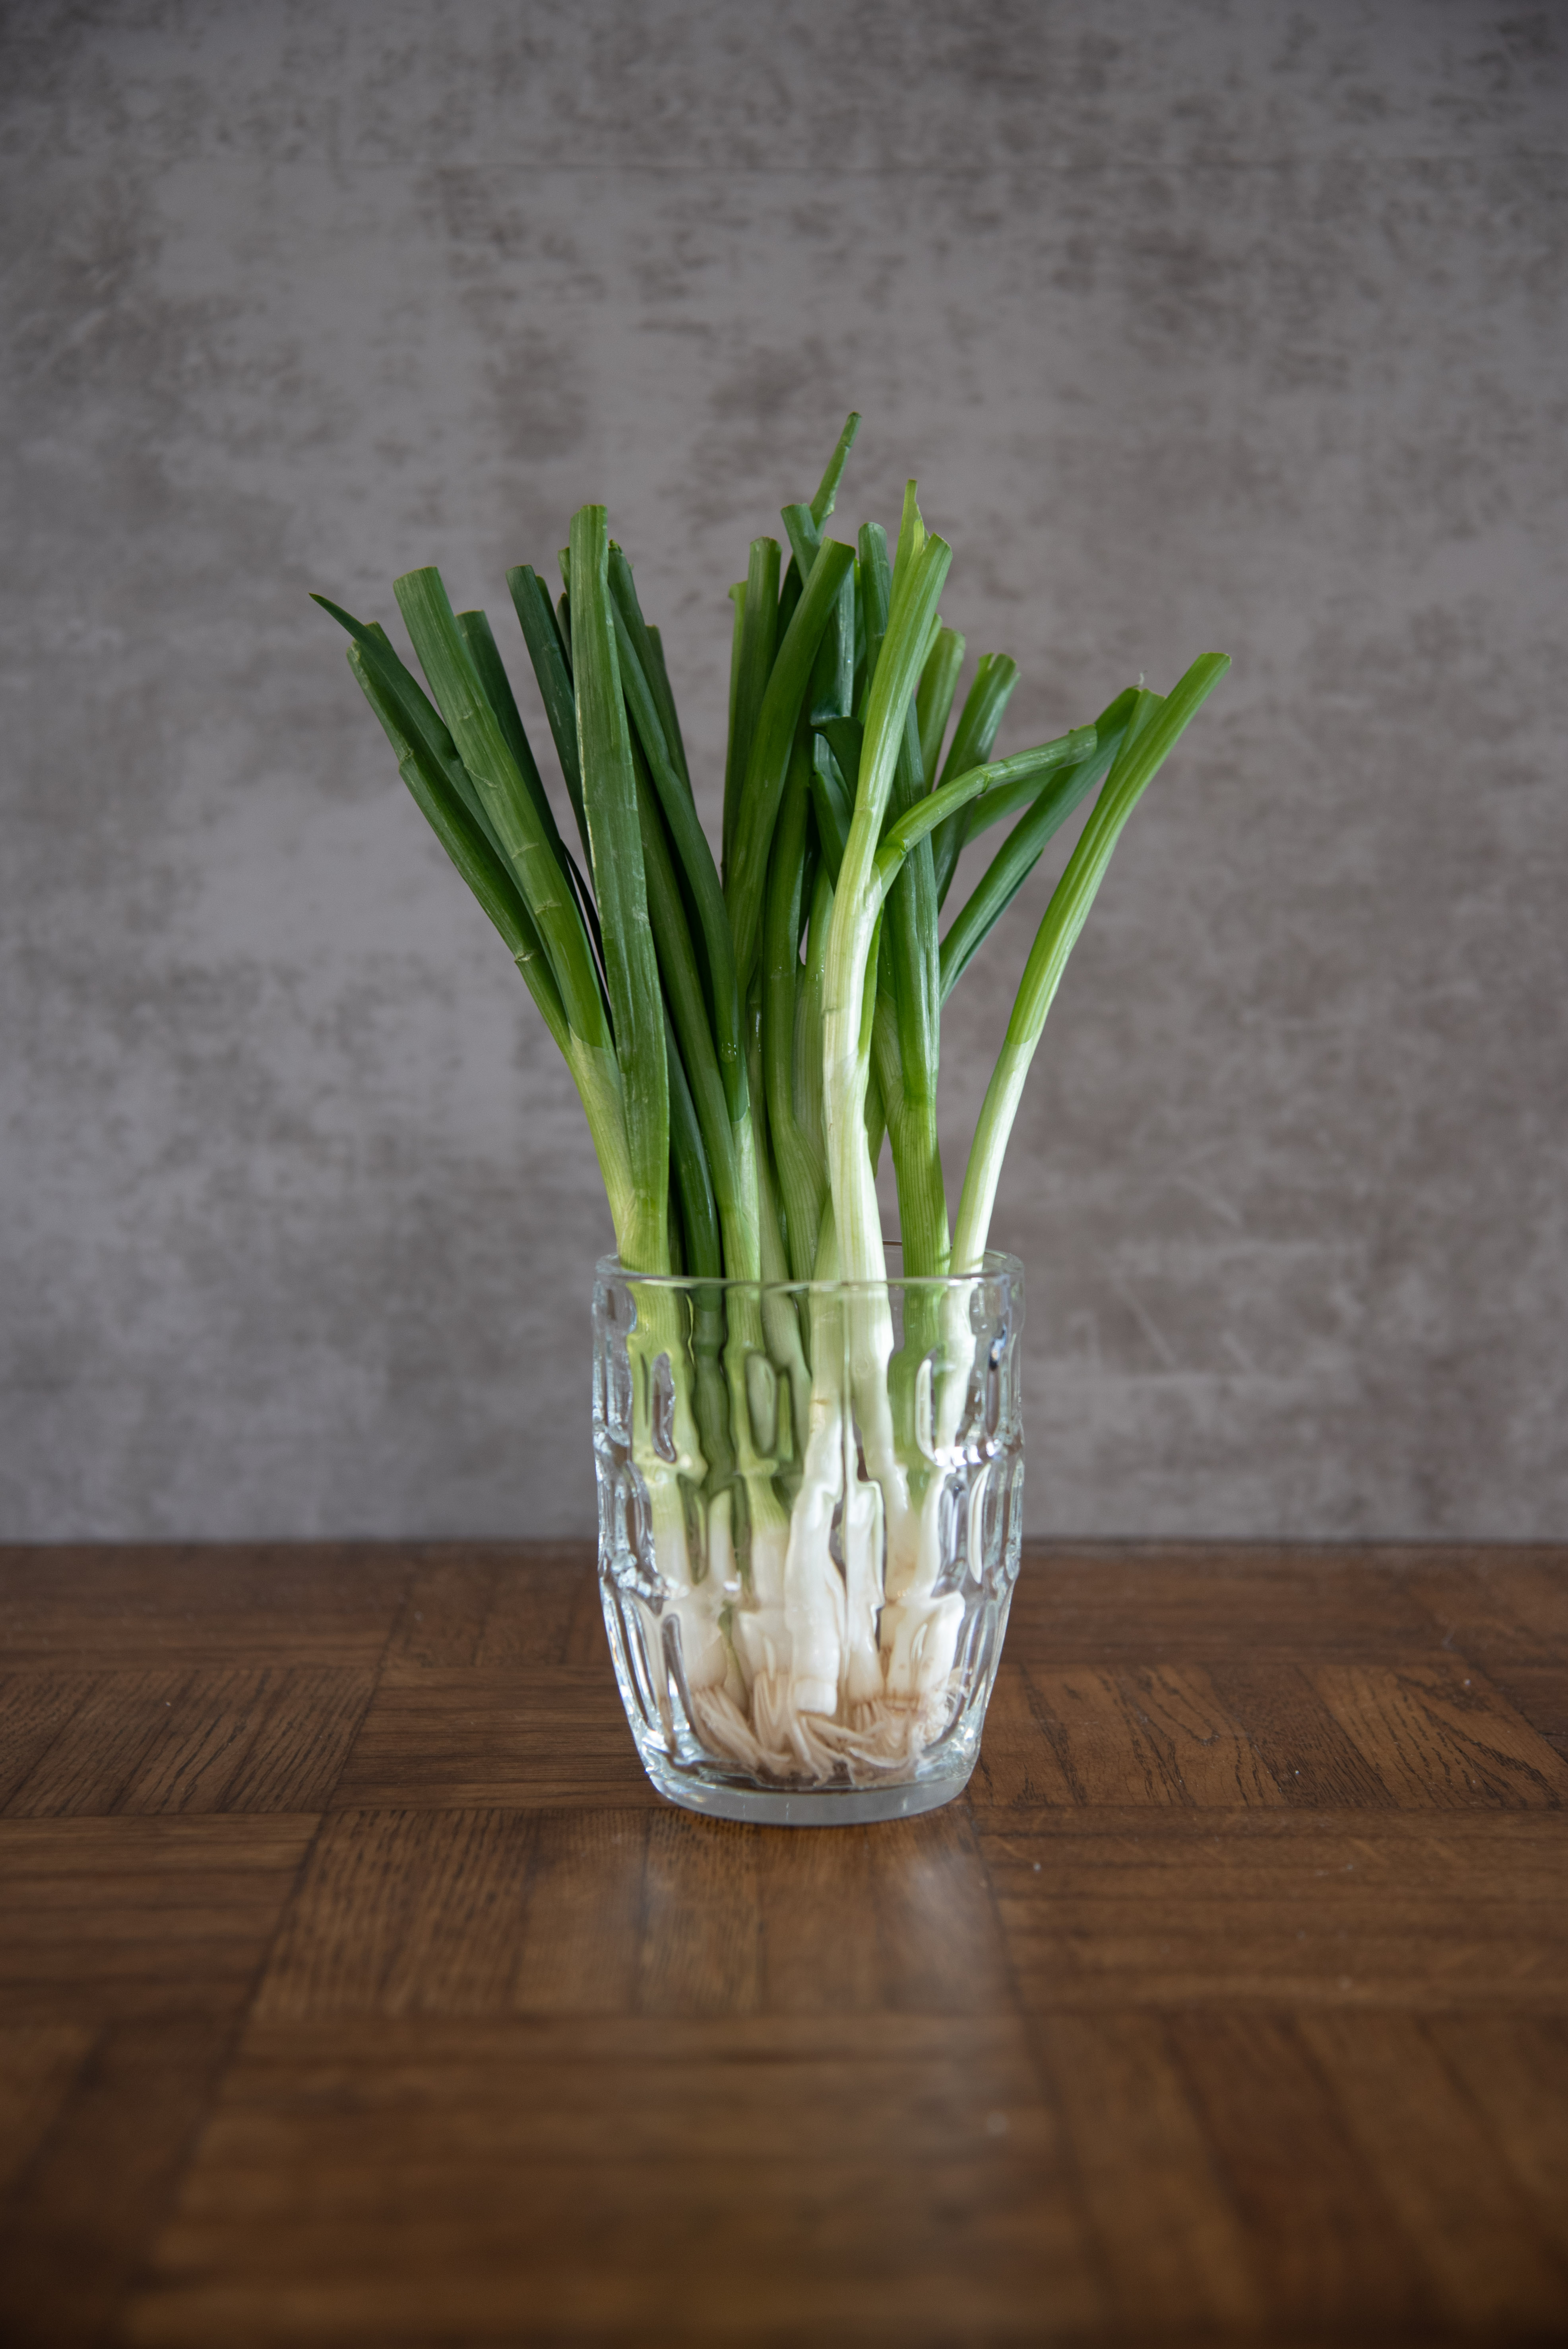
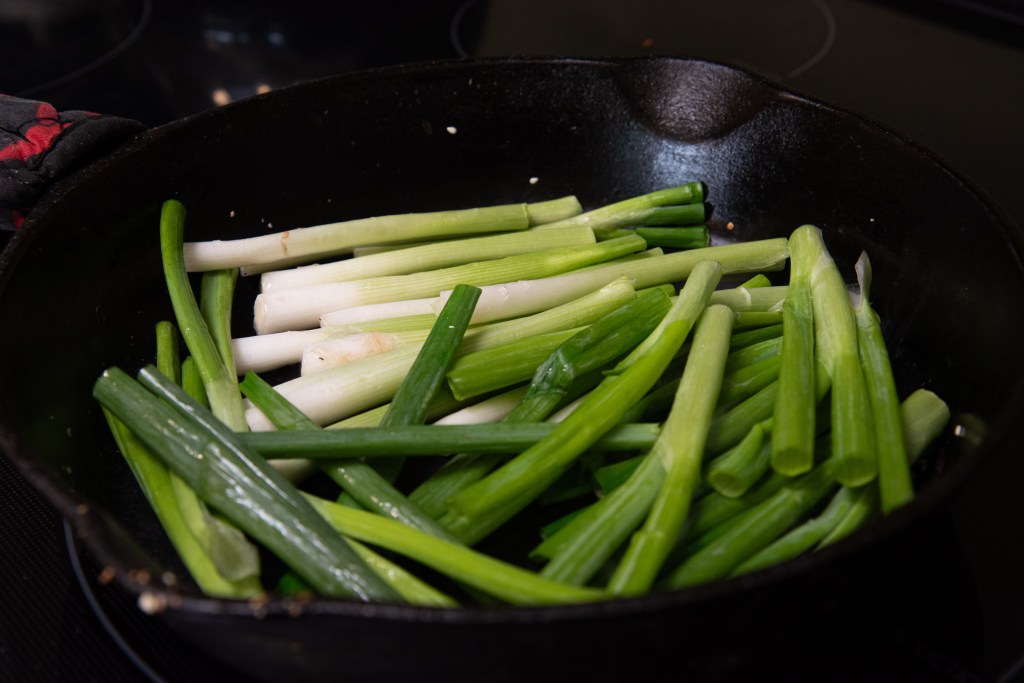
- 2 bunches of scallions (~150g after trimming the ends)
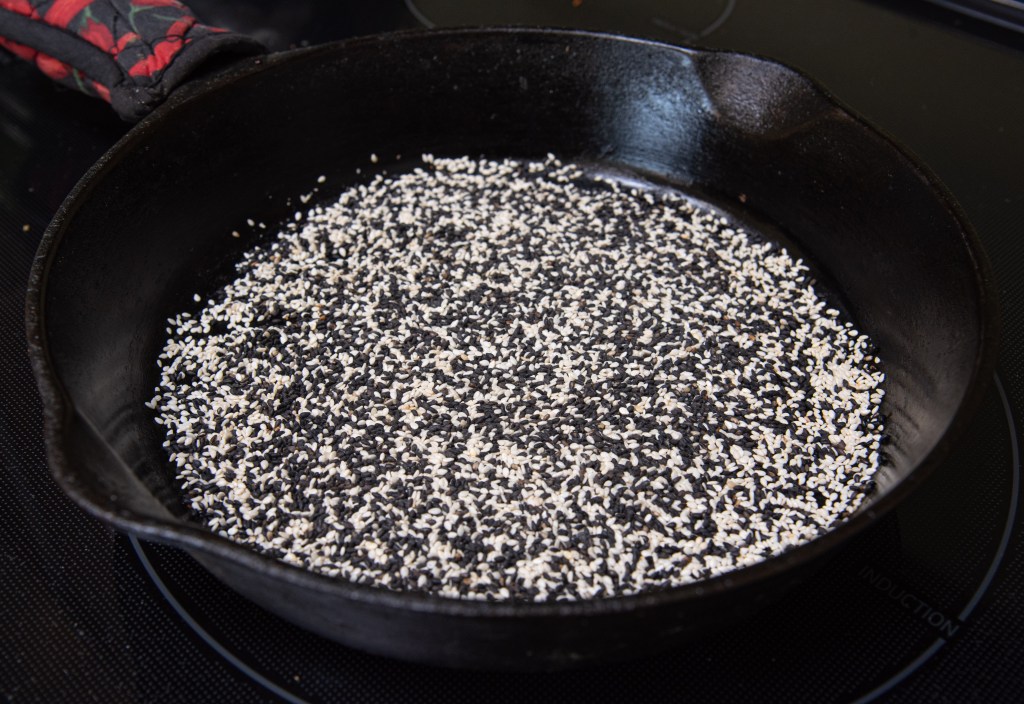
- 50g mix of white and black sesame seeds
Method:
I started by mixing the flours, and salt. I set that aside and measured out 750g water and added 50g of red miso paste to it. After that, I heated it up to 92 degrees. To this water, I added my cold starter and mixed it all together. Finally, I poured the water/miso/starter mixture into the dry ingredients and used my hands to mix it all together and perform a few stretch and folds.
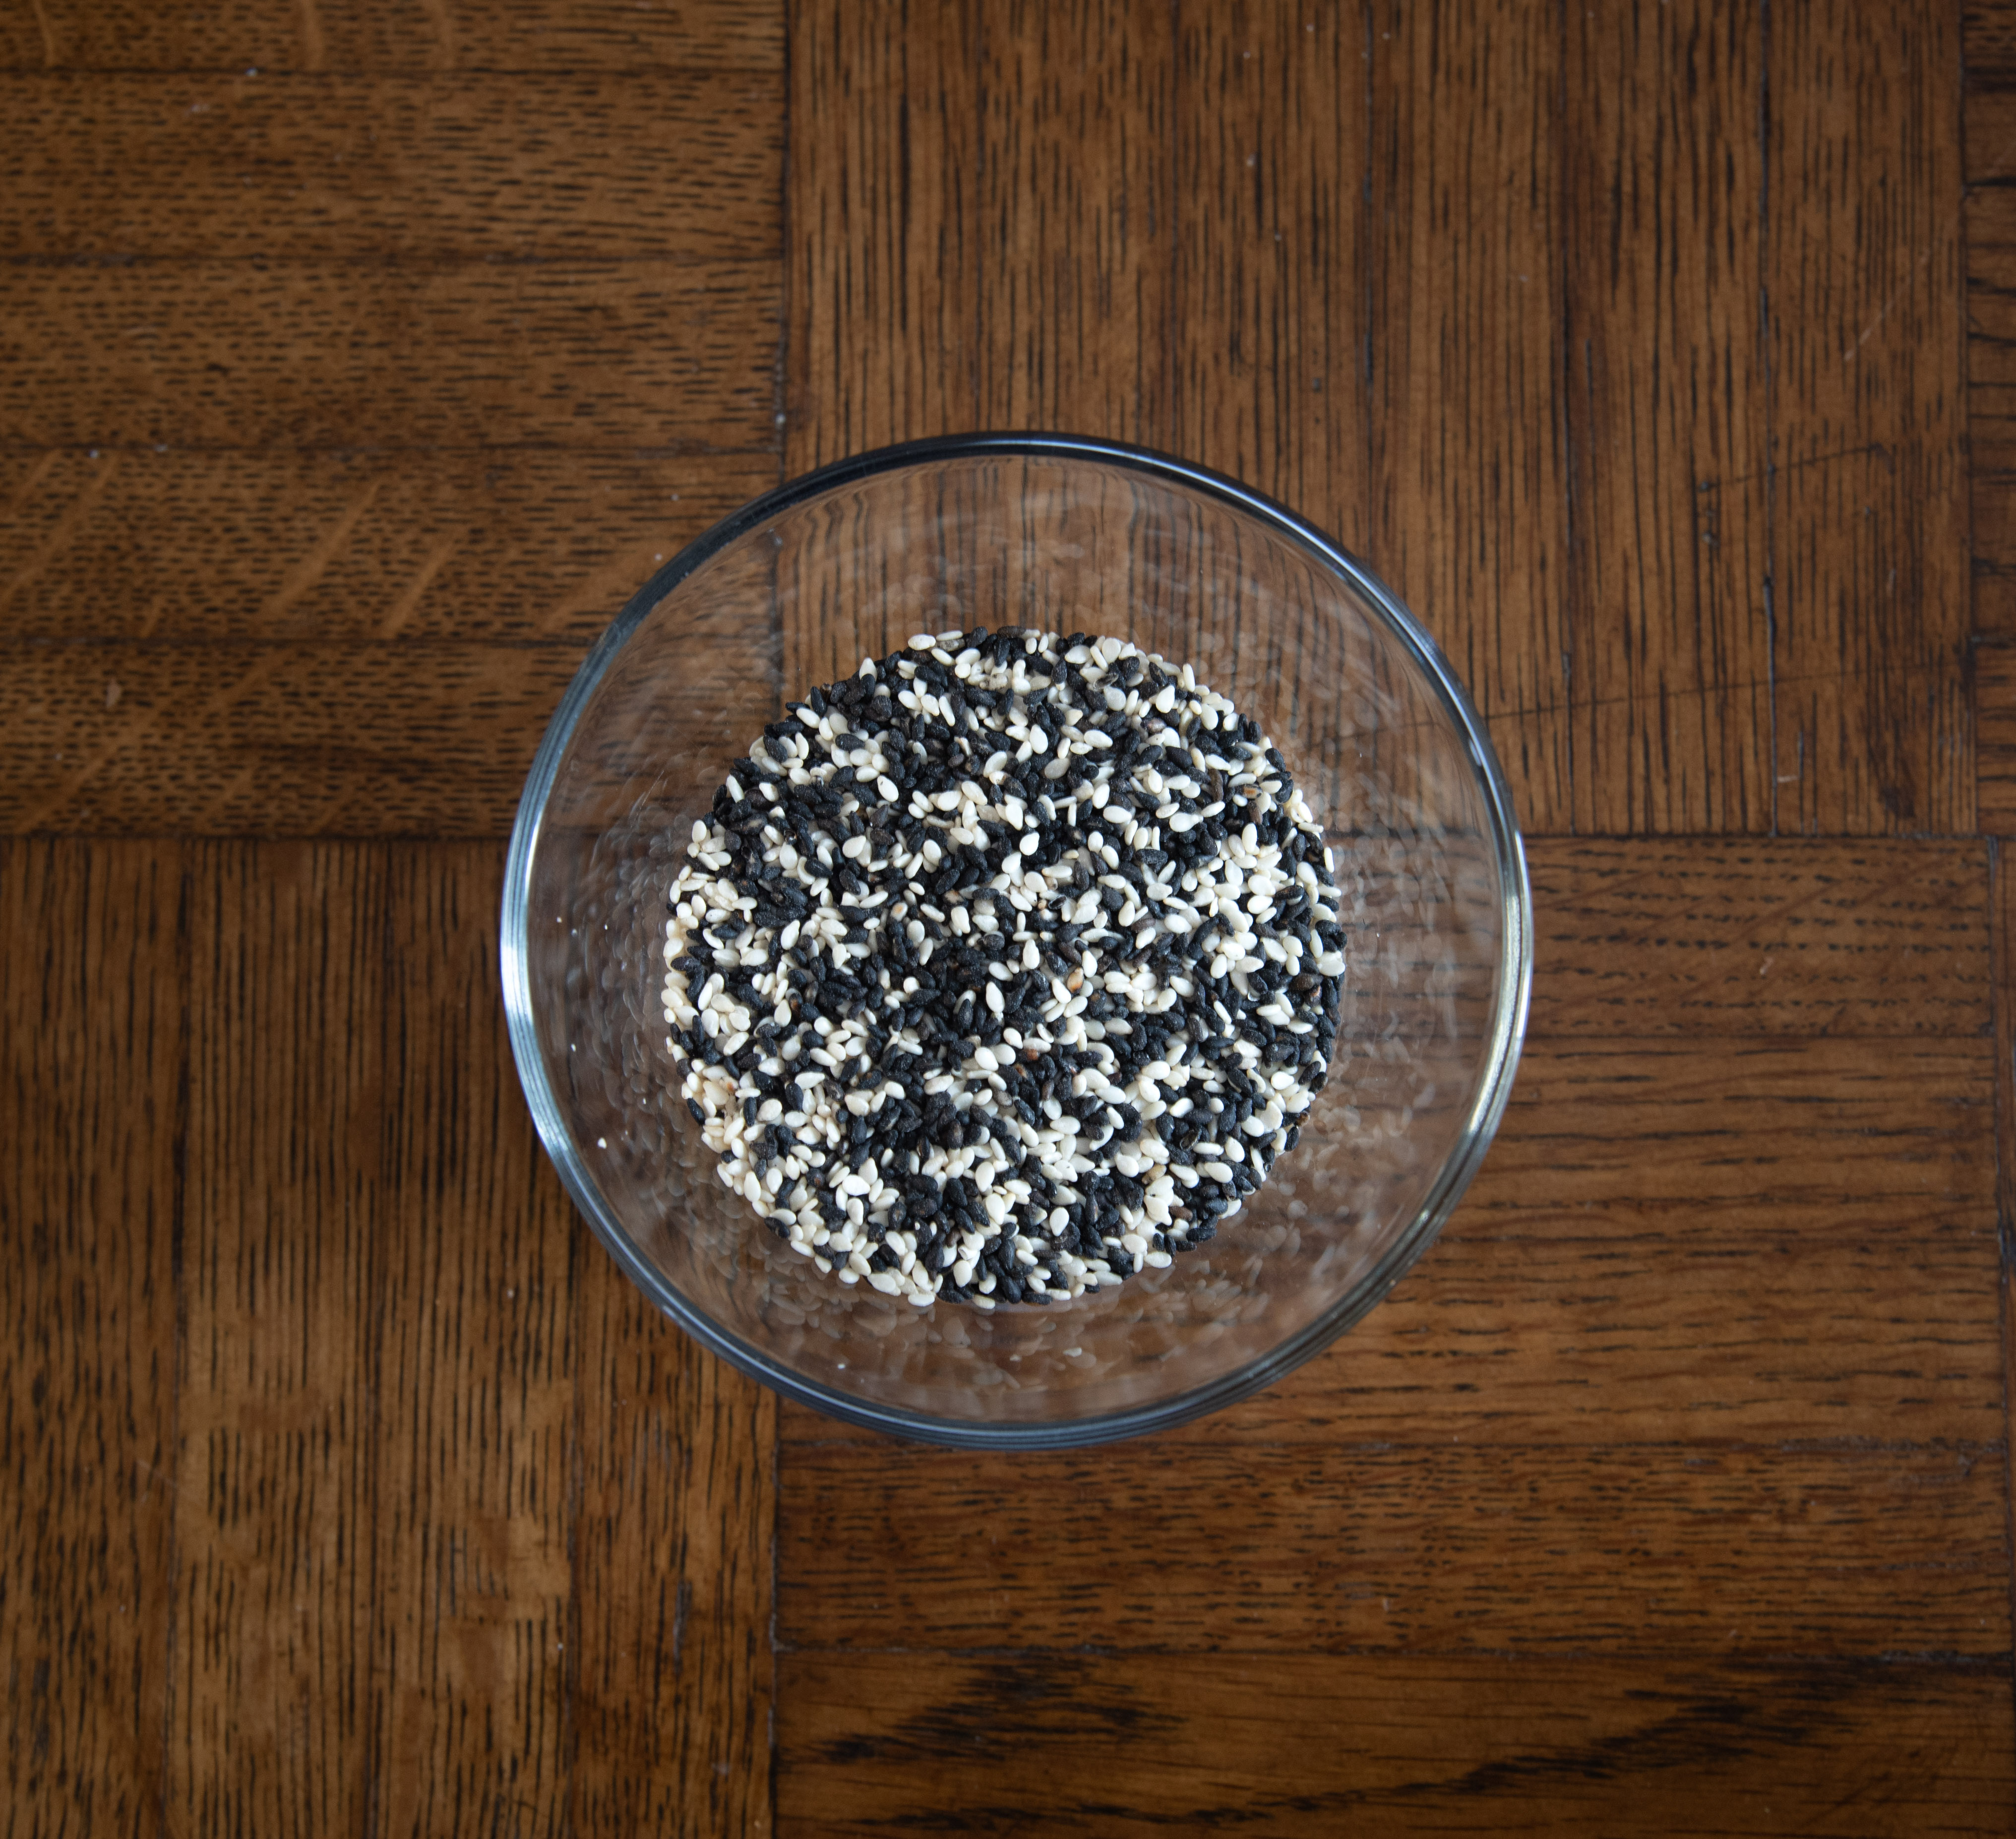
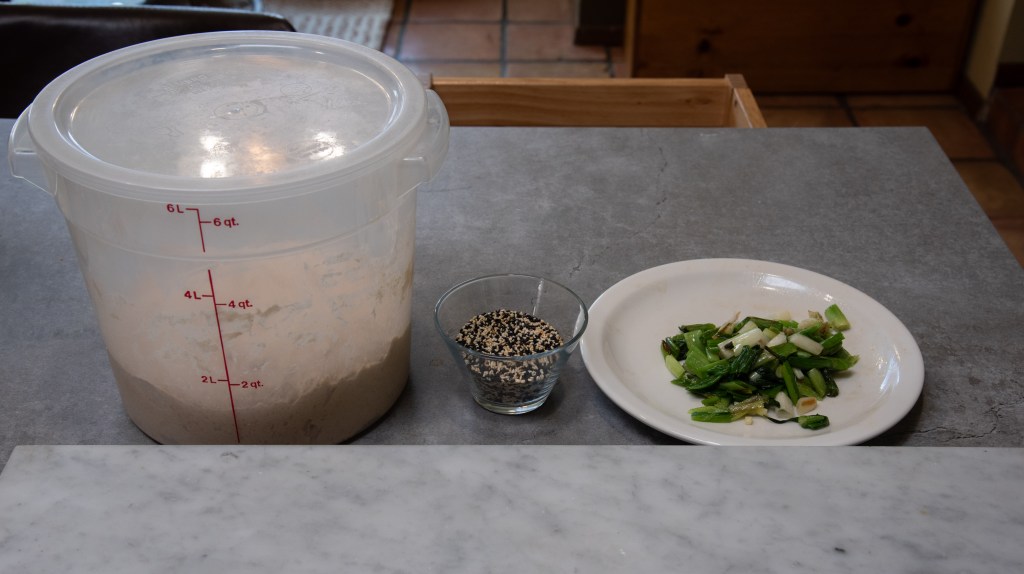
While the dough was starting its fermentation, I started preparing my sesame seeds and green onions. I gave the sesame seeds a quick dry toast in a cast iron skillet on medium heat until they started to turn a little golden. I poured them back into a bowl to let them cool down.
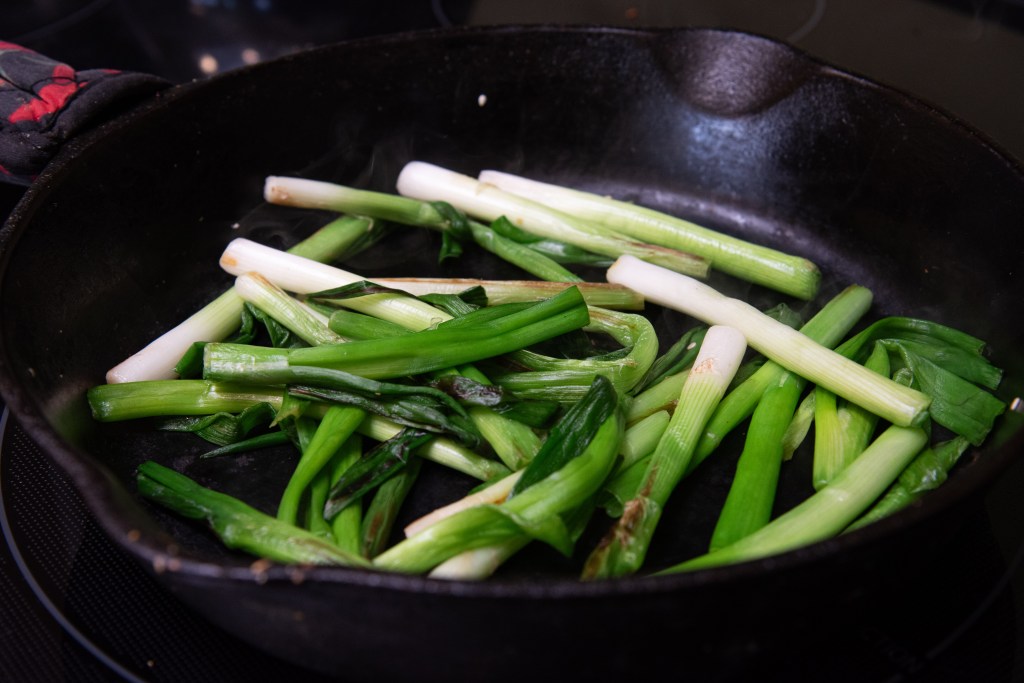
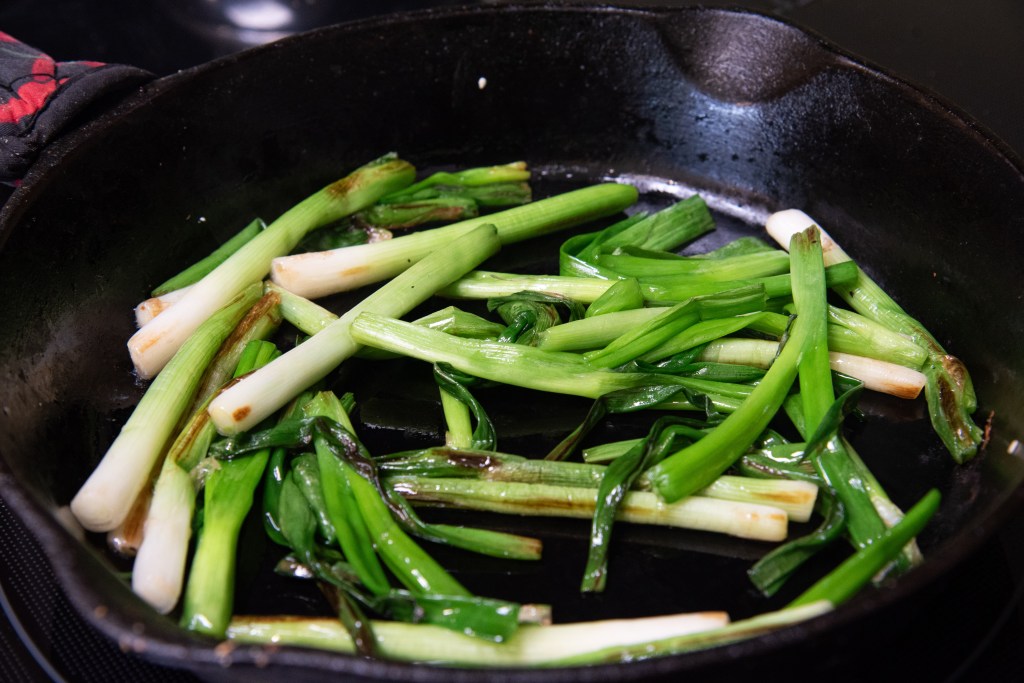
Next up was dry searing my scallions. First, I chopped off the roots and the ends of the green stems then chopped them in half. I added them directly to a cast iron skillet that had been heated over medium heat. I tossed and turned the scallions for a few minutes until they started to brown and blister. When they were almost done, I added about a teaspoon of toasted sesame oil to them and let them cook for another 30 seconds. After that, I transferred them to a cutting board to cool down before I cut them up into 1/2″ pieces.
In total, I performed 4 stretch and folds separated by 20 minutes. I was planning on adding the sesame seeds and green onions at the second fold, but decided to add it at the third due to the dough not being quite ready at the second fold. This may have been a mistake as you’ll see in the later pictures the ingredients weren’t quite incorporated too well.
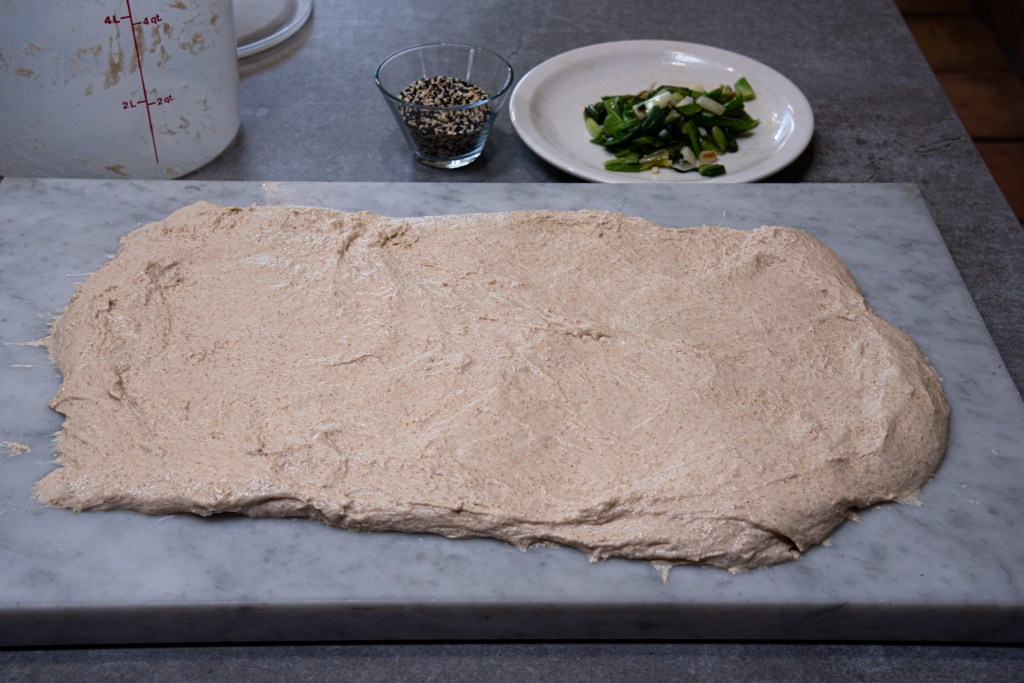
When I added the ingredients, I performed a lamination. This had me stretch the dough out on a wet surface, add the ingredients evenly and then fold it back up. It worked pretty well, but I’m not sure if it did a better or worse job of incorporating everything than if I had added directly to the dough in my fermentation bucket.


After 8 hours, I divided and shaped the loaves and let them sit on the counter for a 10 minute bench rest. Finally, I put them in bannetons that I liberally dusted with rice flour. I put the bannetons in vegetable bags and then placed them in the fridge for a roughly 16 hour cold proof.
One hour before baking I started preheating the oven, with dutch ovens inside, to 450’F. When it was time to bake, I took the loaves straight from the fridge and placed them in the preheated dutch ovens, gave them a quick score and then put them in the oven.
I baked the loaves at 450’F for 20 minutes covered, then removed the lid of the dutch ovens and baked for an additional 30 minutes.
Result:
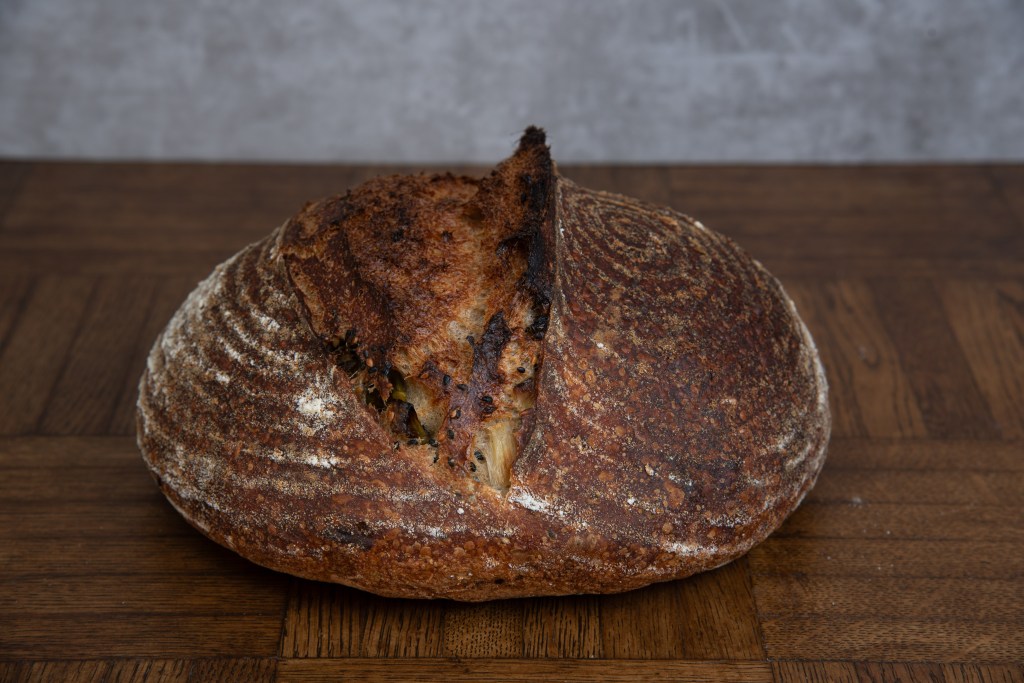
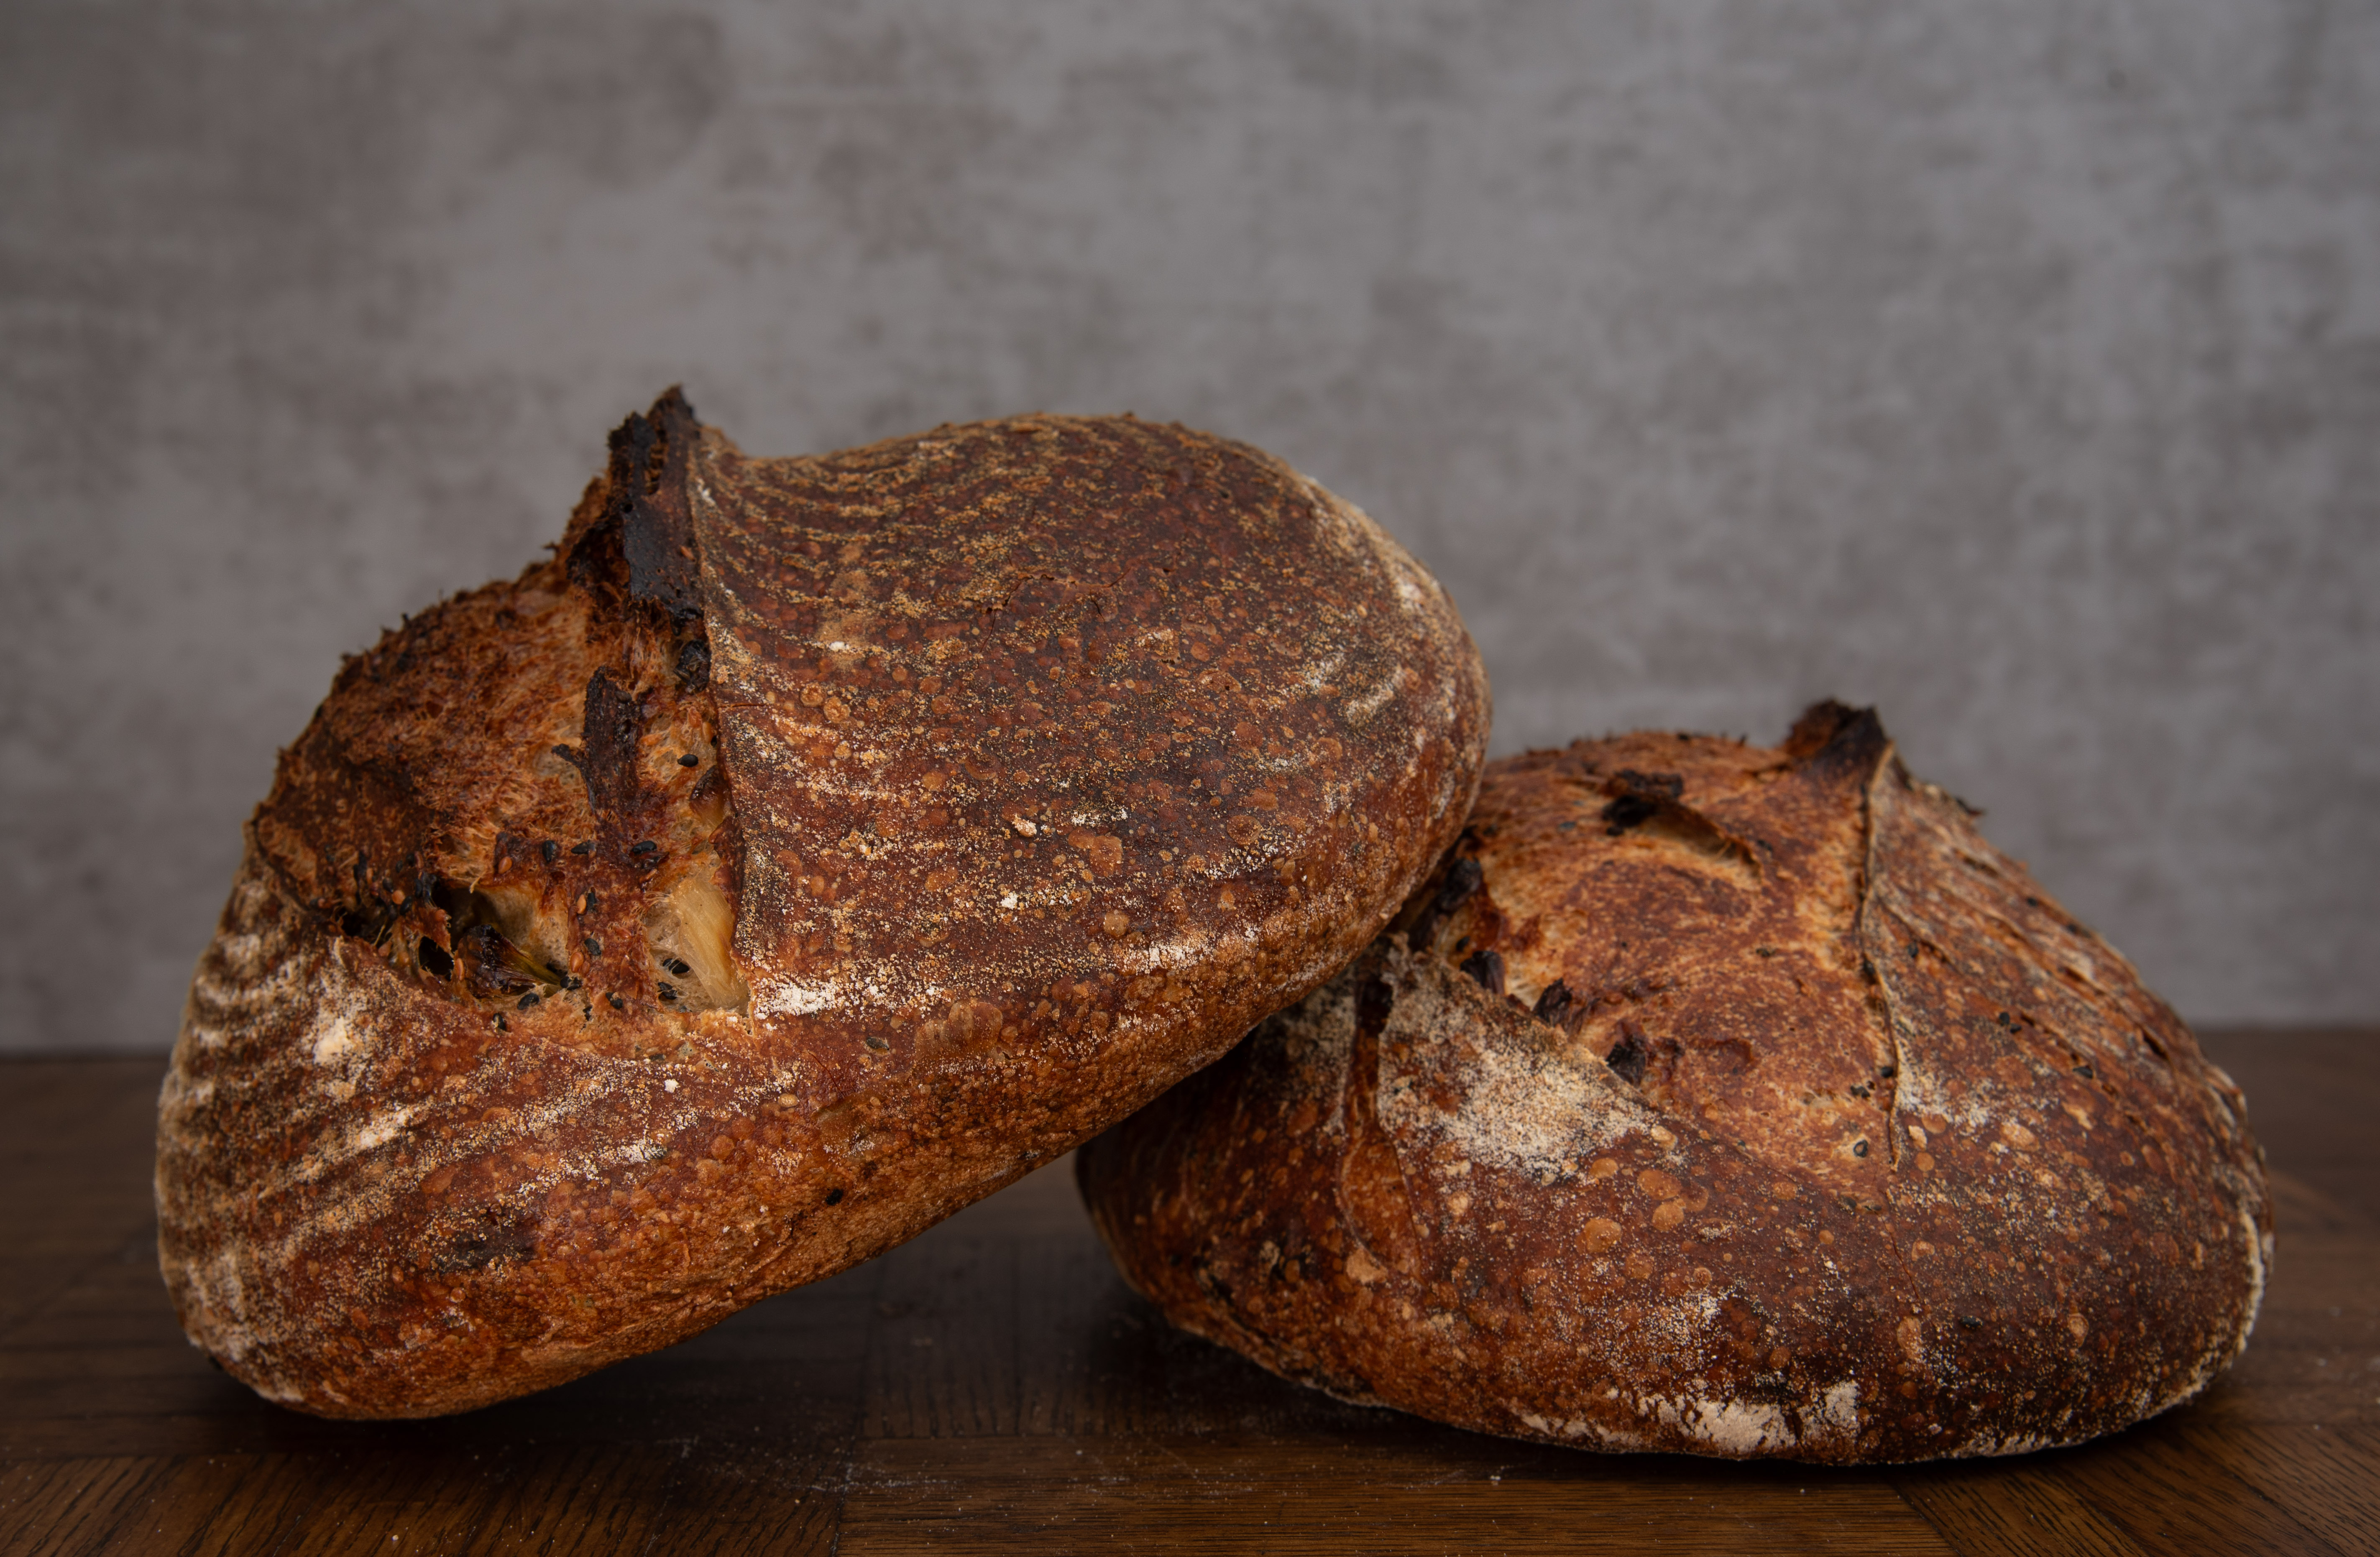
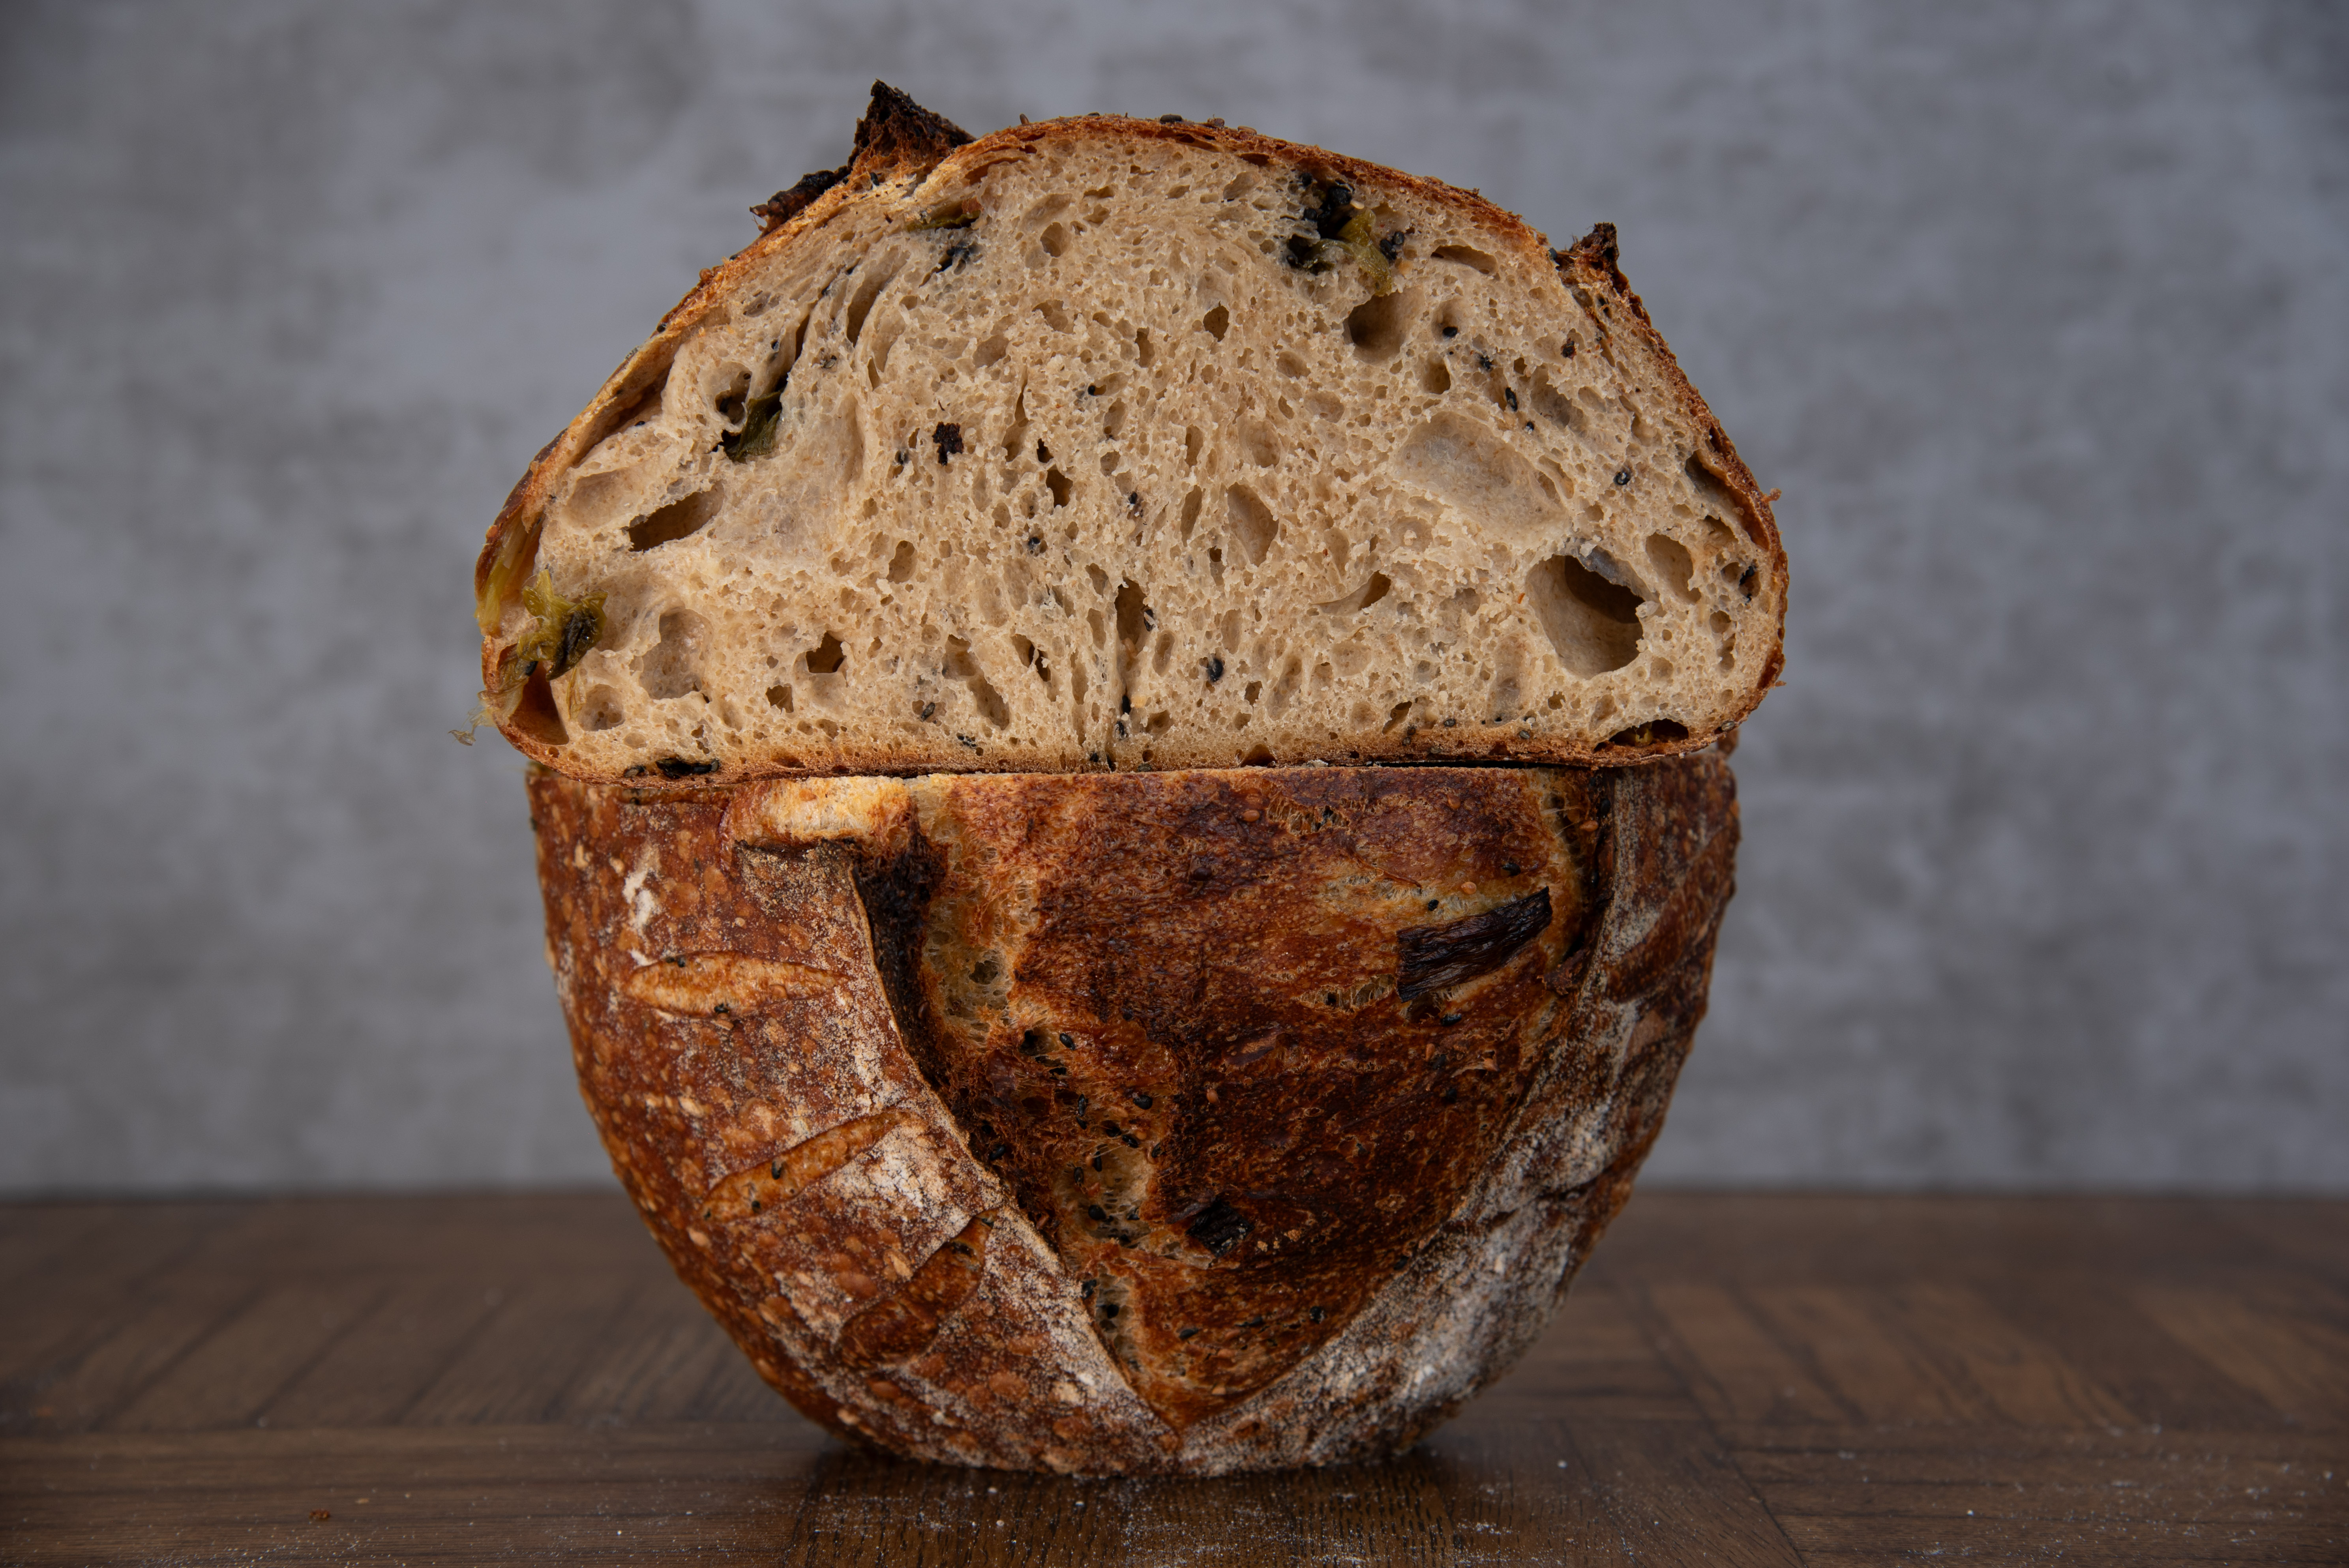
As a first attempt, I’m happy with how these turned out. There are certainly changes I’ll make next time (see that section below), but overall they work perfectly in providing more complexity and flavor when used as sandwich bread.
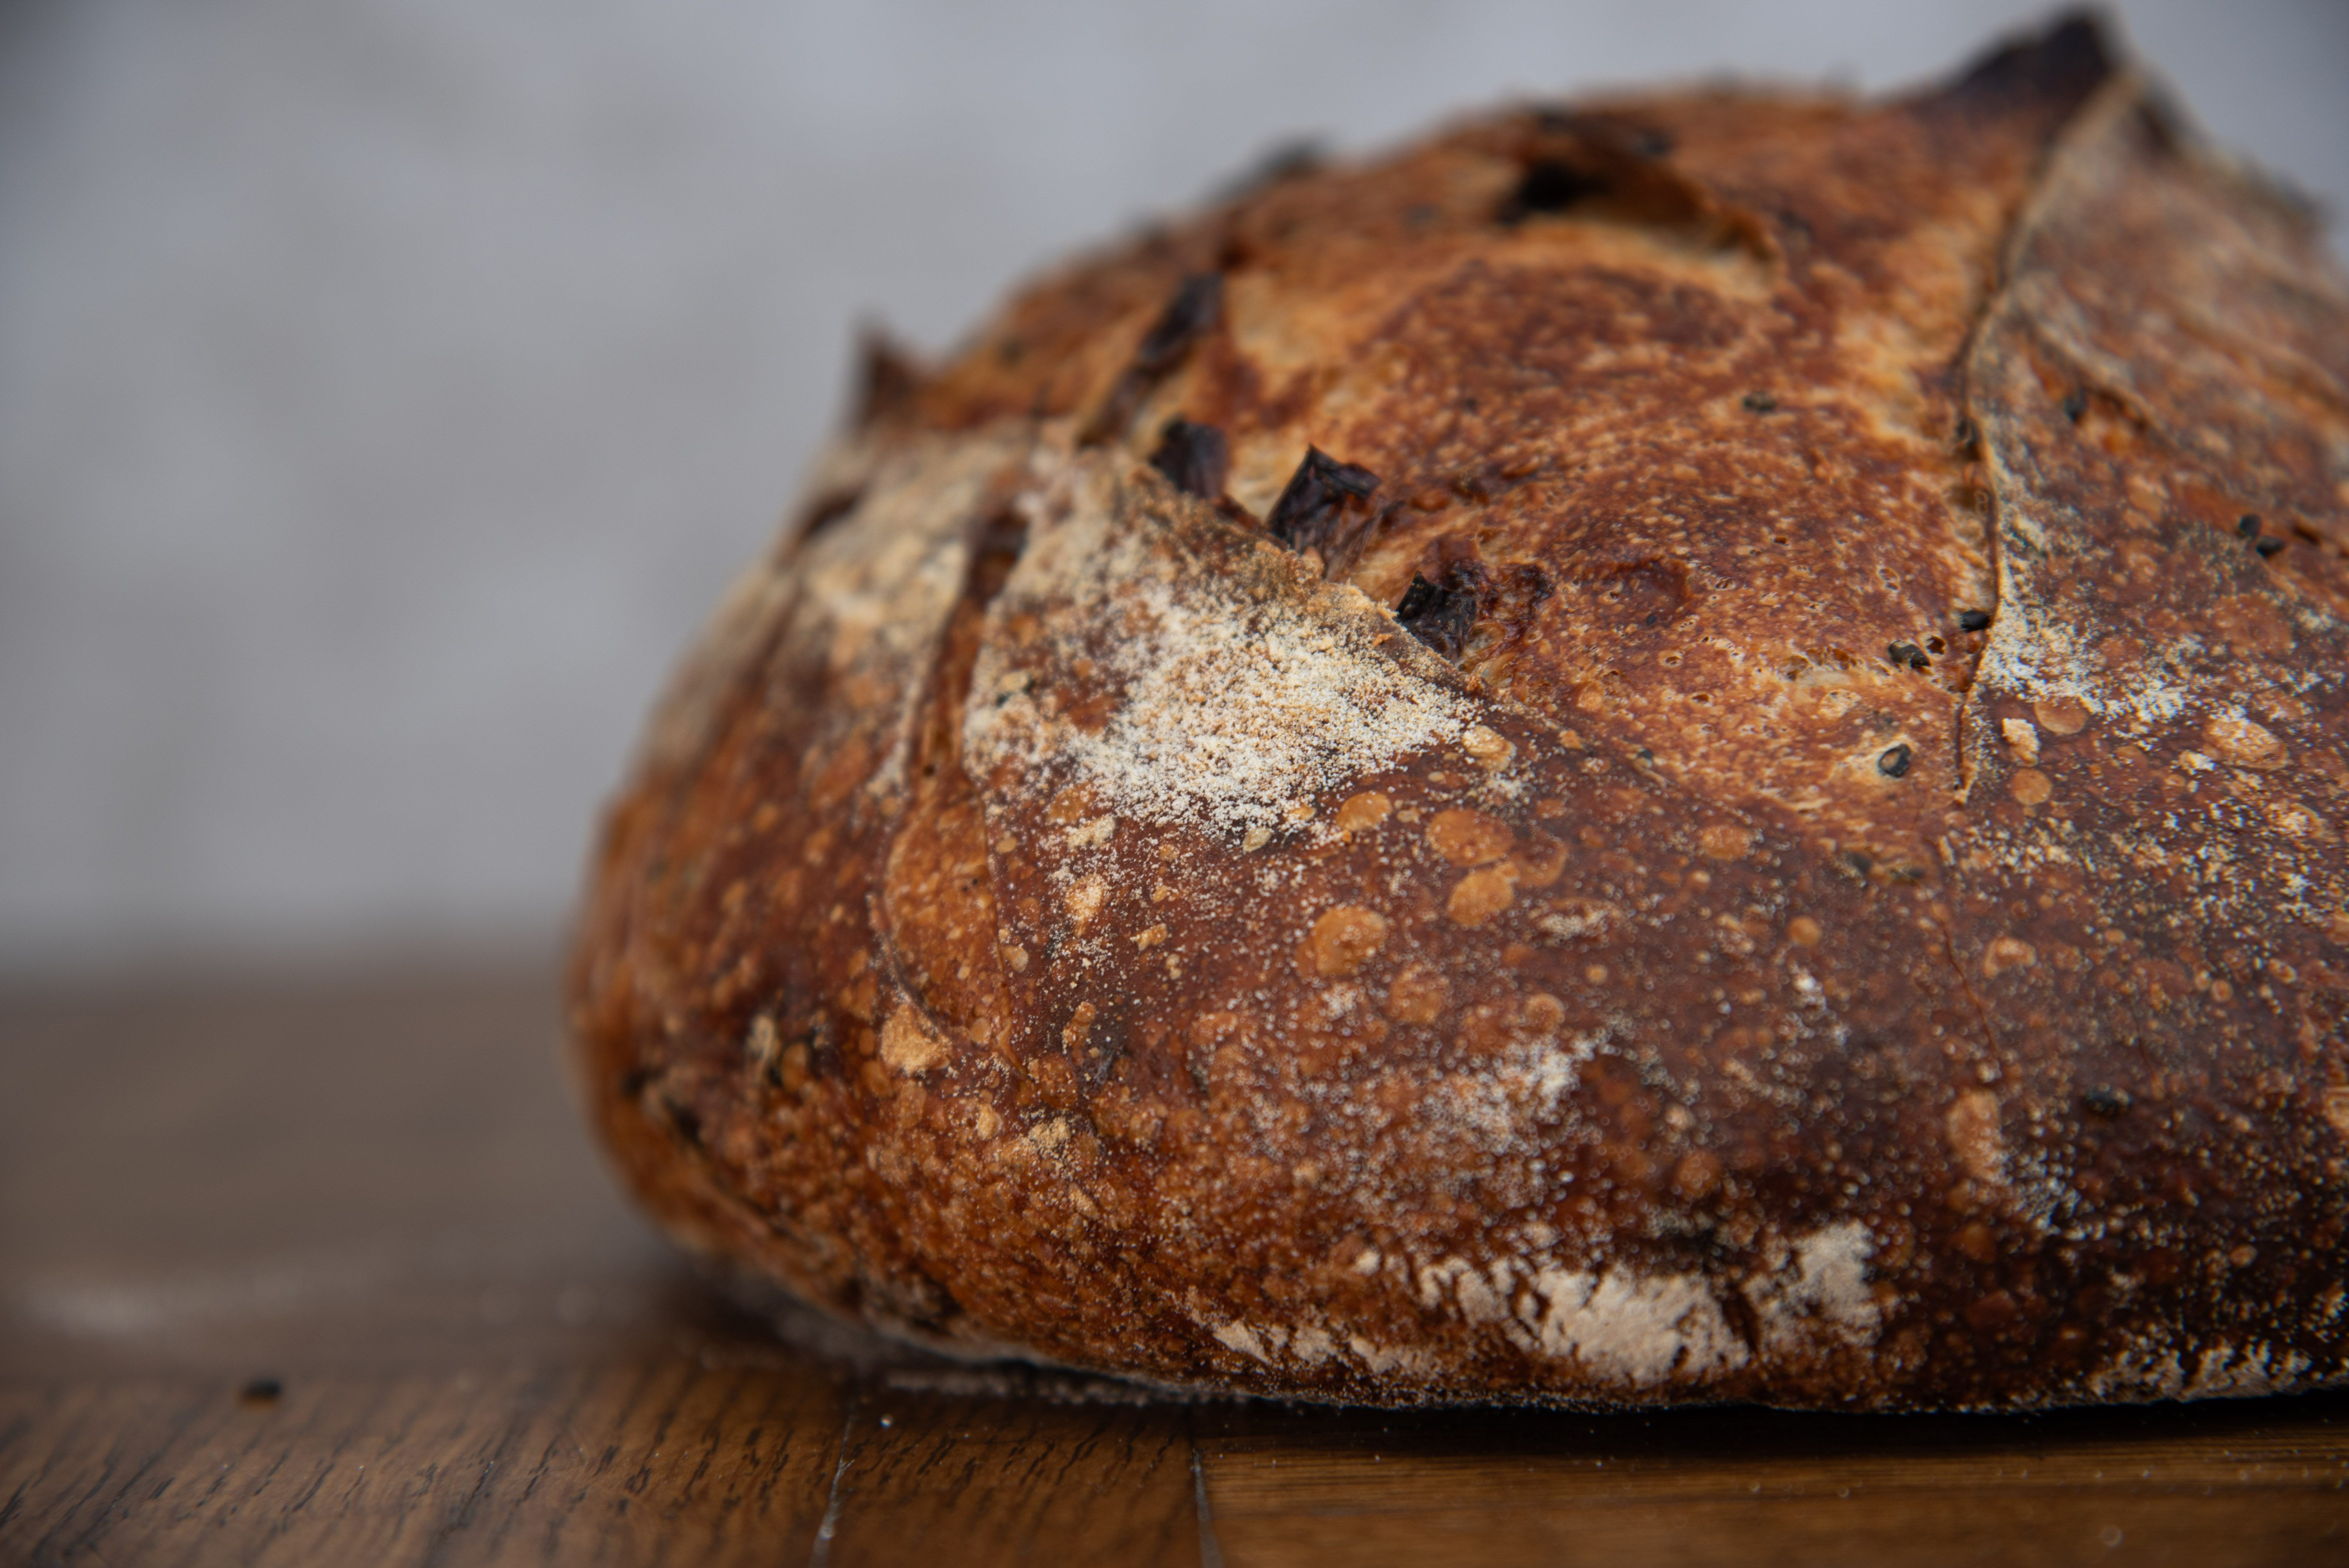
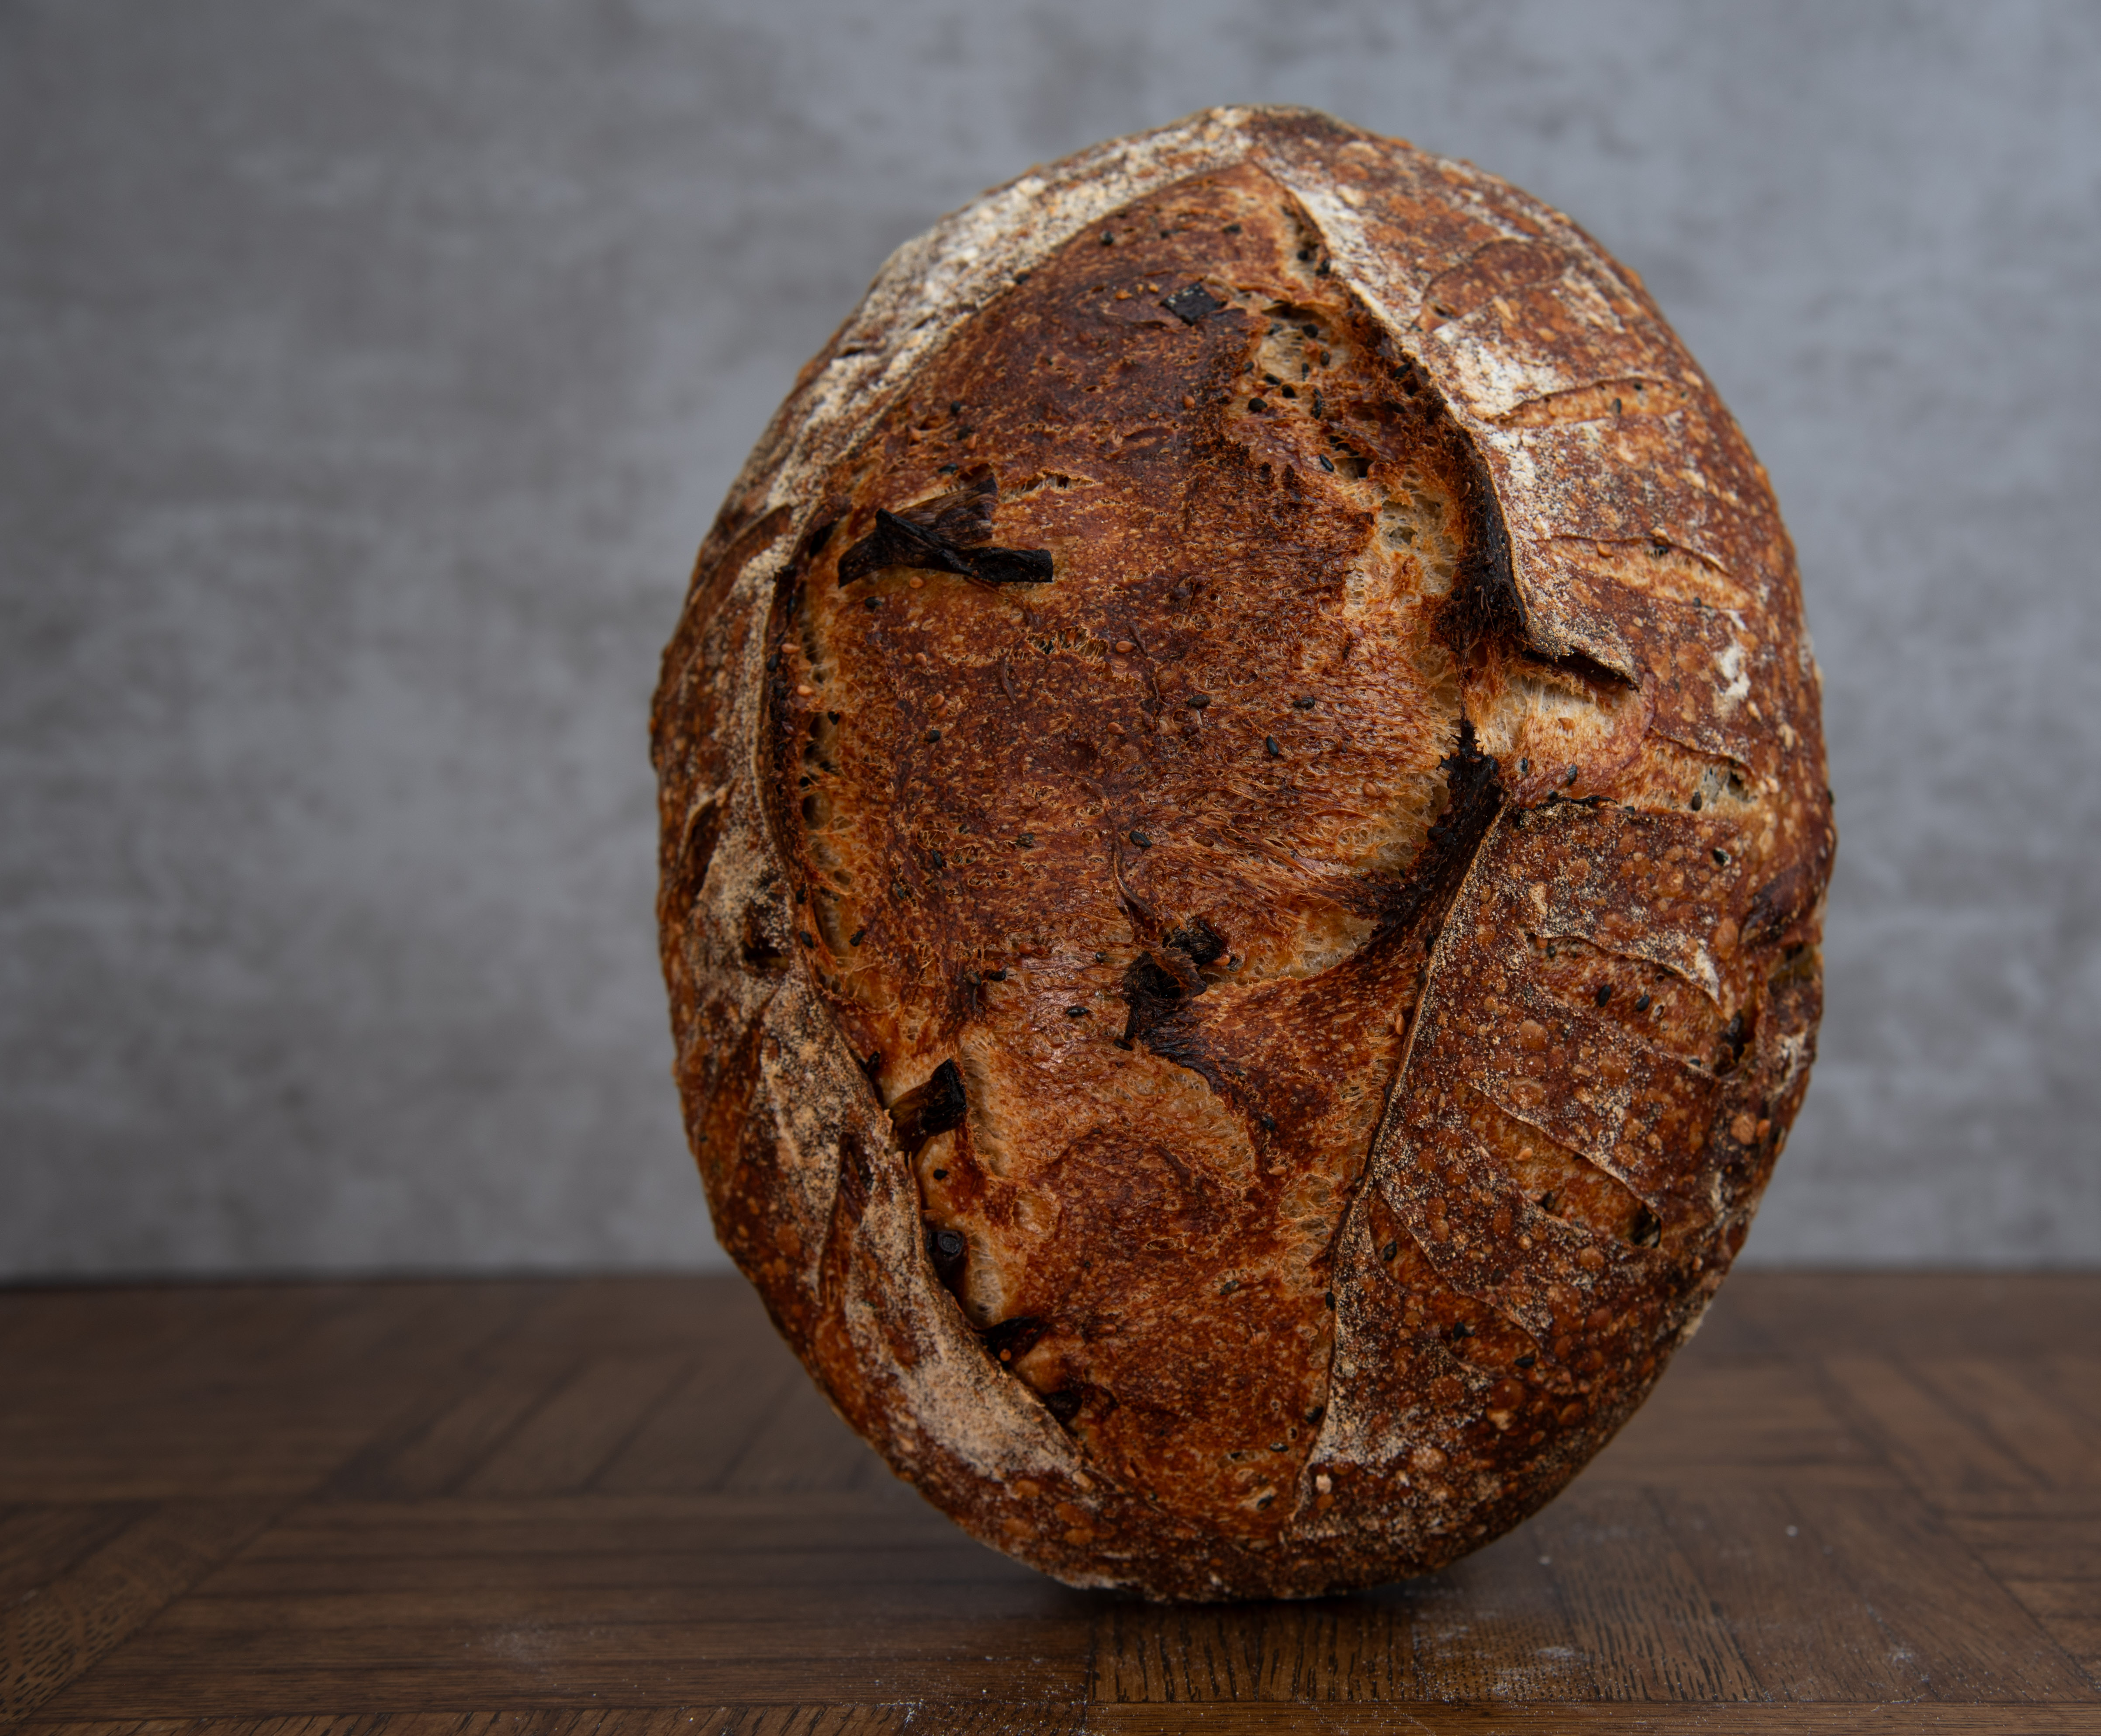
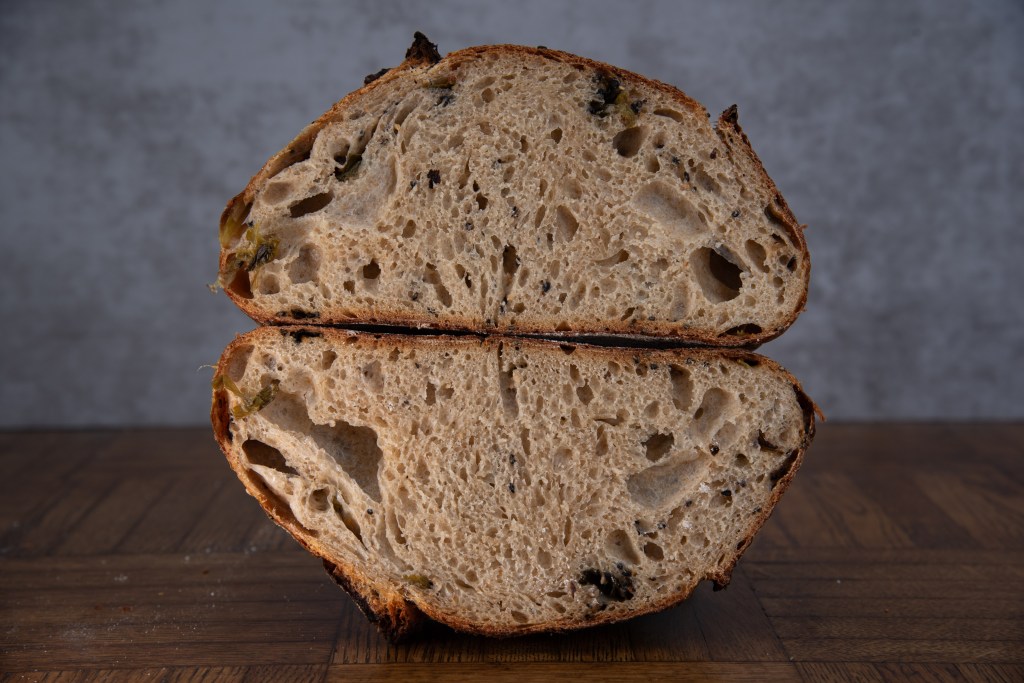
The crust and crumb are both exactly how I like them, with a nice ear forming and just enough holes in the crumb to give it a nice texture without being too big that any toppings fall right through.
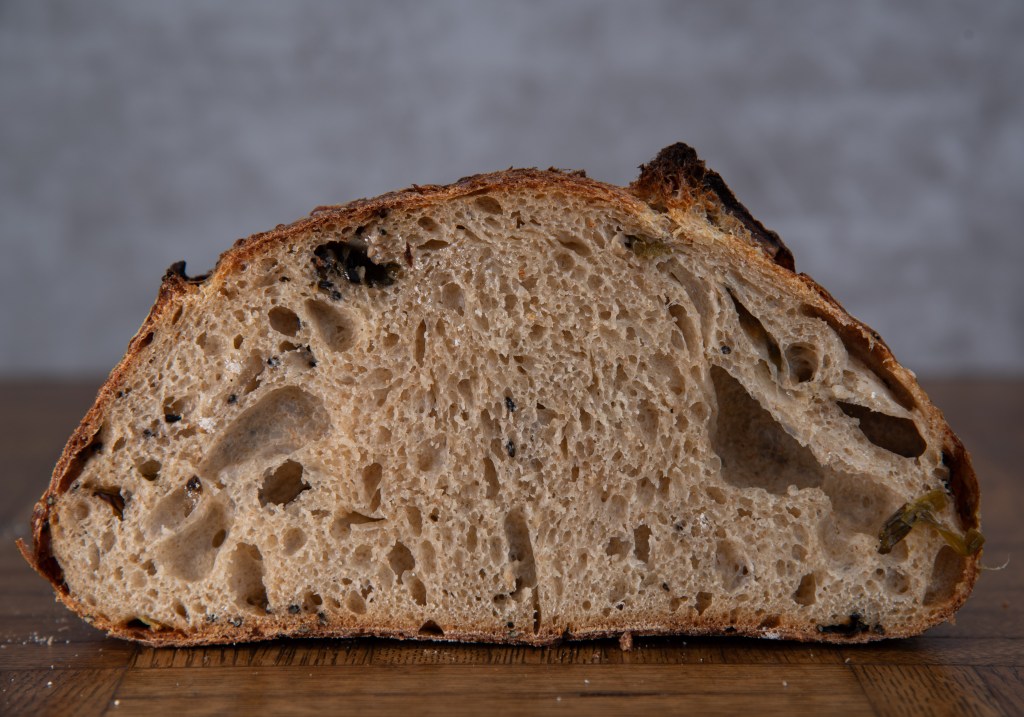
Flavor wise, the sesame and green onion dominate. I was hoping for a little more out of the red miso, but it ends up disappearing in the background. The aroma is heavy on sesame with the small amount of toasted sesame oil used on the green onions also contributing to that.


Changes for next time?
There are a few changes I’m going to make for next time. The first, and biggest, is adding the sesame seeds and green onions at the second fold instead of the third. This will give those ingredients more time to get more incorporated and evenly distributed throughout the dough. The next change I’ll make is dicing the green onions into much smaller pieces. For this round, I chopped the green onion into about 1/2″ pieces but will go for a much finer dice next time. Finally, I’ll probably try taking the miso from 50g up to 75g (and drop the salt down to 13 or 14g) to see if I can get more of that miso flavor and color coming through.
My Baking Notes
- Ambient Temperature @ mixing: 64’F
- Mixed @ 12:15pm on January 27th
- Dough was 76’F at mixing
- 4 stretch and folds in first 1.5 hours
- Started proof @ 8:27pm on January 27th
- Preheated oven @ 10:44am on January 28th
- Out of fridge and into oven @ 11:48am on January 28th
