When autumn strikes in New Mexico, the smell of roasting green chile fills the air. I just picked up a sack of green chile to last me for the year and wanted to make some loaves with it. These are filled with green chile, cheddar and mozzarella cheese.

Schedule
Using the lazy sourdough method is actually quite simple. The real key to this method is that you can use your unfed starter straight from the fridge without the need to make a levain. There’s also no autolyse which saves about 30 minutes.
Schedule: Here’s a link to the lazy sourdough method.
The exact schedule I used is at the bottom of this post.
Ingredients:
This recipe makes two loaves. Simply divide all the ingredients by two if you only want one loaf.
Dough:
- 1000g bread flour
- 750g filtered water @ 88’F
- 200g unfed starter straight from fridge (100% hydration)
- 22g sea salt
- 175g chopped green chile
- 135g cubed cheddar and mozzarella (or any block cheese you have on hand)
- 35g chopped green chile (for topping each loaf)
- 35g cheese (I used cheddar – for topping each loaf)

Method:
After mixing the dough, I performed 4 stretch and folds within the first 2 hours. I added all of the green chile and cheese during the first fold. It gets a little tough to work with but it will eventually disperse through the dough.
I let the dough bulk ferment at room temperature for a total of 7.5 hours. If your kitchen is on the cooler side, a full 8 hour bulk fermentation might be necessary. We’re solidly in Fall here in Santa Fe, but my kitchen was still hovering around 70’F.
Once the dough had doubled, I divided and shaped the loaves and put them in bannetons that I liberally dusted with rice flour. I put the bannetons in vegetable bags and then placed them in the fridge for a 17 hour cold proof.

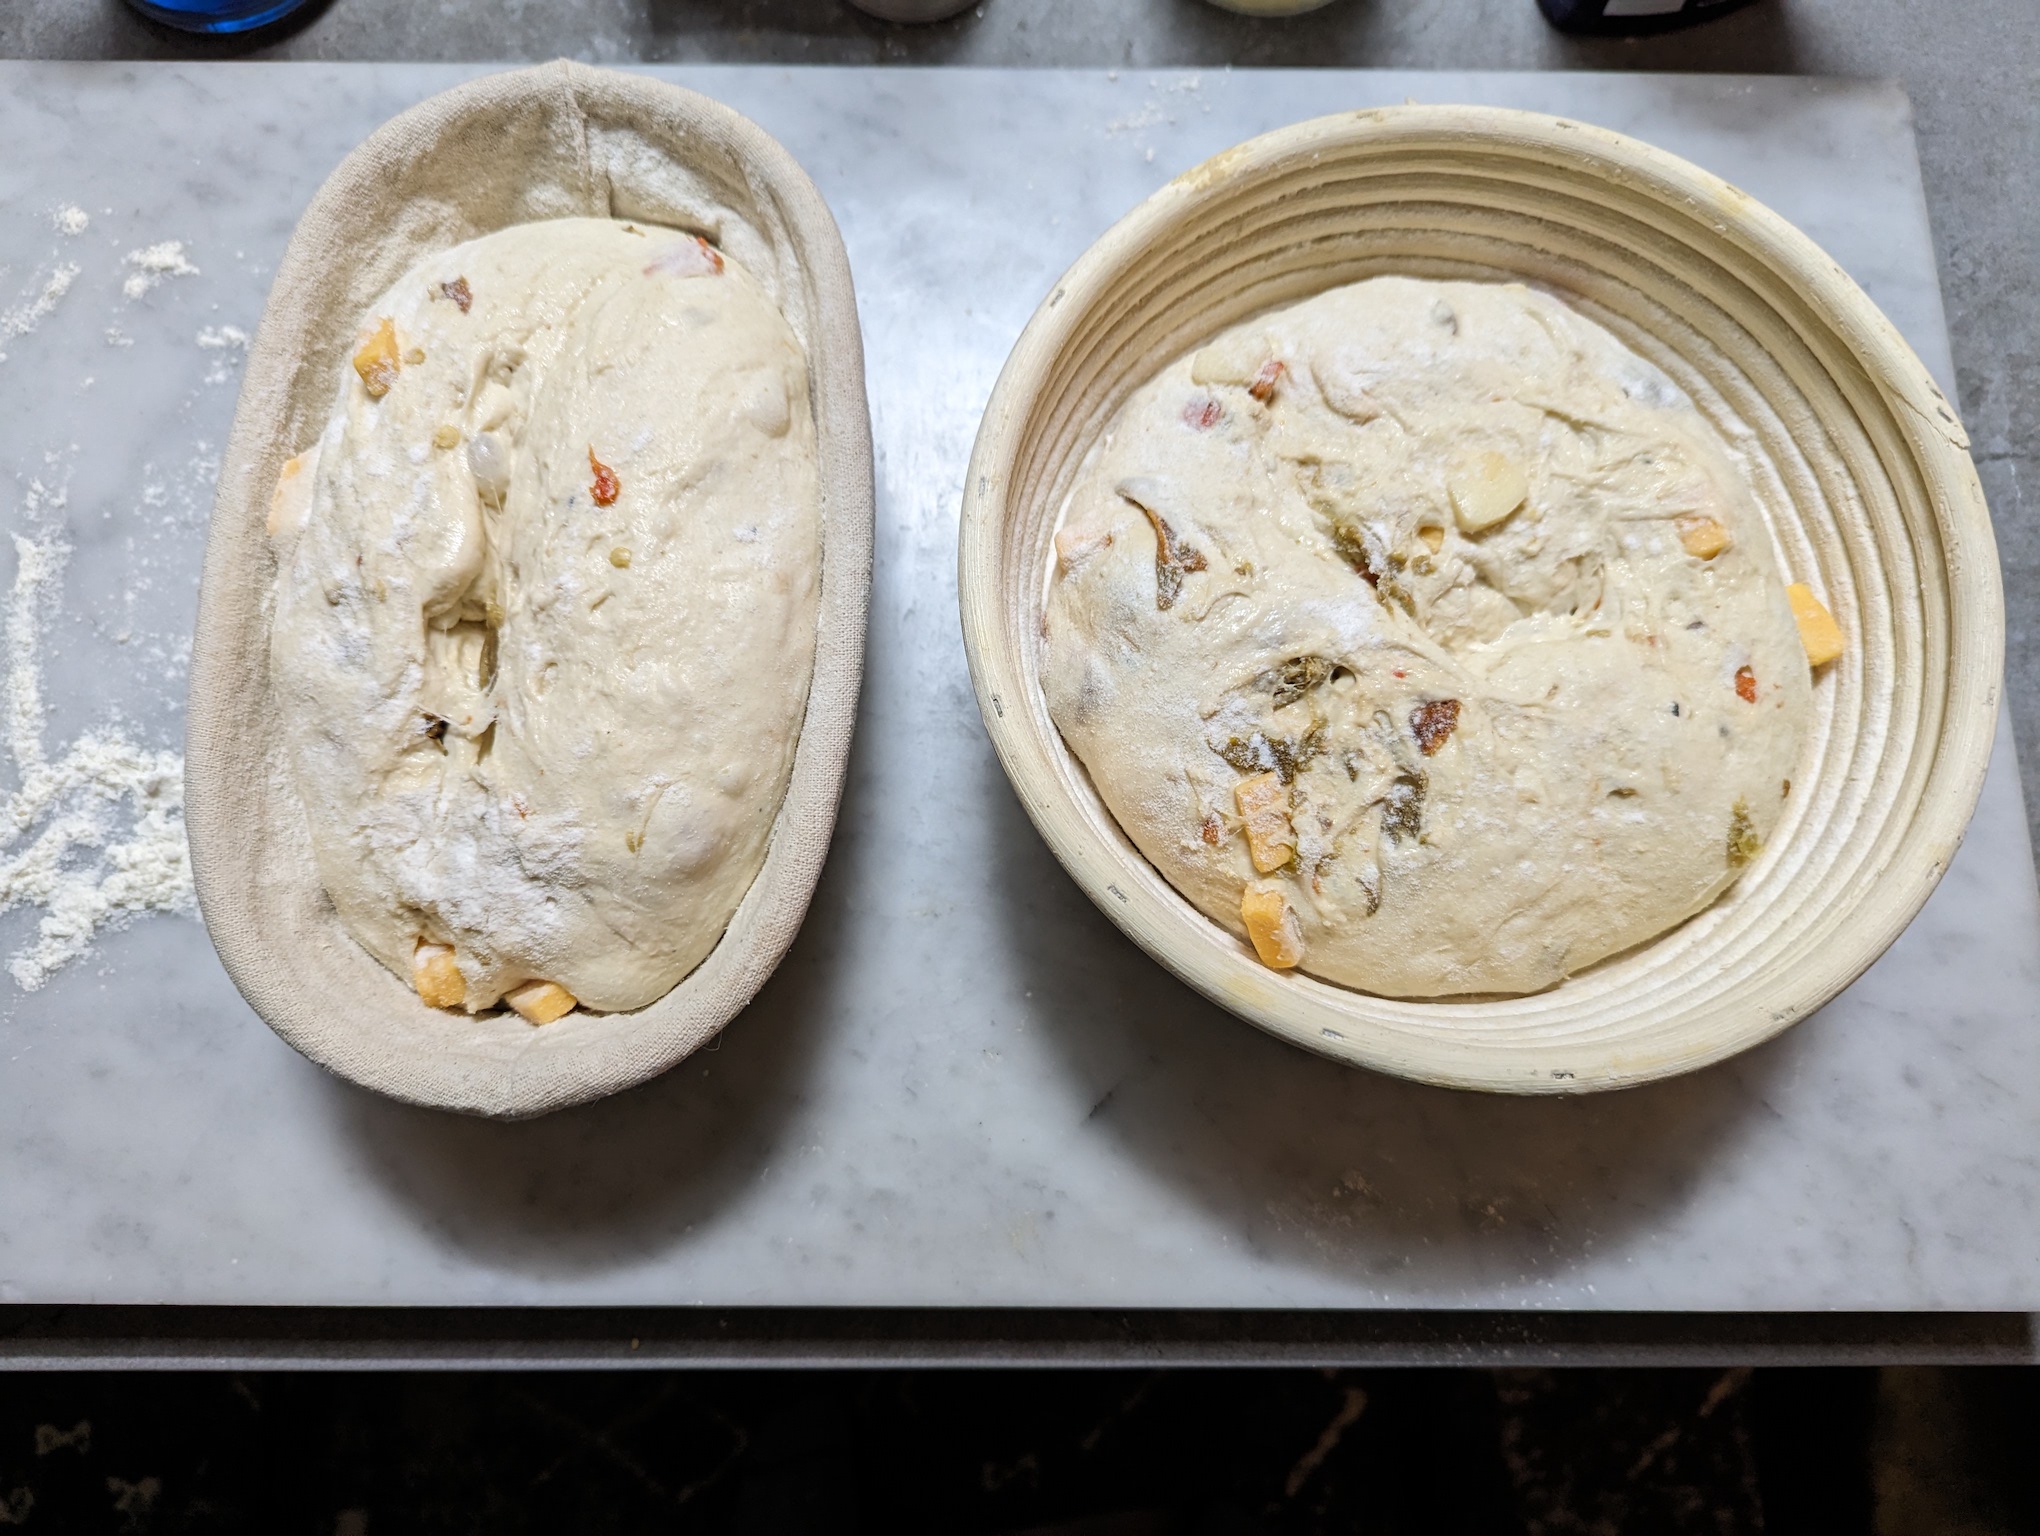
One hour before baking I started preheating the oven, with dutch ovens inside, to 450’F. When it was time to bake, I took the loaves straight from the fridge and placed them in the preheated dutch ovens, gave them a quick score and then put them in the oven. Note: be sure to dust the dutch ovens with cornmeal before adding the dough. Some cheese is going to leak out and can cause the loaves to get stuck to the dutch ovens if you don’t add some cornmeal.
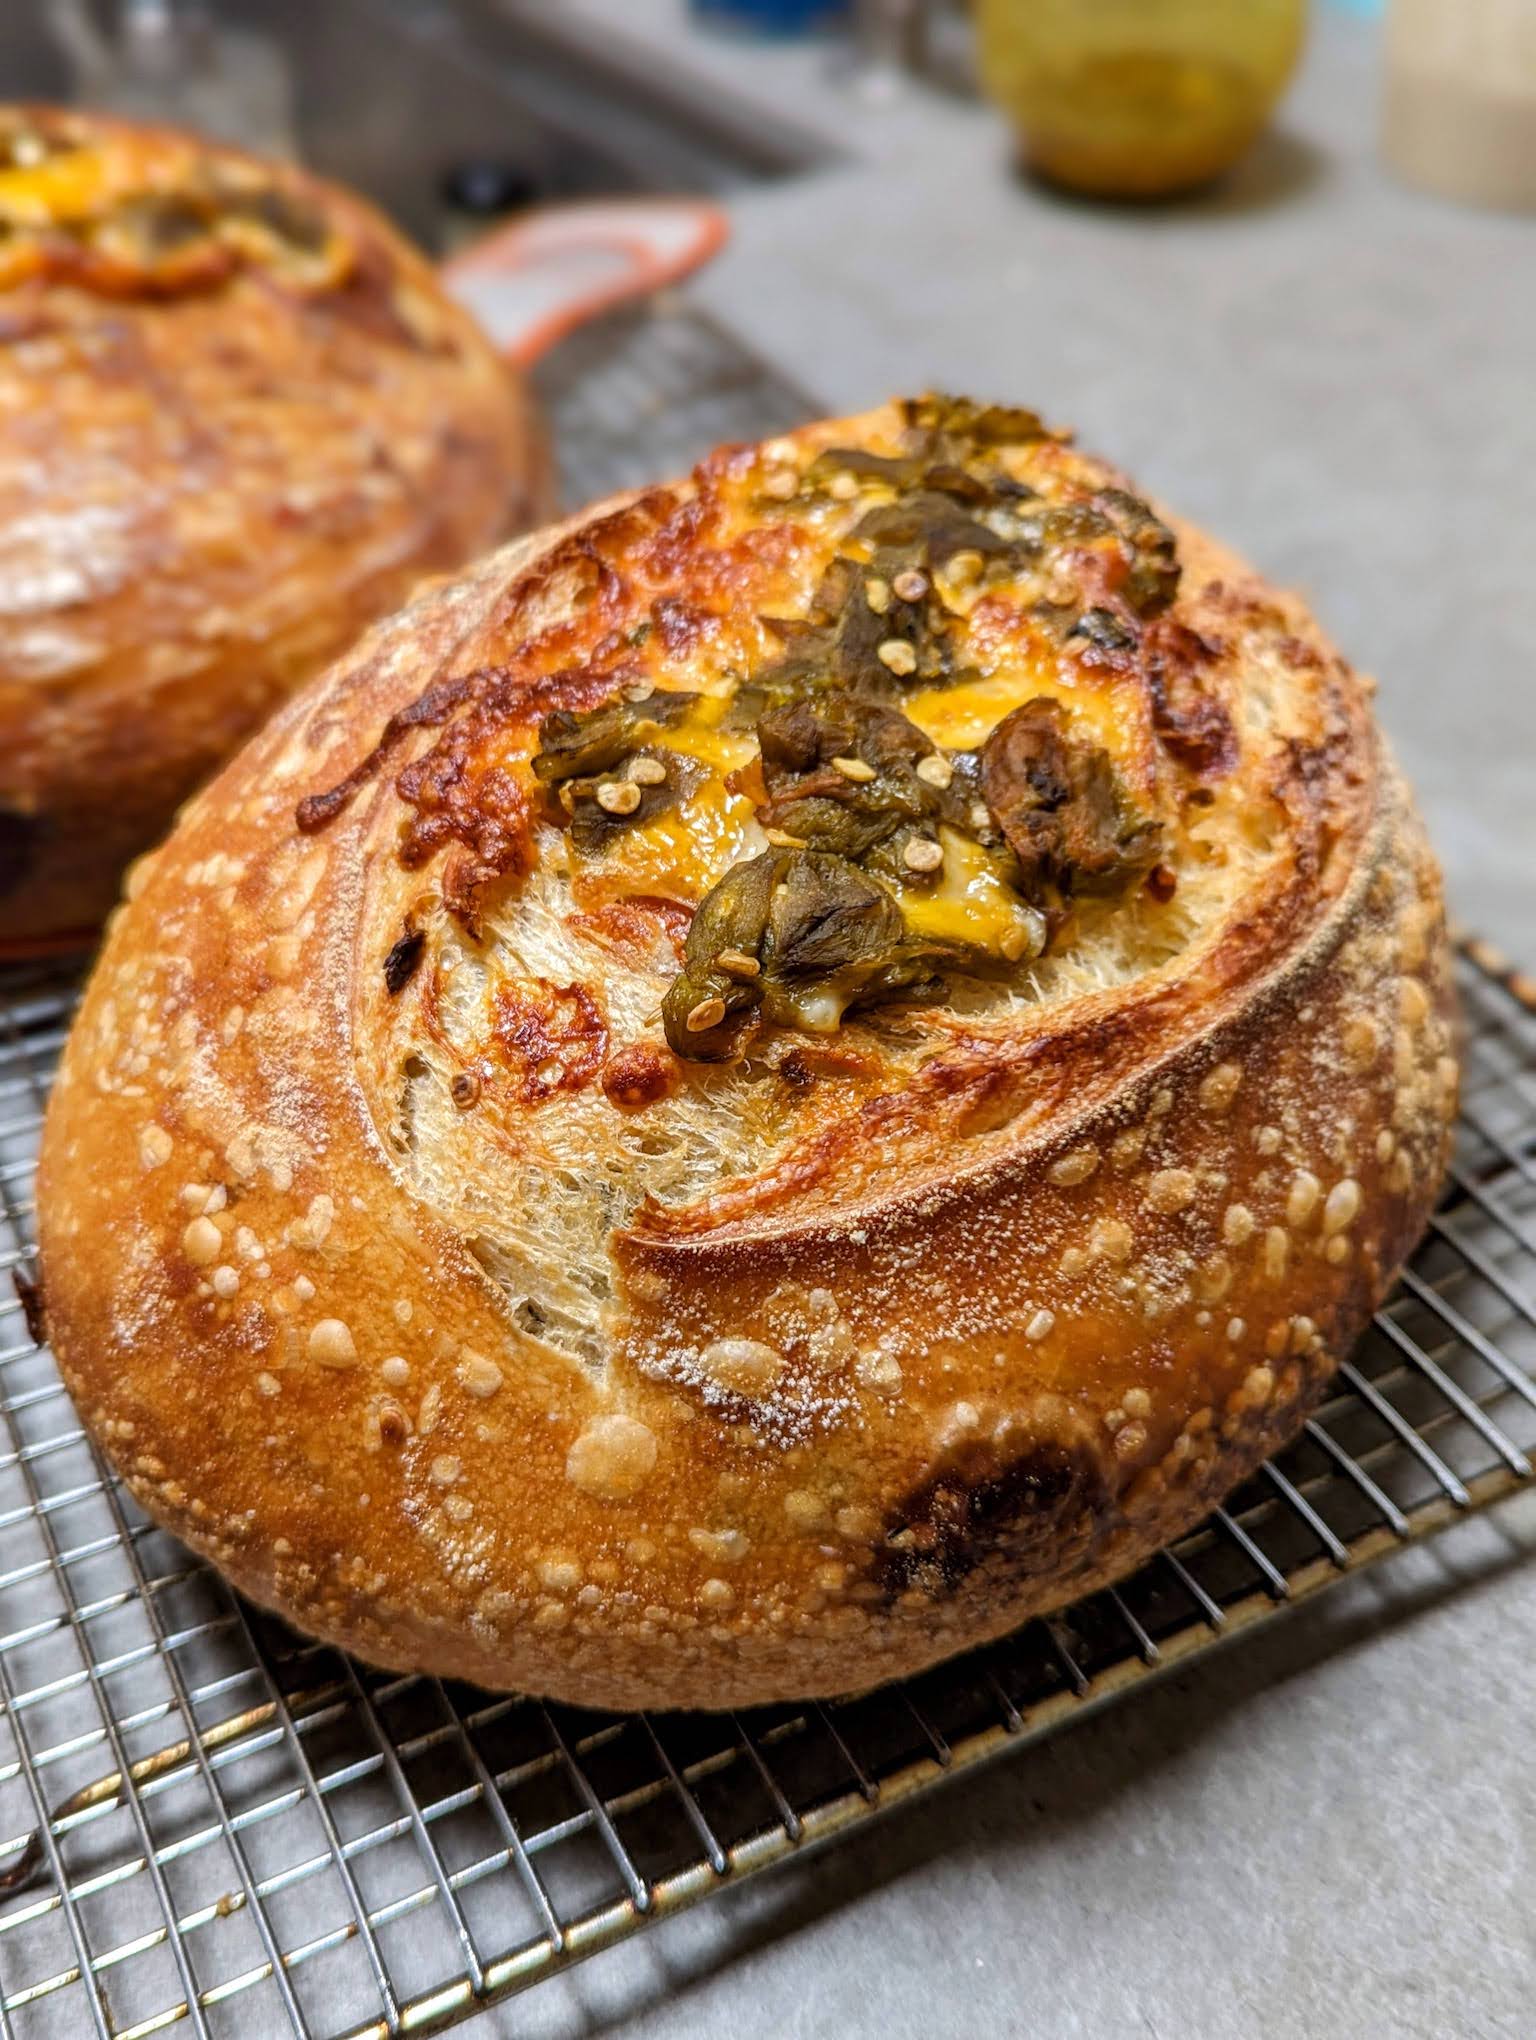
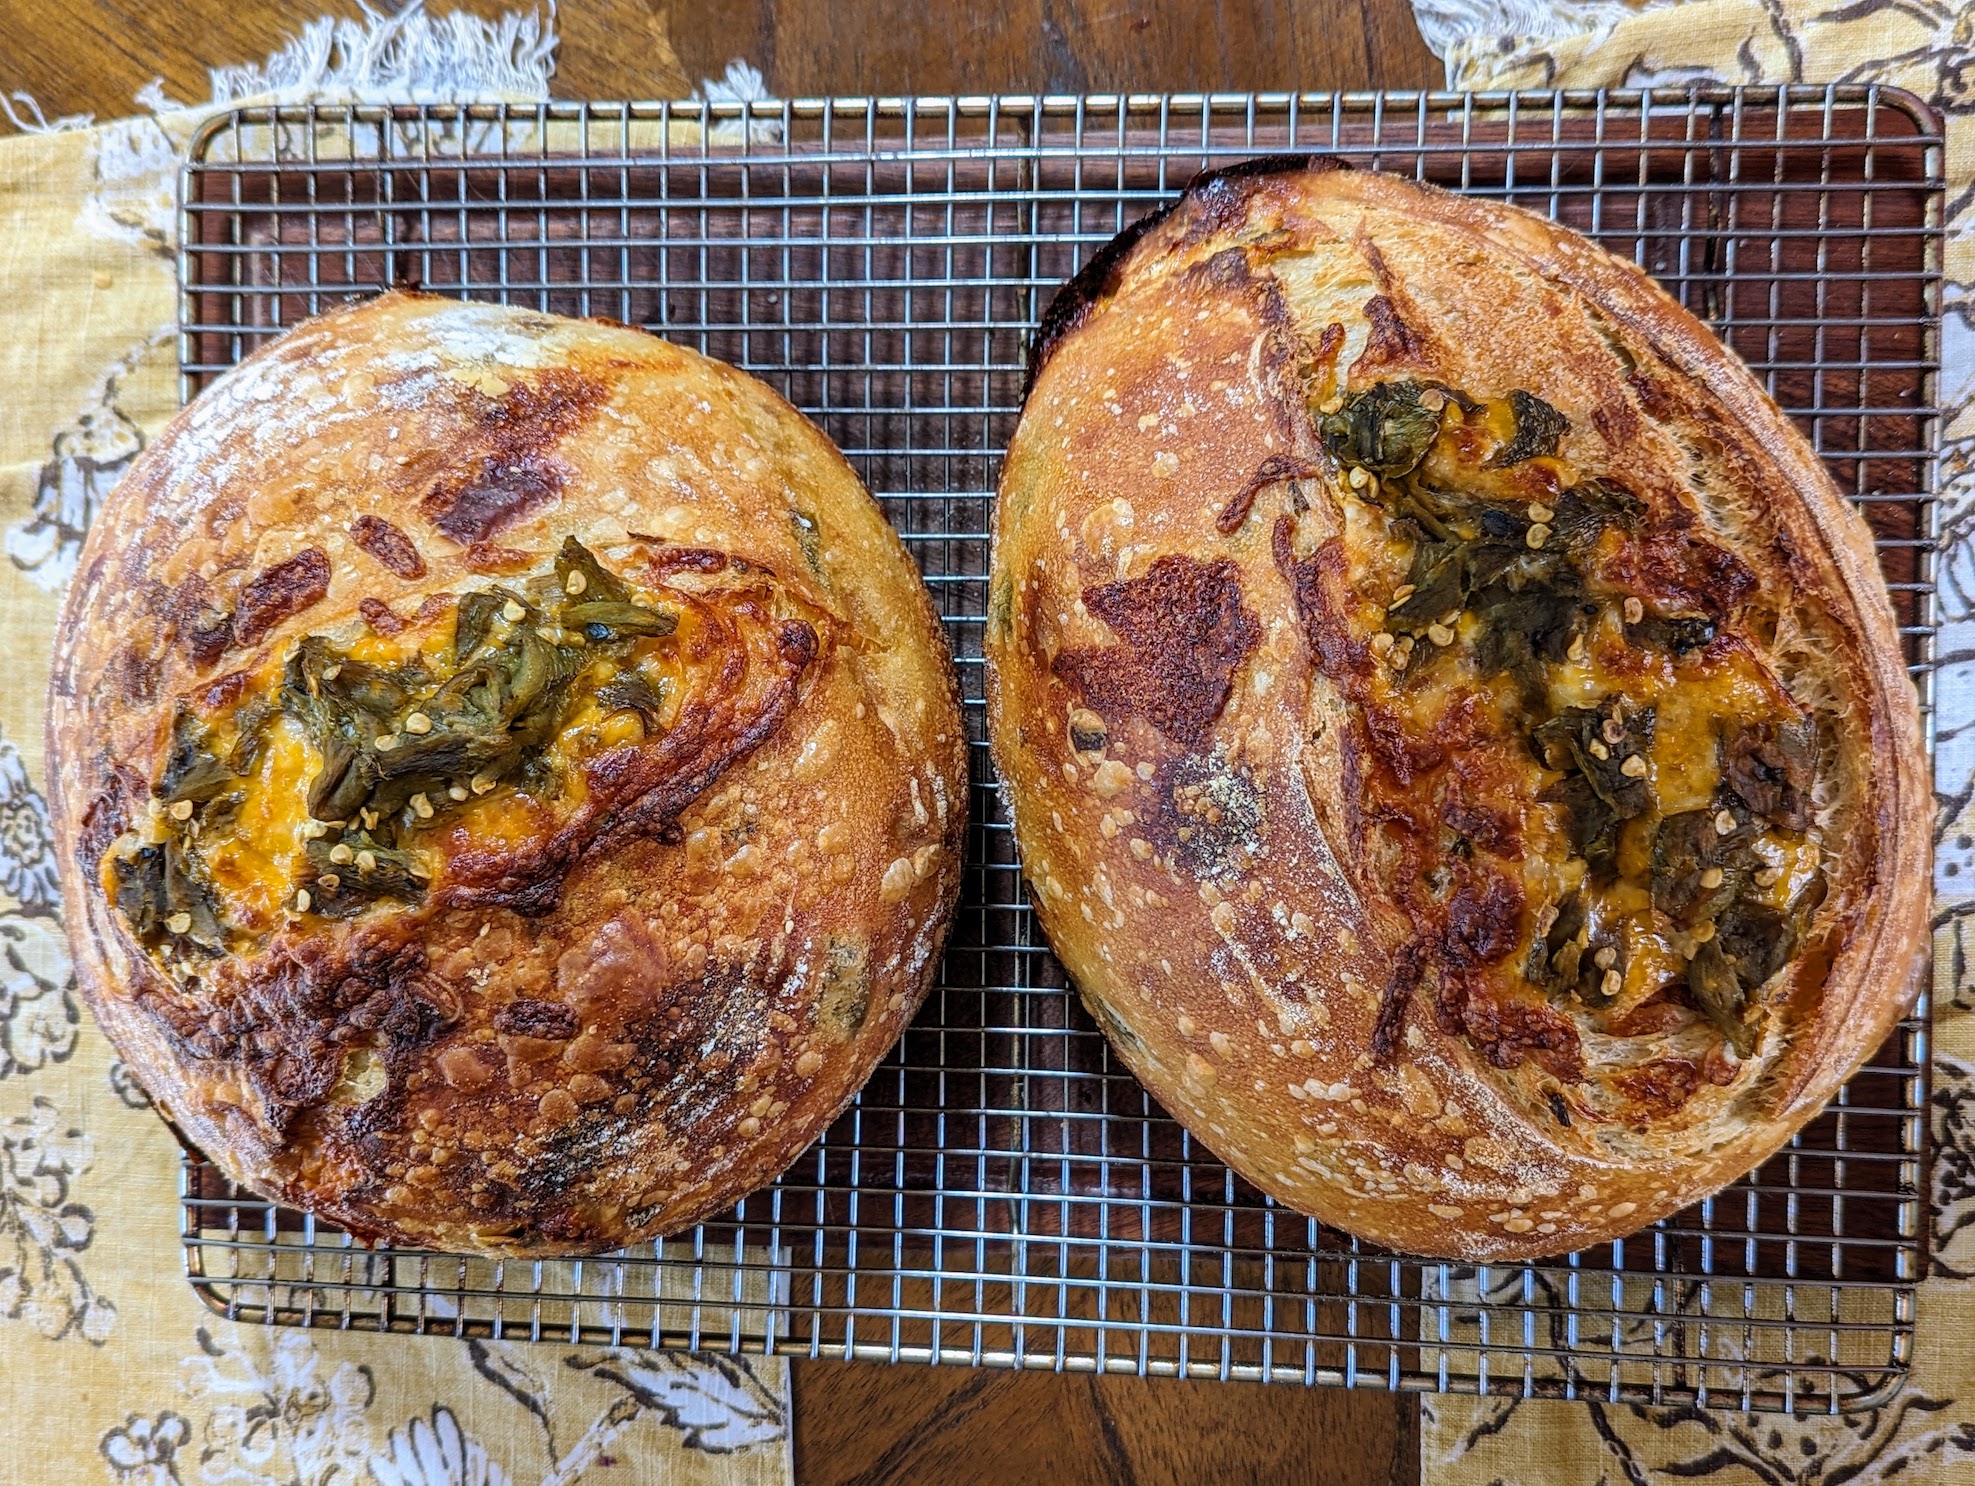
I baked the loaves at 450’F for 20 minutes covered, then removed the lid of the dutch ovens and baked for an additional 30 minutes. I added the additional cheese and green chile to the top with 15 minutes left in the bake.

Result:
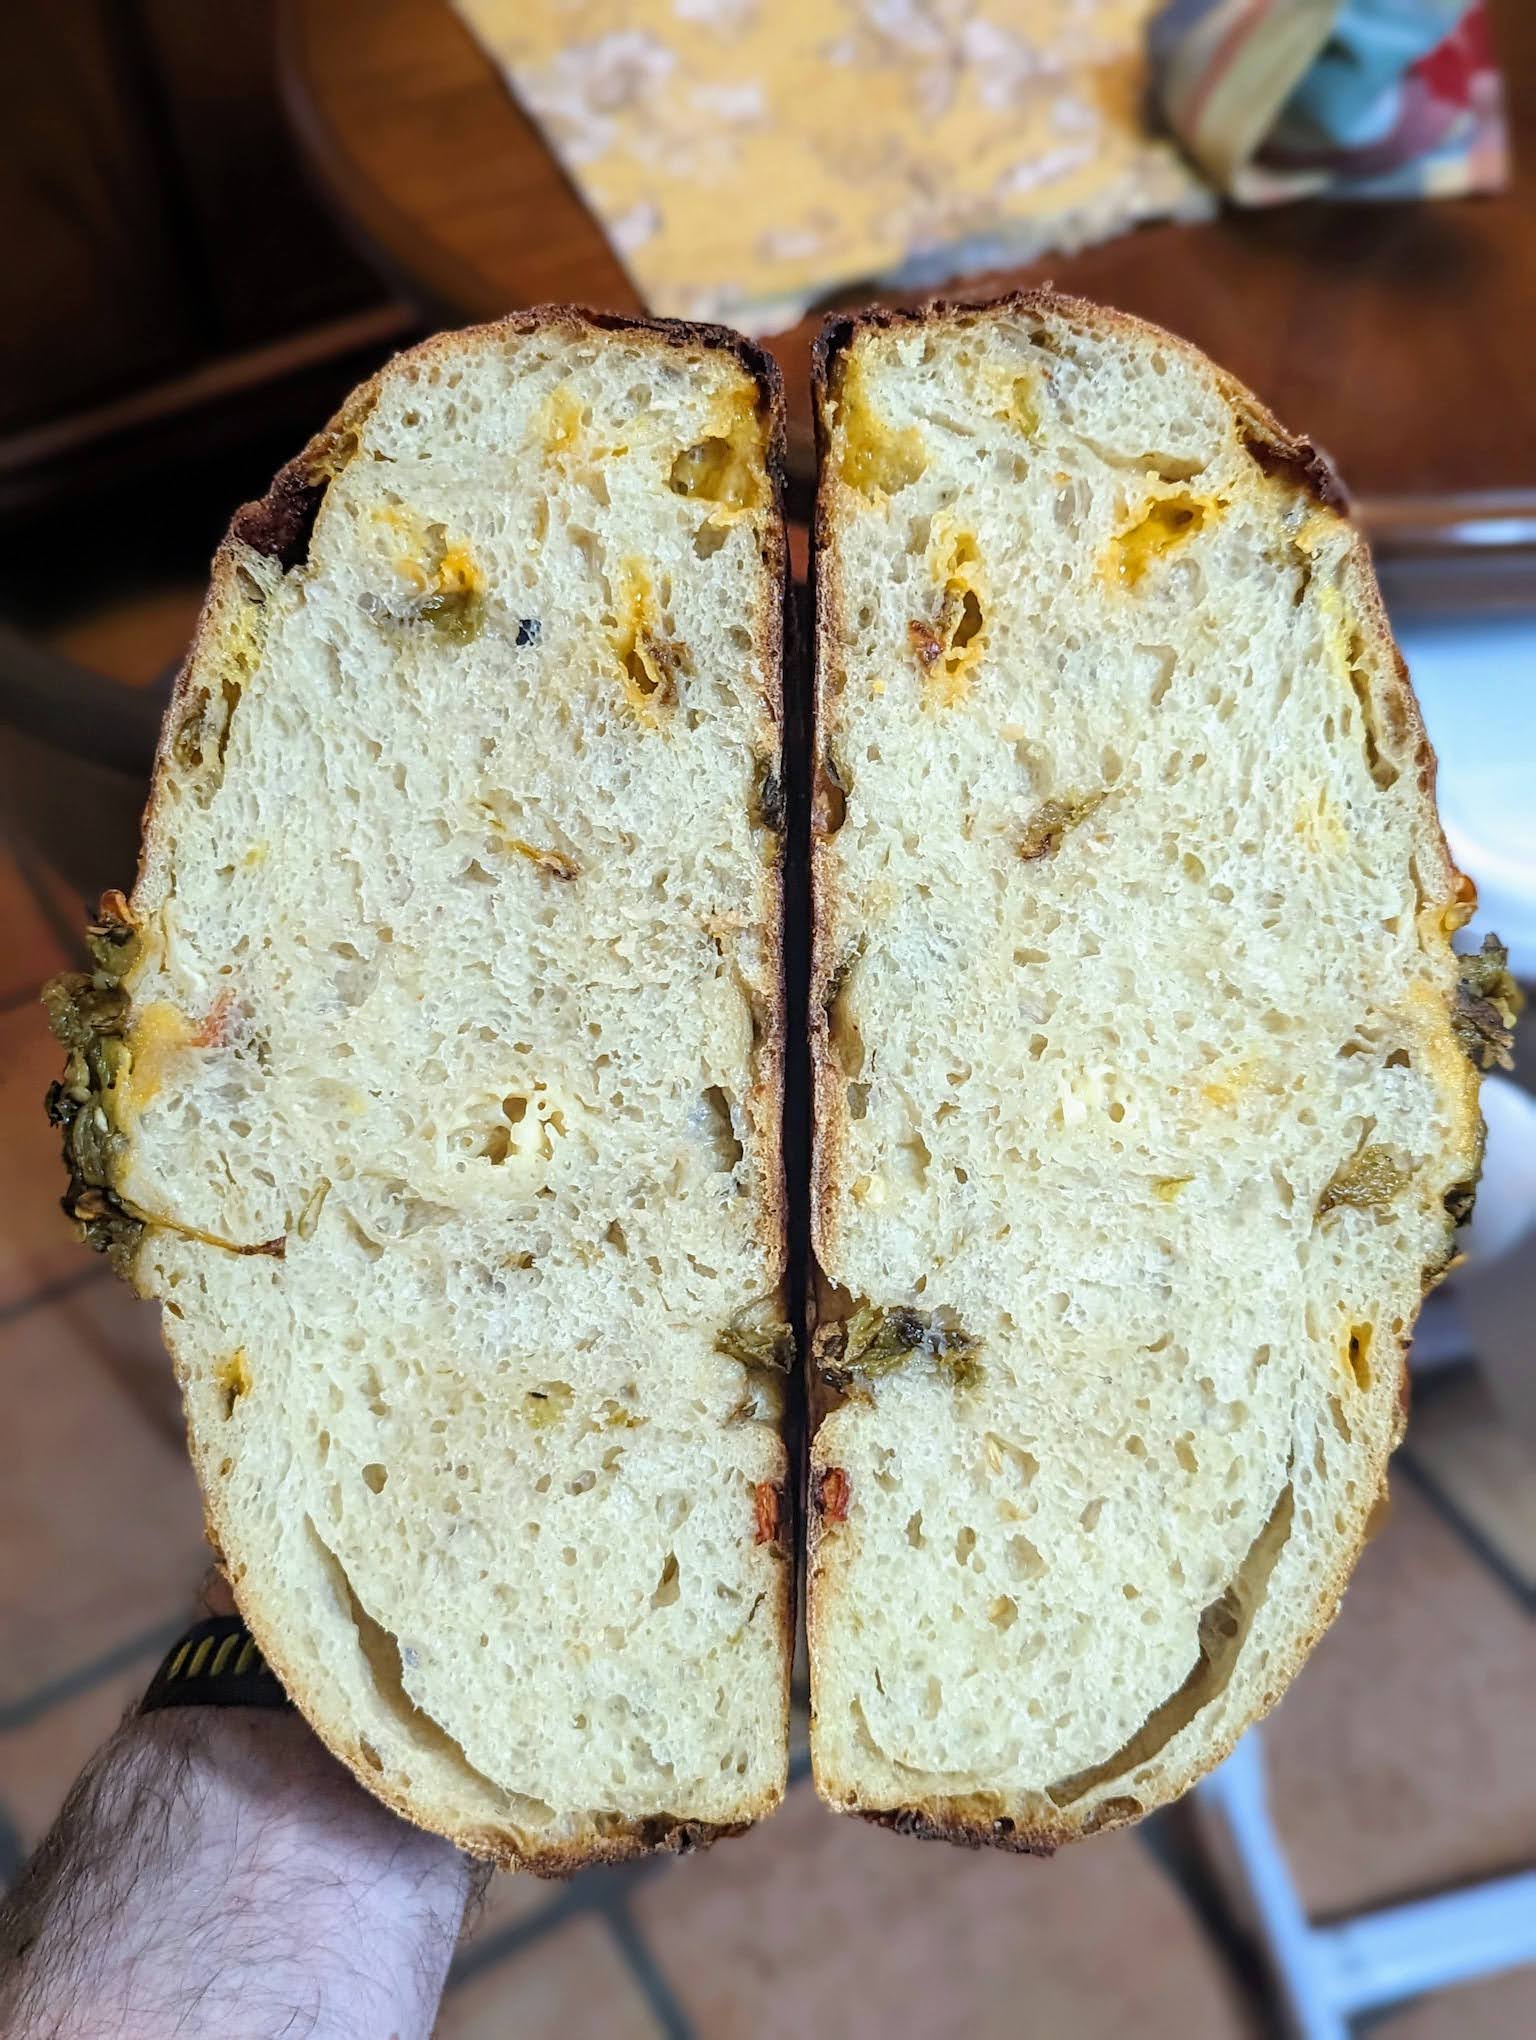
My green chile isn’t super hot, but the roasted flavor and aroma is present throughout the loaf. The blocks of cheddar fully melted into the bread while it was baking and gives a really nice savory bite when you’re eating it. The crumb is tight and moist, but perfect for toast, sandwiches, cheesy bread, etc.
This bread is great as-is, toasted or made into cheesy bread to have with some soup (green chile stew anyone?).
This is pretty close to the same recipe I used last year around this same time of year and found it’s pretty much perfect. The only change I made is that I used a bread sling for the round loaf and used slightly less cheese since that’s all I had on hand.
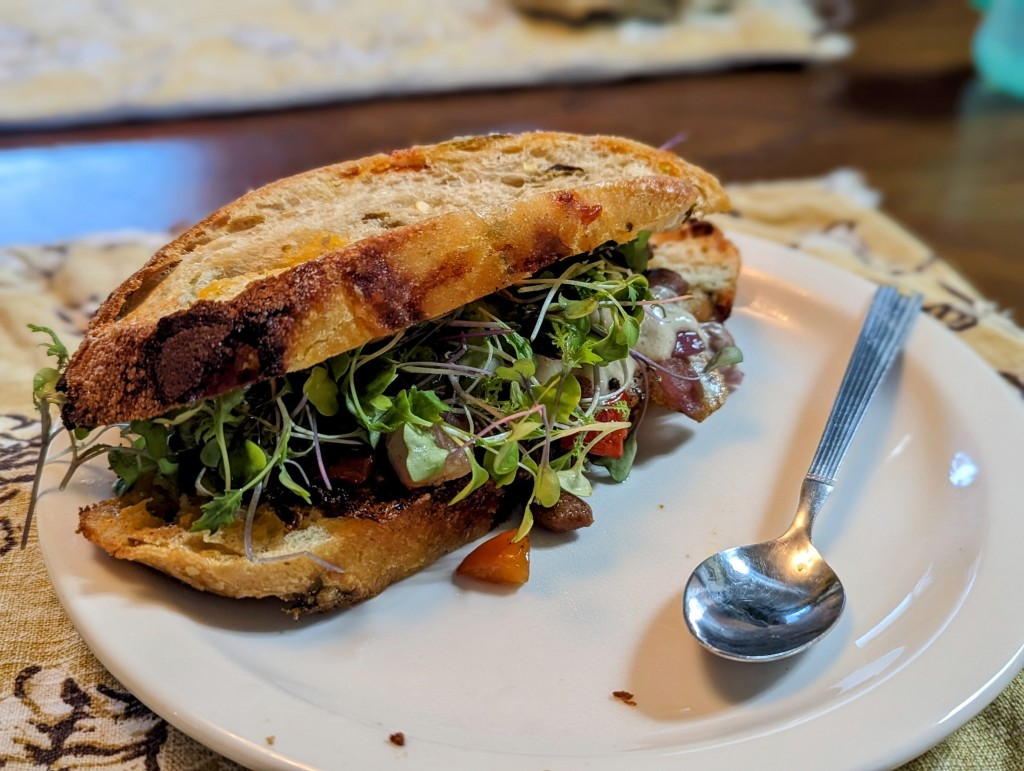
Bonus pic of a breakfast sandwich I made this morning using the bread:
Here are some additional pics of the loaves:


My Baking Notes
- Ambient Temperature @ mixing: 71’F
- Mixed @ 11:15am on October 24th
- Dough was 76’F at mixing
- 4 stretch and folds in first 2 hours, adding green chile and cheese during first fold
- Started proof @ 8:05pm on October 24th
- Preheated oven @ 11:25am on October 26th (~17 hour cold proof)
- Out of fridge and into oven @ 12:15pm